Subject to Change
As many of you may remember, we were planning to utilize a ratchet hinge in our final design solution. This past Sunday, we decided to hang our medium-fidelity prototype overnight to determine if the ratchet hinges have a high enough weight capacity. Unfortunately, upon our return to the OEDK the following day, our prototype had fallen and it was revealed that the ratchet hinges were not a viable solution. Our search for different ratchet hinges turned up little results as many of the items we found were not commercially available or did not meet our necessary weight capacity. Thus, we were left to completely change our chosen design solution to avoid creating a device too similar to that created by the previous team. Though we did feel like we took a huge setback that day, we went straight into prototyping a new design solution.
Our New Solution
The solution that we decided to move forward with in the engineering design process was completely unlike any of our previously brainstormed ideas. We had stumbled across hammock chairs early on in our research and decided that we would like to create a device primarily manufactured from canvas with little rigid support like a hammock chair.
Low-fidelity prototype of new design solution.
We hurriedly produced a low-fidelity prototype and realized we actually loved this design a lot more than our previous one. We then searched for different fabrics across the OEDK and were able to produce our first medium-fidelity prototype by the end of the day on Monday. That was such a quick turn around for us! We were surprised to find that our low quality prototype could actually hold up some students. Of course, stronger materials were needed to ensure our 250 pound weight capacity was met.
Come Tuesday, we were so excited to move forward with producing higher fidelity prototypes. Dr. Hunter even took Aubrey and I to JoAnn’s to purchase muslin and utility fabric. Muslin is a relatively inexpensive and thin fabric that would allow us to easily sew through it. Utility fabric is much thicker and stronger than muslin. We plan to use the utility fabric for our last high-fidelity prototype once we have perfected our design. Nonetheless, with Chisomo being the only member of our team with sewing experience, reality hit that the rest of us were going to have to pick up a new hobby.
A Learning Experience 🧵🧶
In order to increase our turn-around time in producing different prototypes, Aubrey, Andrew and I had no choice but to learn how to use the sewing machines in the OEDK. Late Tuesday and a majority of Wednesday were particularly troubling for us as most of the machines began breaking down on us. It almost feels as though we have spent more time troubleshooting the machines than actually sewing this week. Our lack of knowledge definitely caused more issues than needed. For example, we had no idea that Singer machines should use Singer bobbins and Singer needles in order to avoid jamming and skipping of stitches. Dr. Hunter and Grant, our TA, even spent an hour taking apart a machine only to discover that the only reason the machine was not sewing was because we had put in the wrong needle. Despite all of this, we have all learned how to use the sewing machines and have produced several different iterations of our prototype. And truthfully, I’ve even lost count of how many prototypes we have made! I have also enjoyed sewing more than I would have ever imagined. You can check out a pillow I made all by myself for our prototypes below.
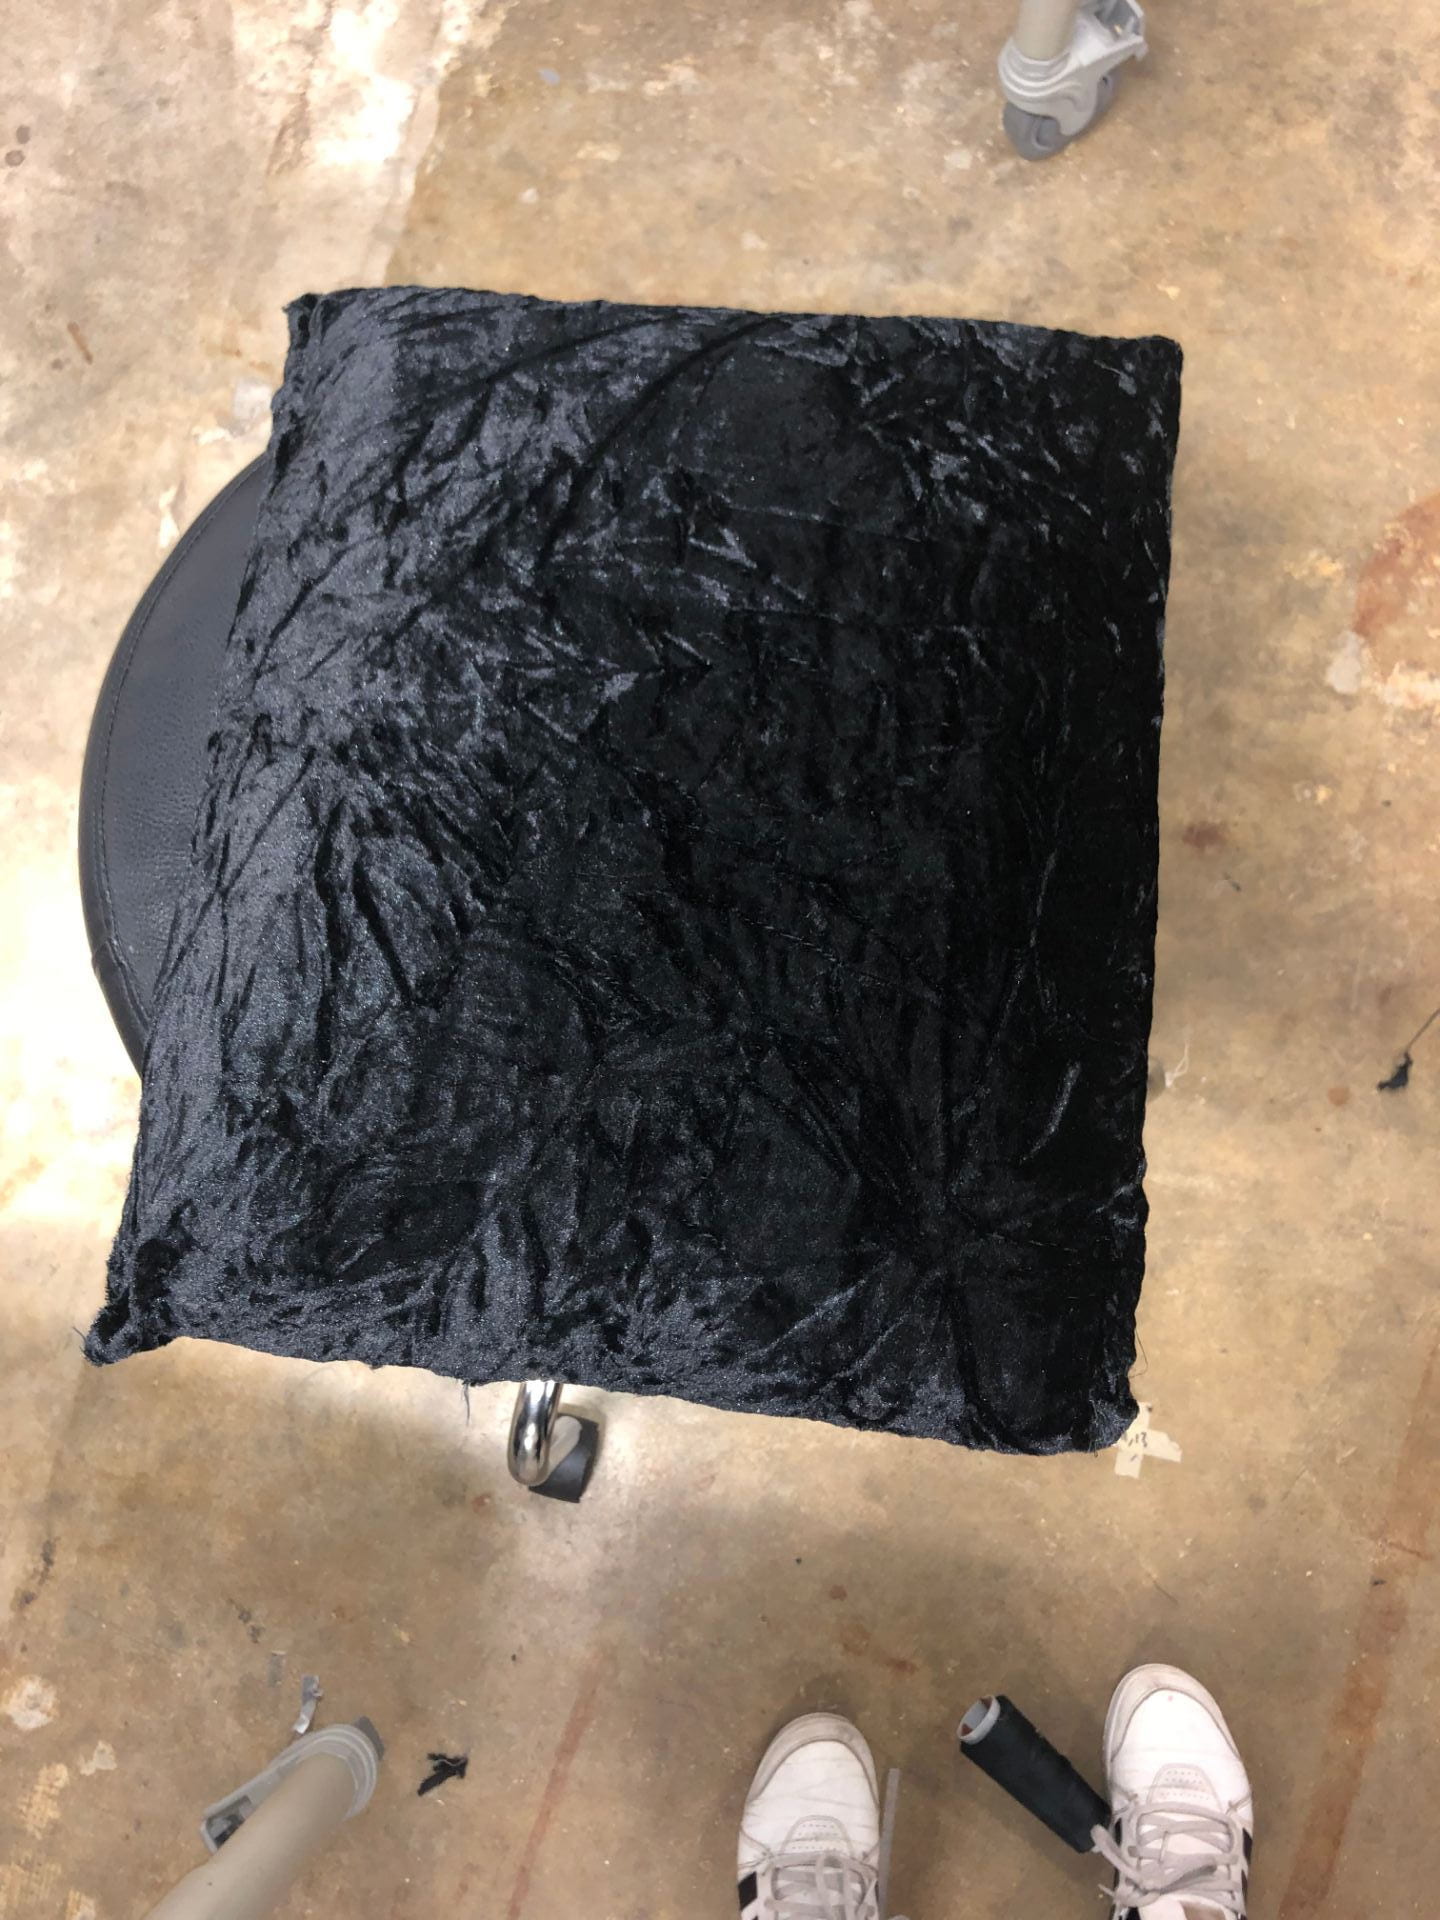
Cushioned pillow I sewed earlier this week.
Overview of Our Prototypes
With several iterations, it’s difficult to keep track of the devices we have made. However, I’ll share some pictures and details with you all here.
Our first medium-fidelity prototype was created using materials we found in the OEDK. It took us an entire day to produce but we managed to get Dr. Wettergreen to test it out for us shortly before the end of the day. We primarily took note of the small frame size and tightness around his legs.

Dr. Wettergreen suspended in an early prototype of our new solution.
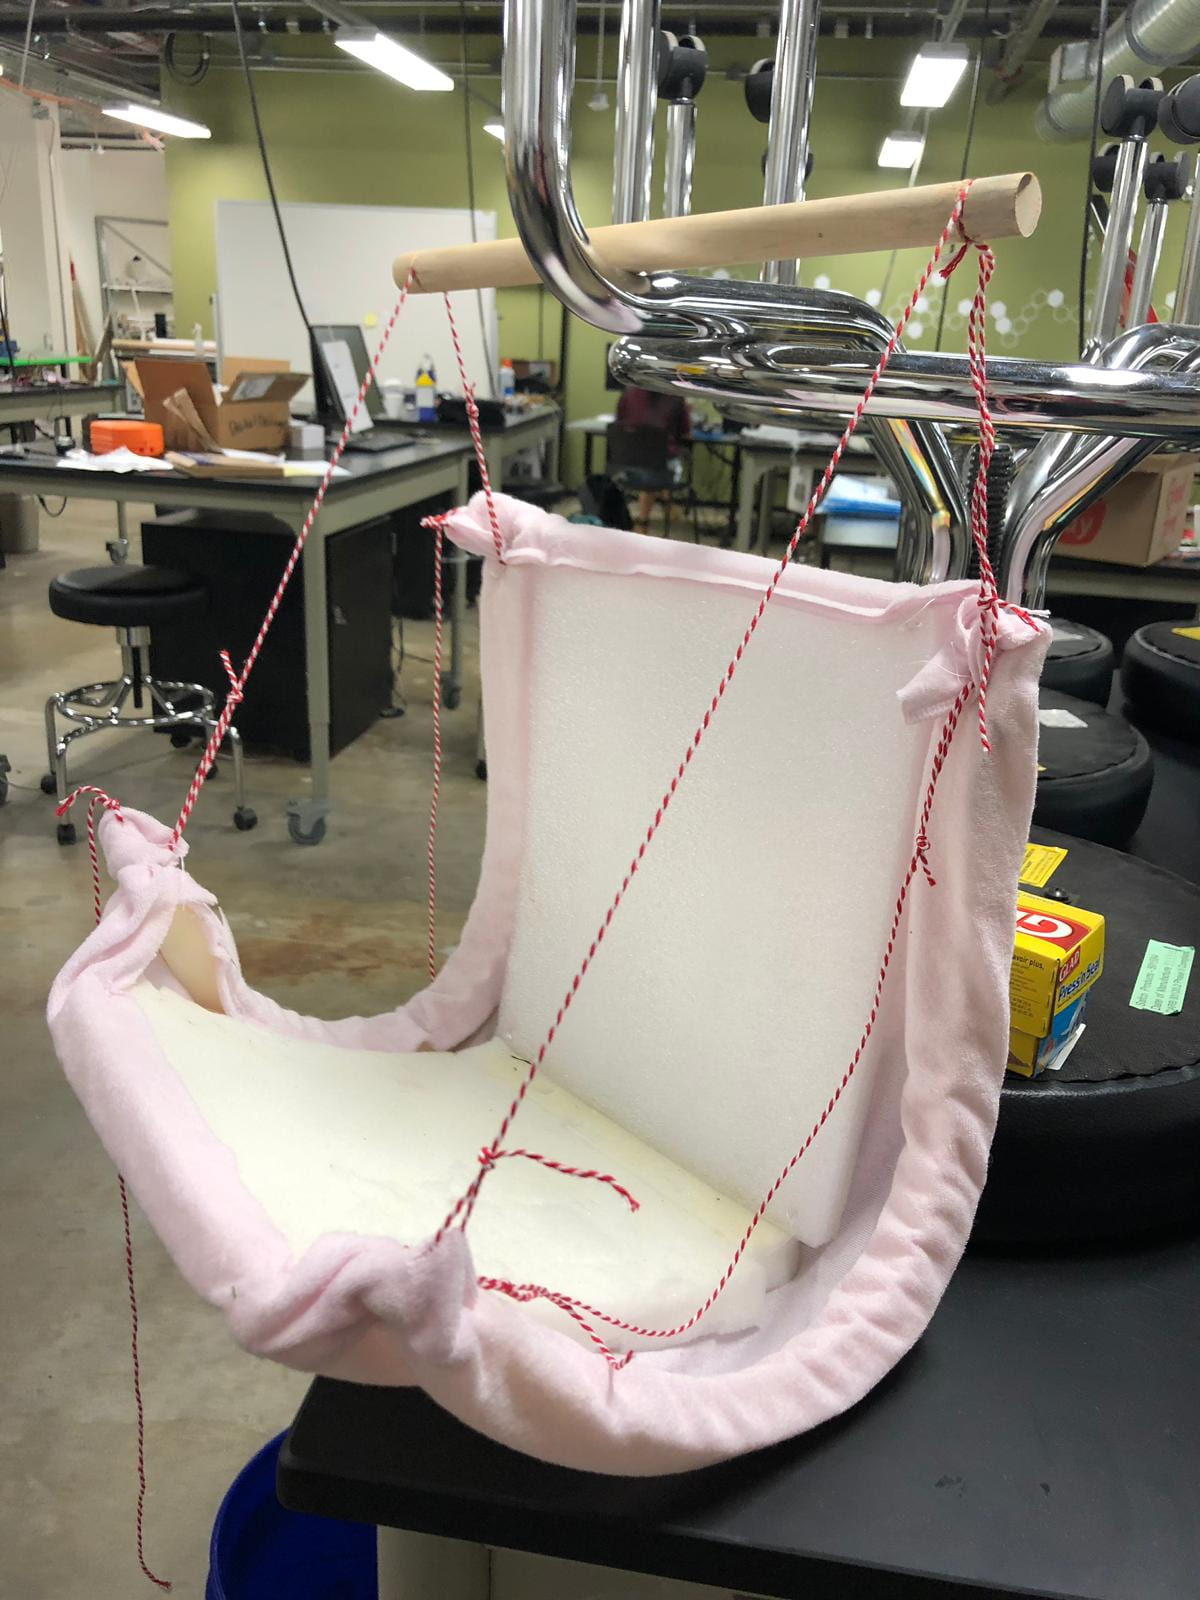
Our next round of prototyping led us to a wider and longer device. The rigid parts you see along the edges are simply wooden dowels for added frame support. The size of this iteration definitely appealed to us more. However, the harness appeared to have too much space between users and the device itself and despite the larger size, there still appeared to be tightness around the legs. So, our next iteration was an attempt to solve these issues.
Another iteration of our design solution.
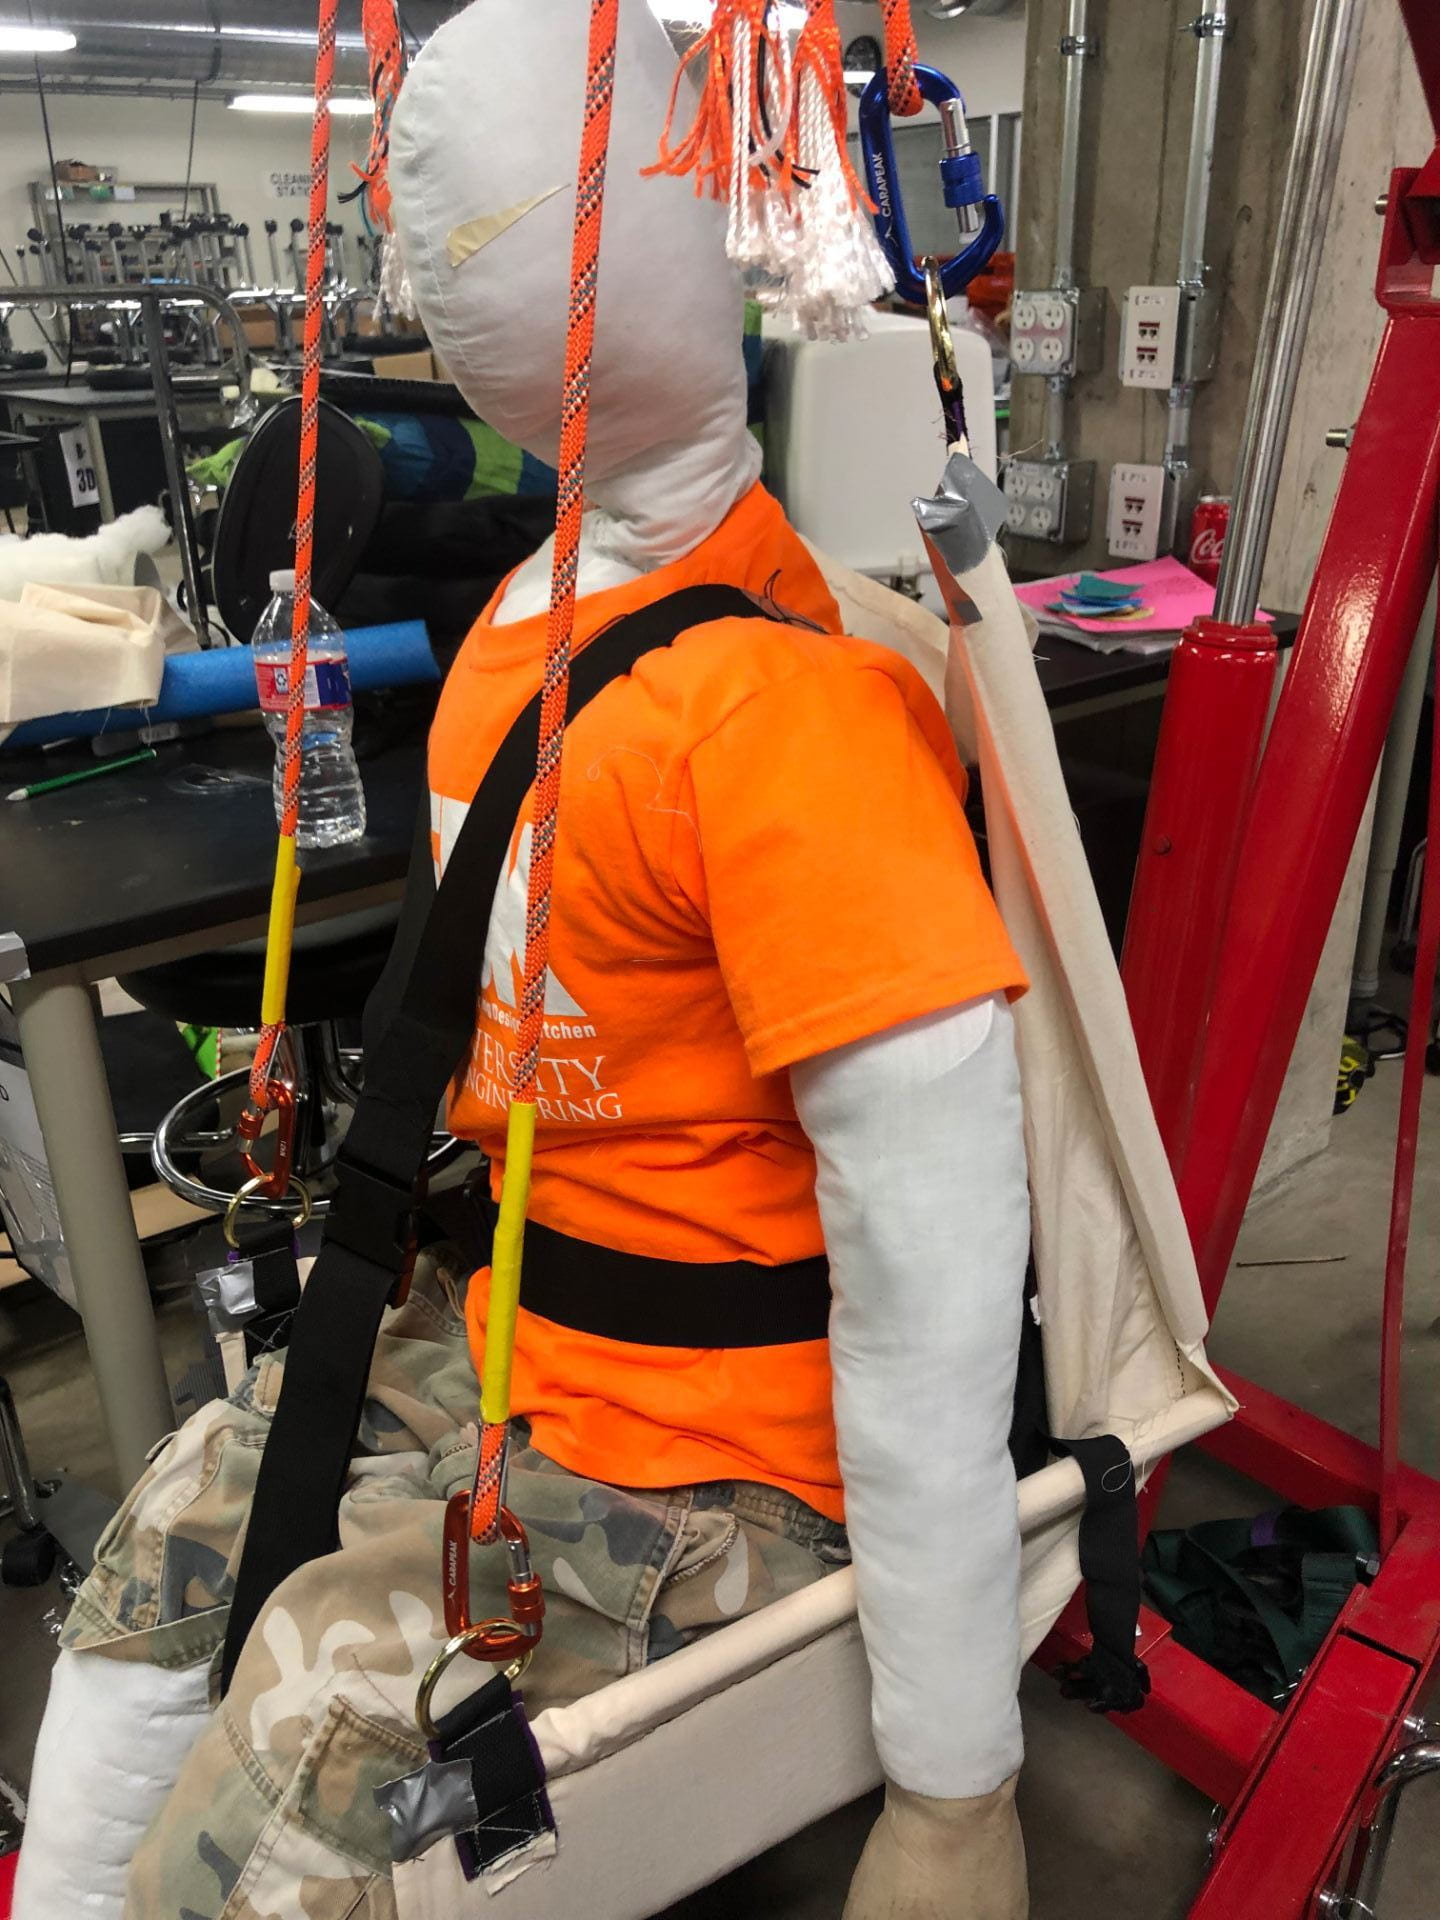
Our most recent prototype has an added cushion in the front for added leg support. This was meant to allow the frame to be rigid but soft and conforming at the same time. We also made inserts through the canvas to allow the harness straps to go through the device rather than around. We found that both of these changes helped with minimizing the space between users and the device as well as minimizing tightness around the legs.

A more recent iteration with minor changes.
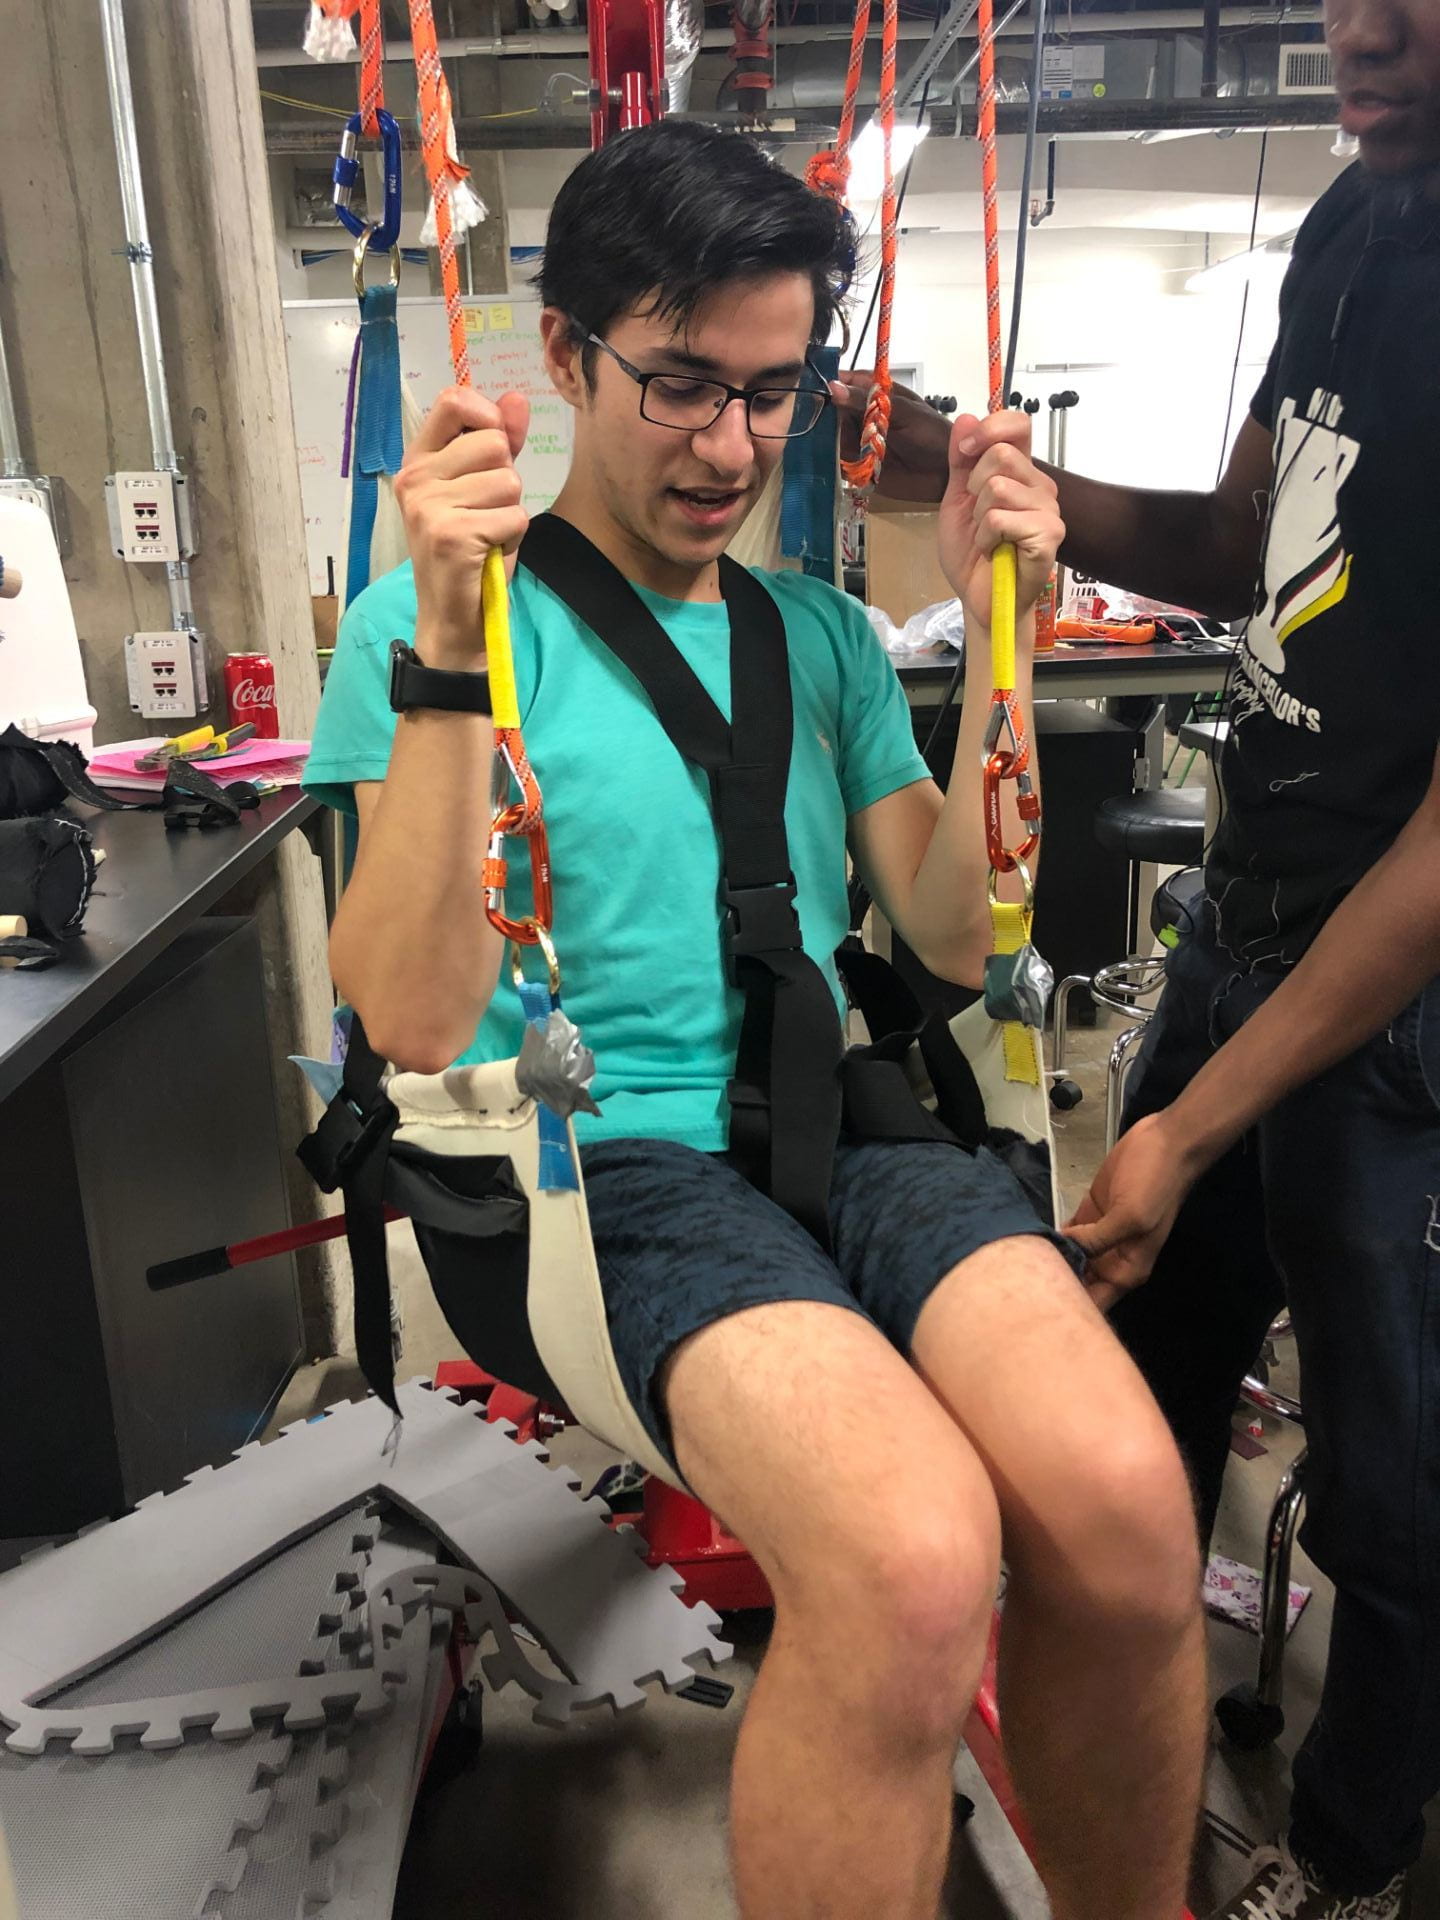
Adulfo, our TA, testing the latest iteration of our device.
And in case any of you were wondering how our device manages to hold itself up, this is how we have done it!
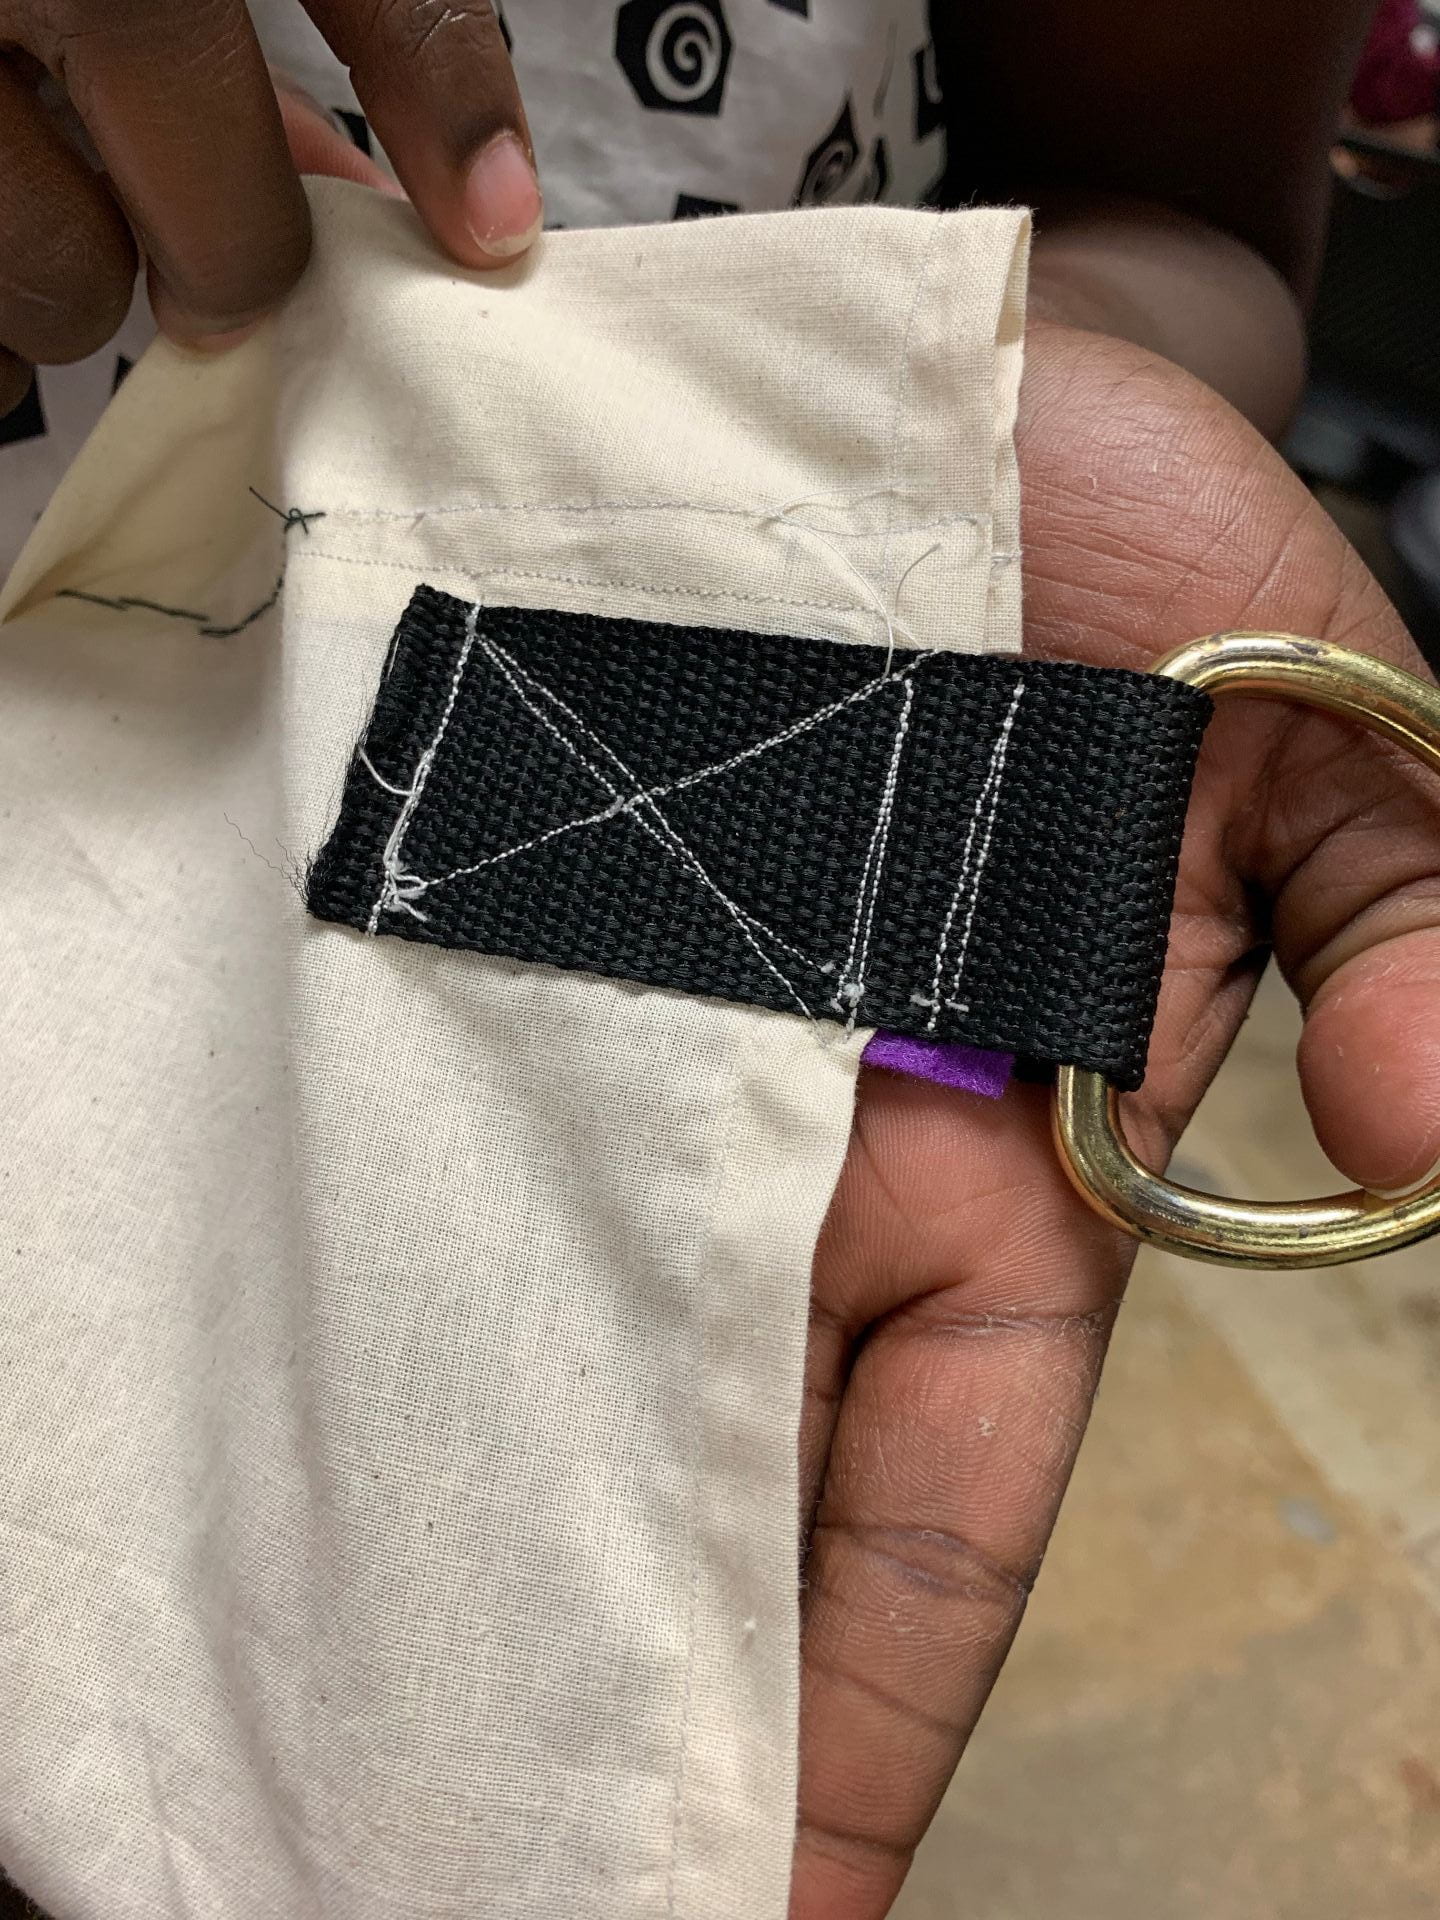
D-ring strapping.
This has definitely been one of the more difficult parts of our project as the strapping is a thick, heavy duty material and often causes jamming and breaking down of the sewing machines. The D-ring and strapping are both materials we found lying around the OEDK. The key to holding up so much weight is the sewing technique! Who knew these tiny stitches had so much power in them?
This week was SO hectic for us with all the design changes, iterations, and learning curves. Even through every challenge we were faced with, we managed to find a path that led us to success and I am immensely proud of myself and my team for all the progress we have made!