Three of the items listed in the title have everything to do with Friday. I promise.
To start off this week, we as a team had one heck of a time throwing away our previous enclosure design of a rectangular prism, and adapting the features we wanted to attain into the form factor of a triangle (this is the explanation of last week’s blog title, which I forgot to even reference in the blog itself). Caz did the majority of the actual designing of the part after we all discussed what we wanted this magical wedge to do.
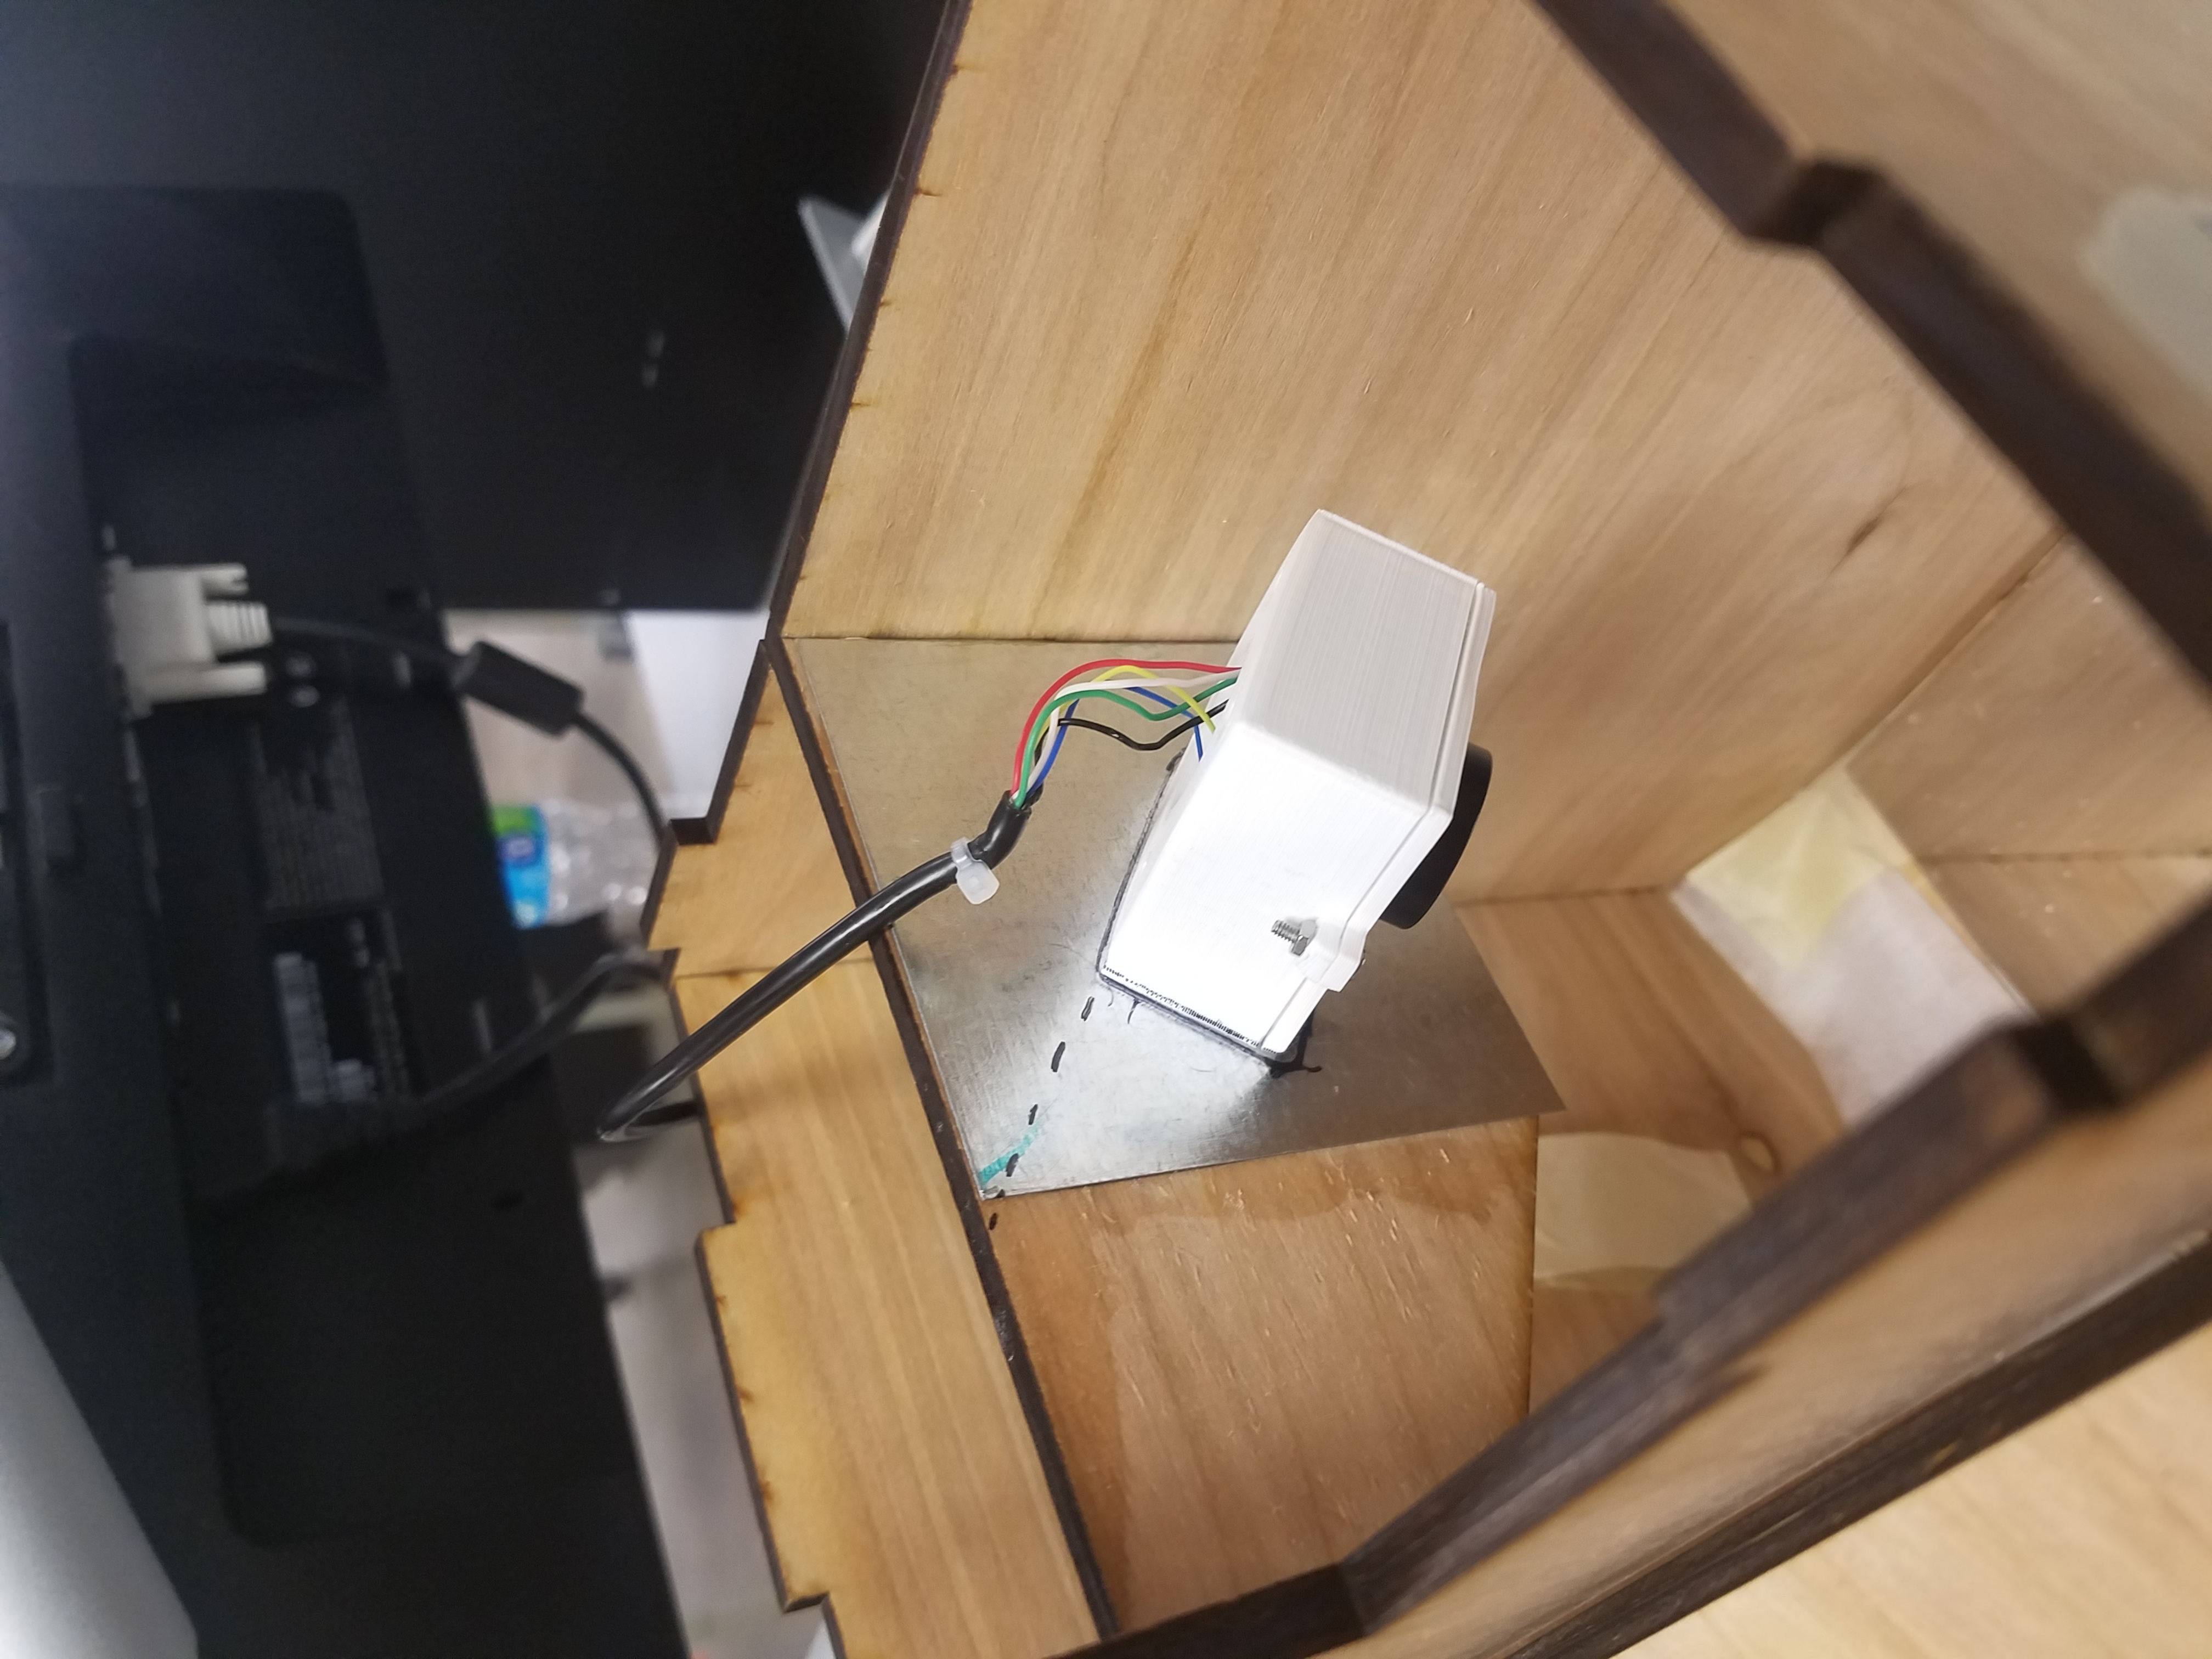
I spent my time disassembling one of the 3 USB webcams we had received earlier, and designing a case/mount for it. The purpose of this mount was to allow us to fine tune the position of the camera in the new medium fidelity box that Caz was designing. Chris supported me in the design of the glorious, revolutionary, ahead of its time MagMount™. This spectacular piece of modern engineering, coupled with a metal plate glued onto a vertical slat in our box, allowed us to move the camera forward, back, up, down, and angularly (<– Not a word but I’m using it).
Patents are currently in the works
After we fiddled with it to get the perfect field of view for the image capture of the bottom of the foot, we dimensioned its exact location on that vertical slat, and proceeded into the next step: the BoltMount™. I pretty much removed the impressions in the side of the mount that were for the magnets, centered the hole on the lid (at least I attempted to), and added tabs on the sides and the top to bolt the case, with M4 bolts into the slat. After I had finished the initial design for the mount, I began separately prototyping and testing the standoffs for the camera circuit board. The previous to iterations of the mount used styrofoam to hold the circuit in place, with the lid compressing the styrofoam onto the board. After only 3 iterations of this standoff base, I integrated it onto the BoltMount™ and bolted the camera circuit board and lid onto the whole chalupa. Credit to Liz for suggesting at a previous morning meeting that we use magnets as the mechanism for adjustment!
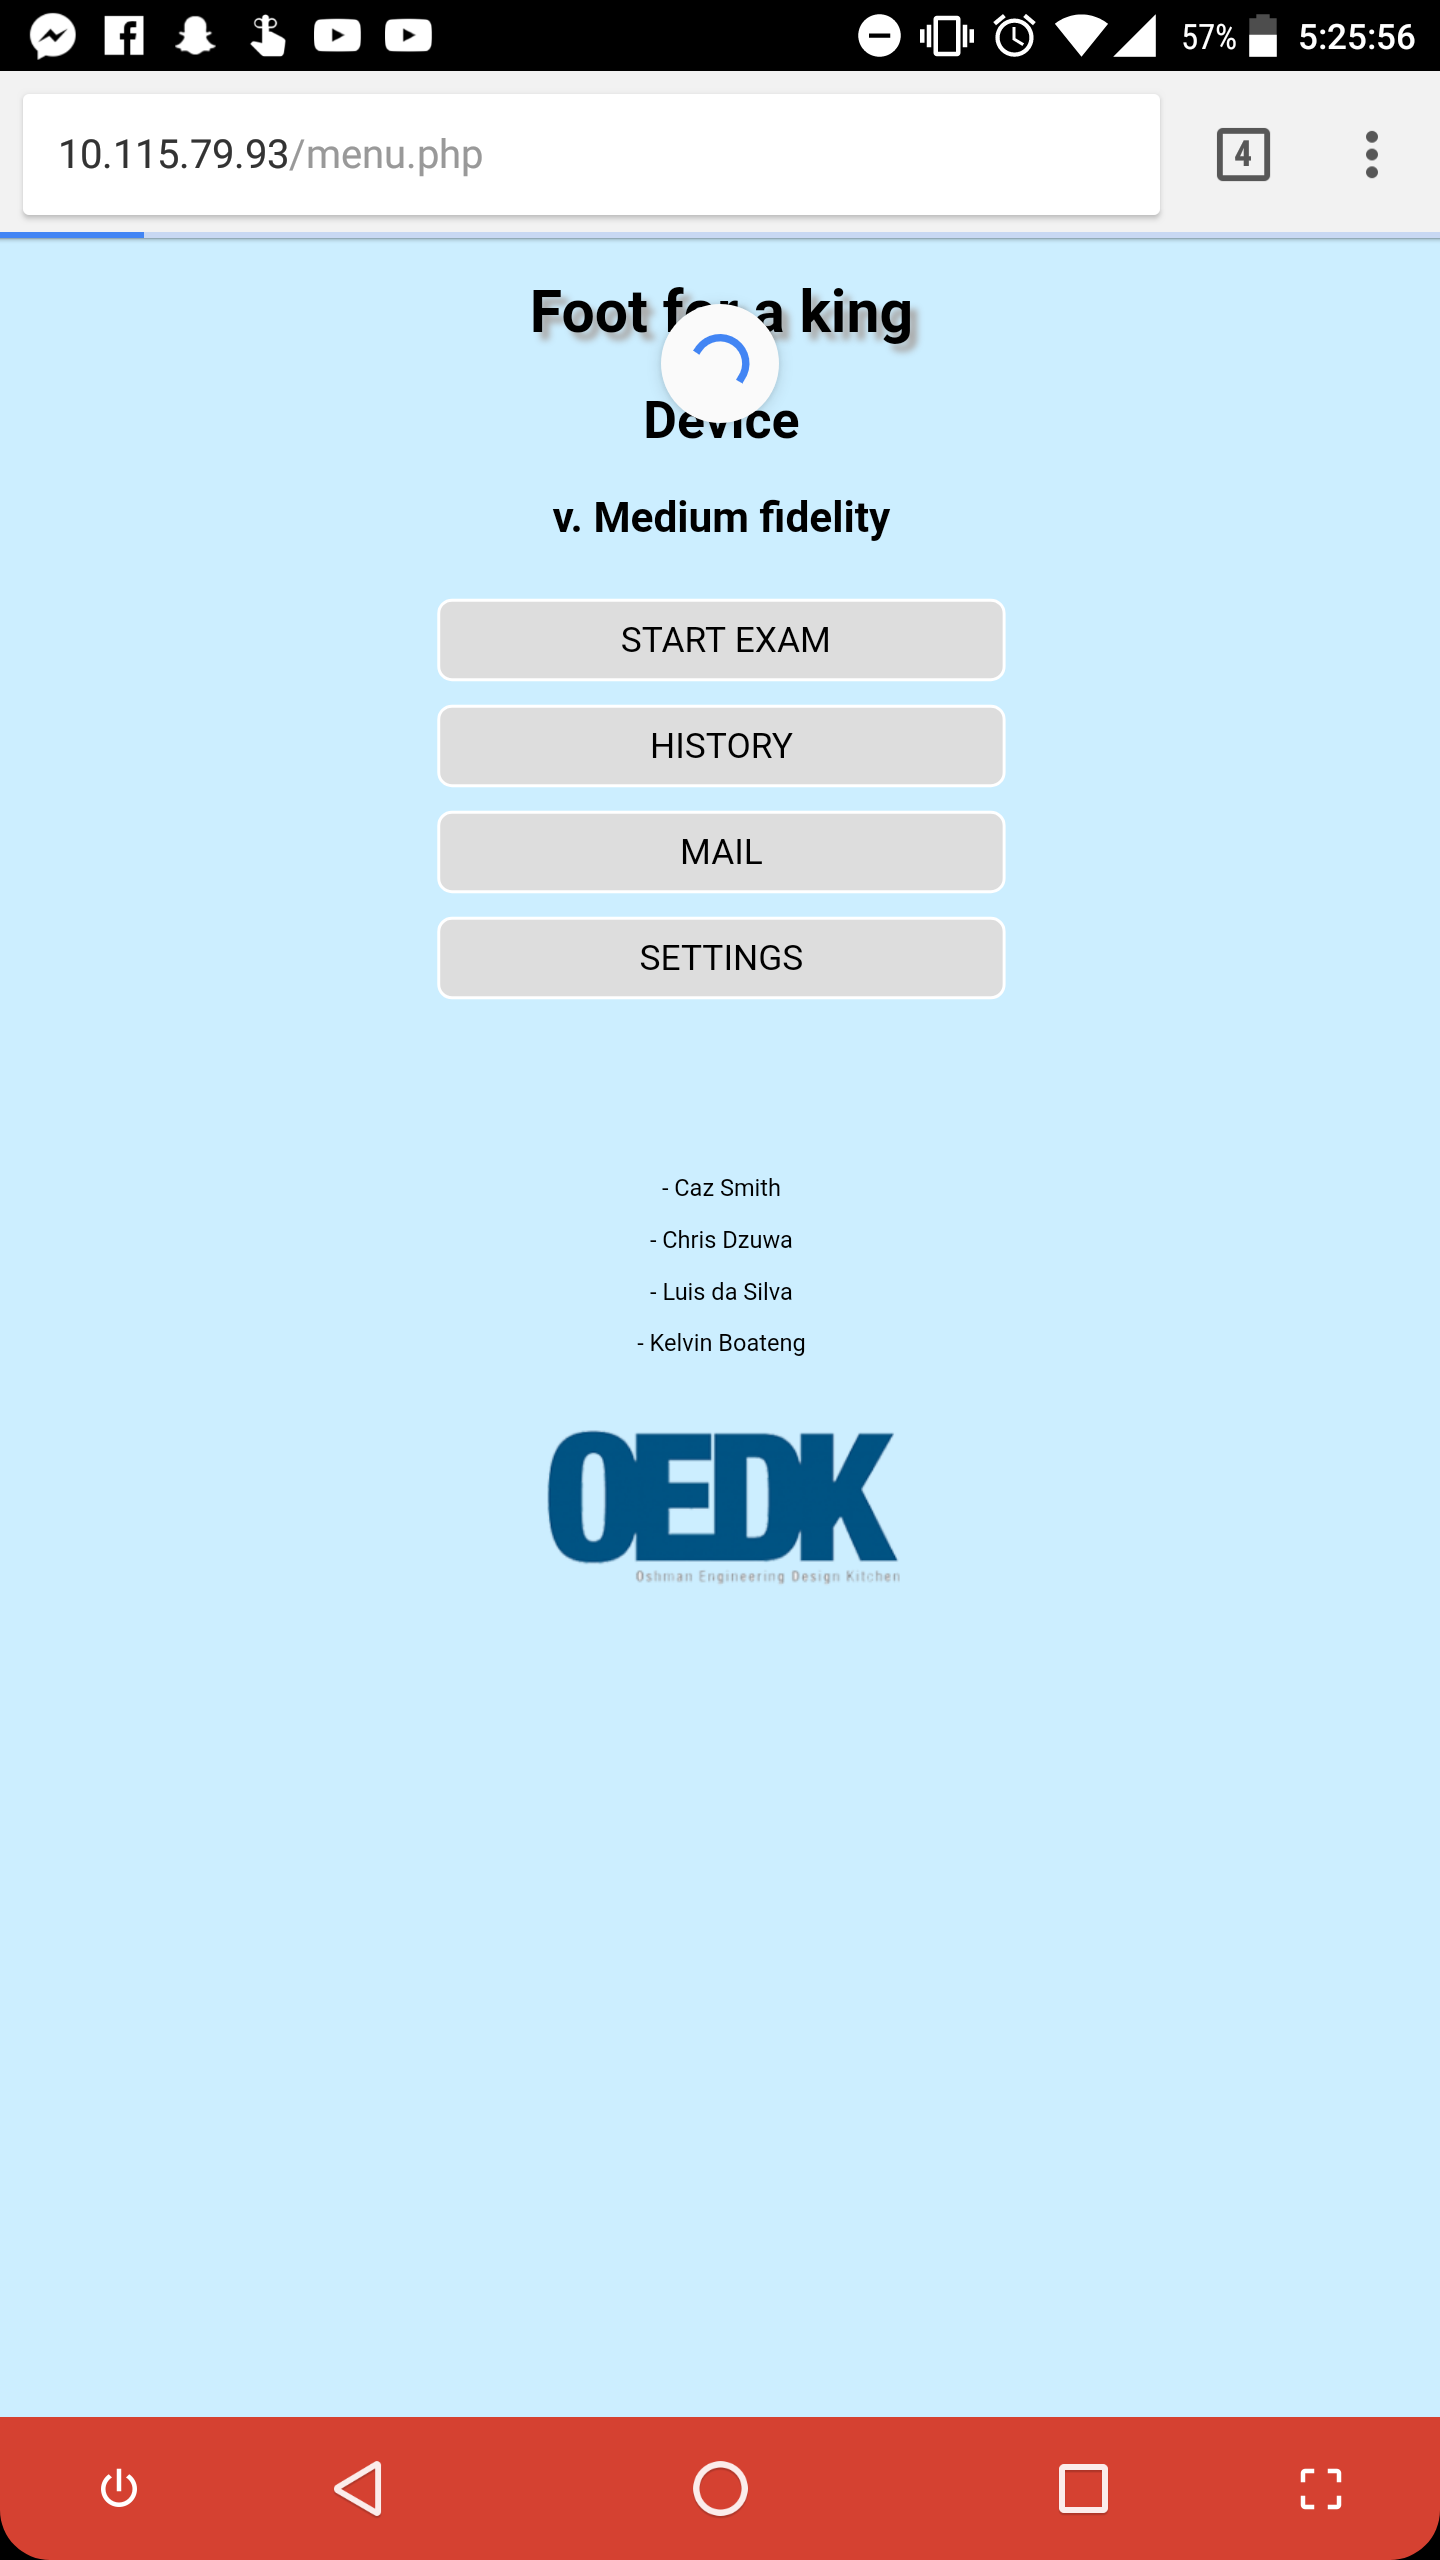
I don’t actually have an updated picture of the website (mostly because it strikes me in awe each time I use it)
Luis and Chris once more worked their wizardry and continued to improve a website I believed had already reached perfection past our plane of consciousness. The website now has a feature that allows you to change the name of the patient using the device, as well as the email it is being sent to right before you actually send it. If you don’t wish to change it however, it remembers and uses the last email input into the system. The email contains a heartfelt message written by the loving members of our team, and has the results of the last image exam taken with the device. It also has a sweet confirmation speed, and is faster than food service at Chick-Fil-A. The history feature of the site shows you the results of the last few exams, and is super live in general.
On the electrical side of things, which I generally try to avoid due to my inexperience, Caz and Luis integrated all 308 electronic parts that our device now seems to have. Now we have a switch which lets power into the system from a laptop power supply, and that power splits to the LEDs (which are now activated by starting an exam on the website) and a 12V to 5V converter (from a car charger) that runs power to the Raspberry Pi and our USB hub. In between those parts there are little bits and bobs of technology I fail to understand at this juncture. The best part is the extra-clicky switch. The switches literally sends a booming tick sound throughout the building each time we press it.
Lets play a game of Spot the Arc!
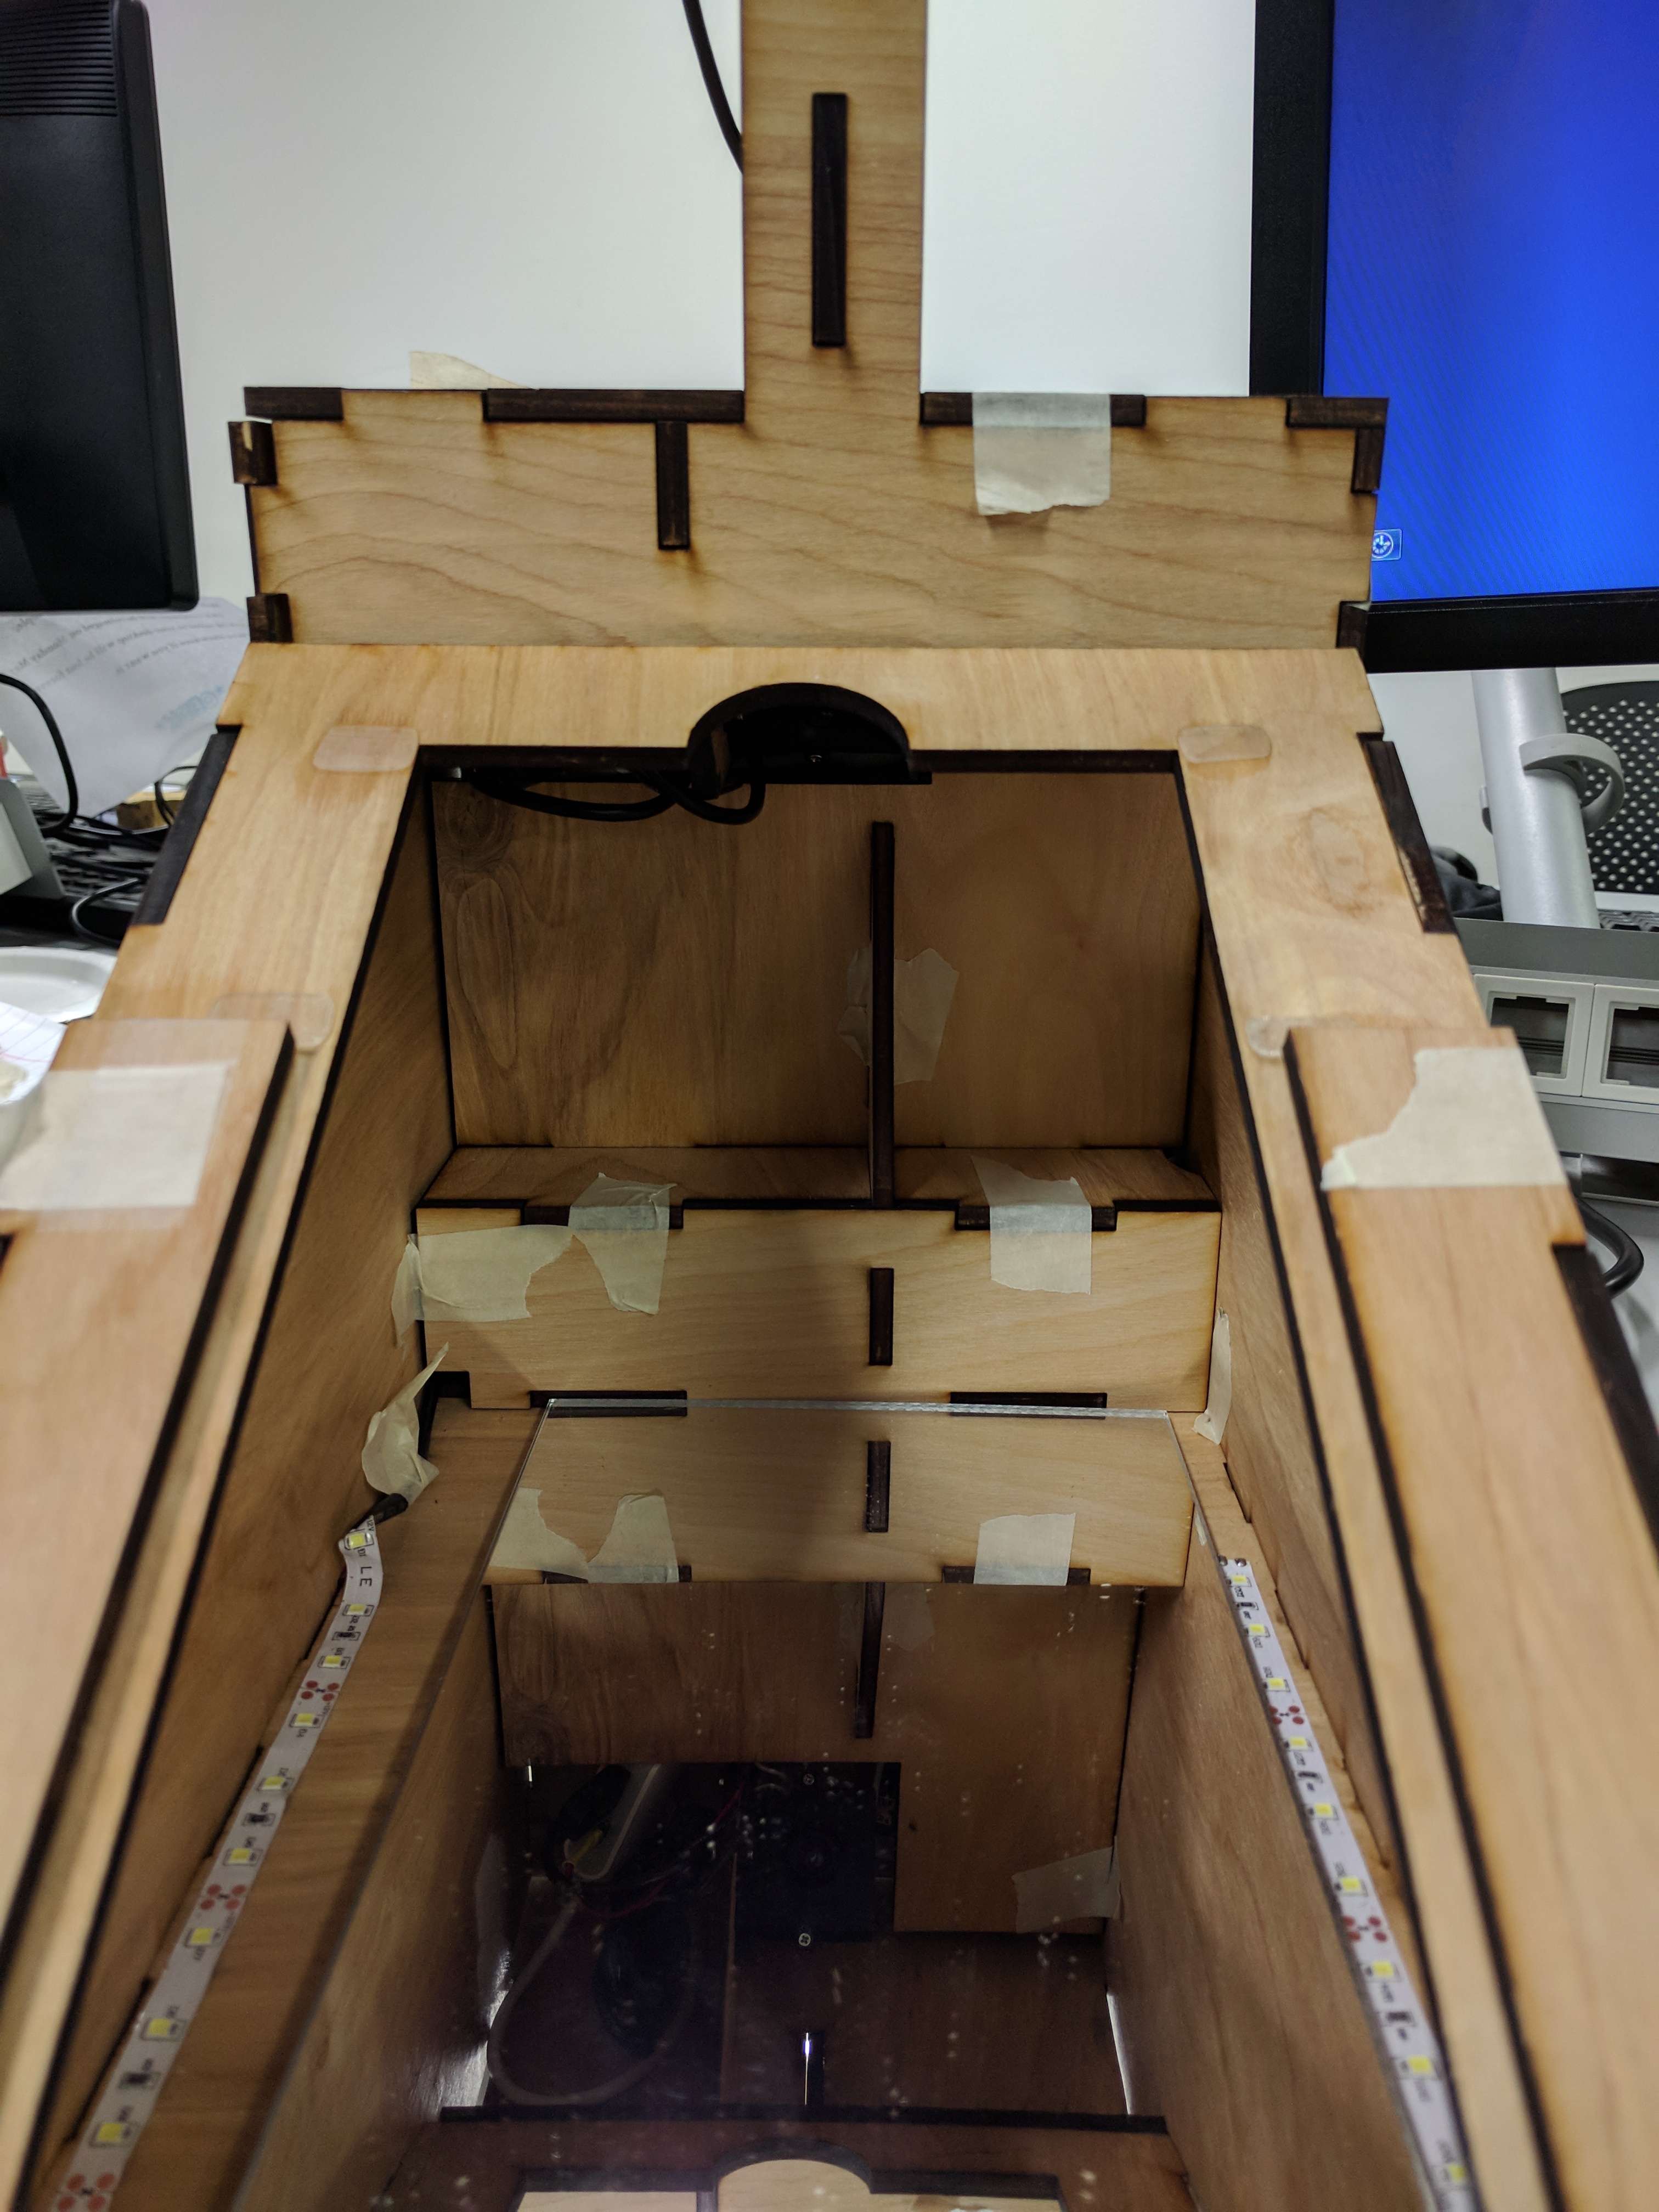
We edited multiple parts of the enclosure as we went along, and took advantage of our masking tape-enabled Real Hot-Swapping Action for the components. We replaced things like the camera mount slat, the foot pad, the sides, and others with new cuts that took less than 30 seconds each. Caz designed an over-engineered wall to hide the electronics in the box. He even added arcs in a spine piece that no one would ever see.

The iterations of the pegboard toe separator concept
Prototyping the toe separators was something we had long neglected in our work, but we finally got to a solution this week. We created a pegboard that allows a user to set up the pegs to match the splits of their toes, and to do both left and right feet on one board. The board slides back and forth (with built in stoppers to always keep the foot aligned in the image) to switch between the settings for the left toes and the settings for the right toes.
Finally on Friday, it came time to assemble our final prototype. Chris and I did some test finishes on the versions 1 and 2 of the camera mount slat with some Tung Oil and Beeswax. I found both of these to be unsatisfactory so I went upstairs and found some DANISH oil that ended up looking pretty sexy on the wood. I did a test finish on some more wood from previous iterations and finished it off by buffing it with the beeswax and I loved how it turned out. Moving forward from there, we assembled the entire box, made sure everything fit, and tore off all the masking tape to begin disassembly. I took the lead on showing these rascals how to prepare wood for finishing, and also showed them how to execute the stages of a wood finish. After we spent the entire rest of the work day (and I stayed after work to actually complete the process we got some good looking pieces.

Aesthetic
AS USUAL MY NON-WORK RELATED ACTIVITIES INVOLVE BIKES
On Sunday I dragged Caz with me over to the Memorial Park trail group, and we a go at mountain biking on the trails there. Literally 25 seconds into our ride from the OEDK to the park, I cased a jump (my rear tire hit the ledge I was trying to get over on the treacherous Houston sidewalks) and got a flat in my rear tire. As Caz stated, “We could throw a tennis ball from here and it would land on Rice campus.” I ended up borrowing a rear wheel from my second bike, which caused a bunch of problems later but I won’t discuss that. It was my second time there and Caz’s first and between the two of us we managed to limit our number of crashes to 2 or 3 (can’t remember all that well, given I probably hit my head). I failed to eat breakfast that morning, and we had biked to the park, meaning we needed to bike back. We stopped at a Whataburger before heading back to campus, and when we made it there I was sure that I was on the verge of death. Somehow I was fully recovered after we left, and we made our way back to campus, to rest after a tiring day. We left campus around 11:20 A.M. and returned around 5 P.M.
Caz and I both went down this massive feature on the trail that was quite literally 35+ feet from top to bottom (the rest of the drops are around the corner in the video). I went back up for a second run, and asked Caz to record it for me. Tragically, the perspective of my phone’s camera makes this killer downhill section appear to be the height of a curb on the sidewalk.
I have a photo from the bottom of the section that I also took with my phone for size referencing:
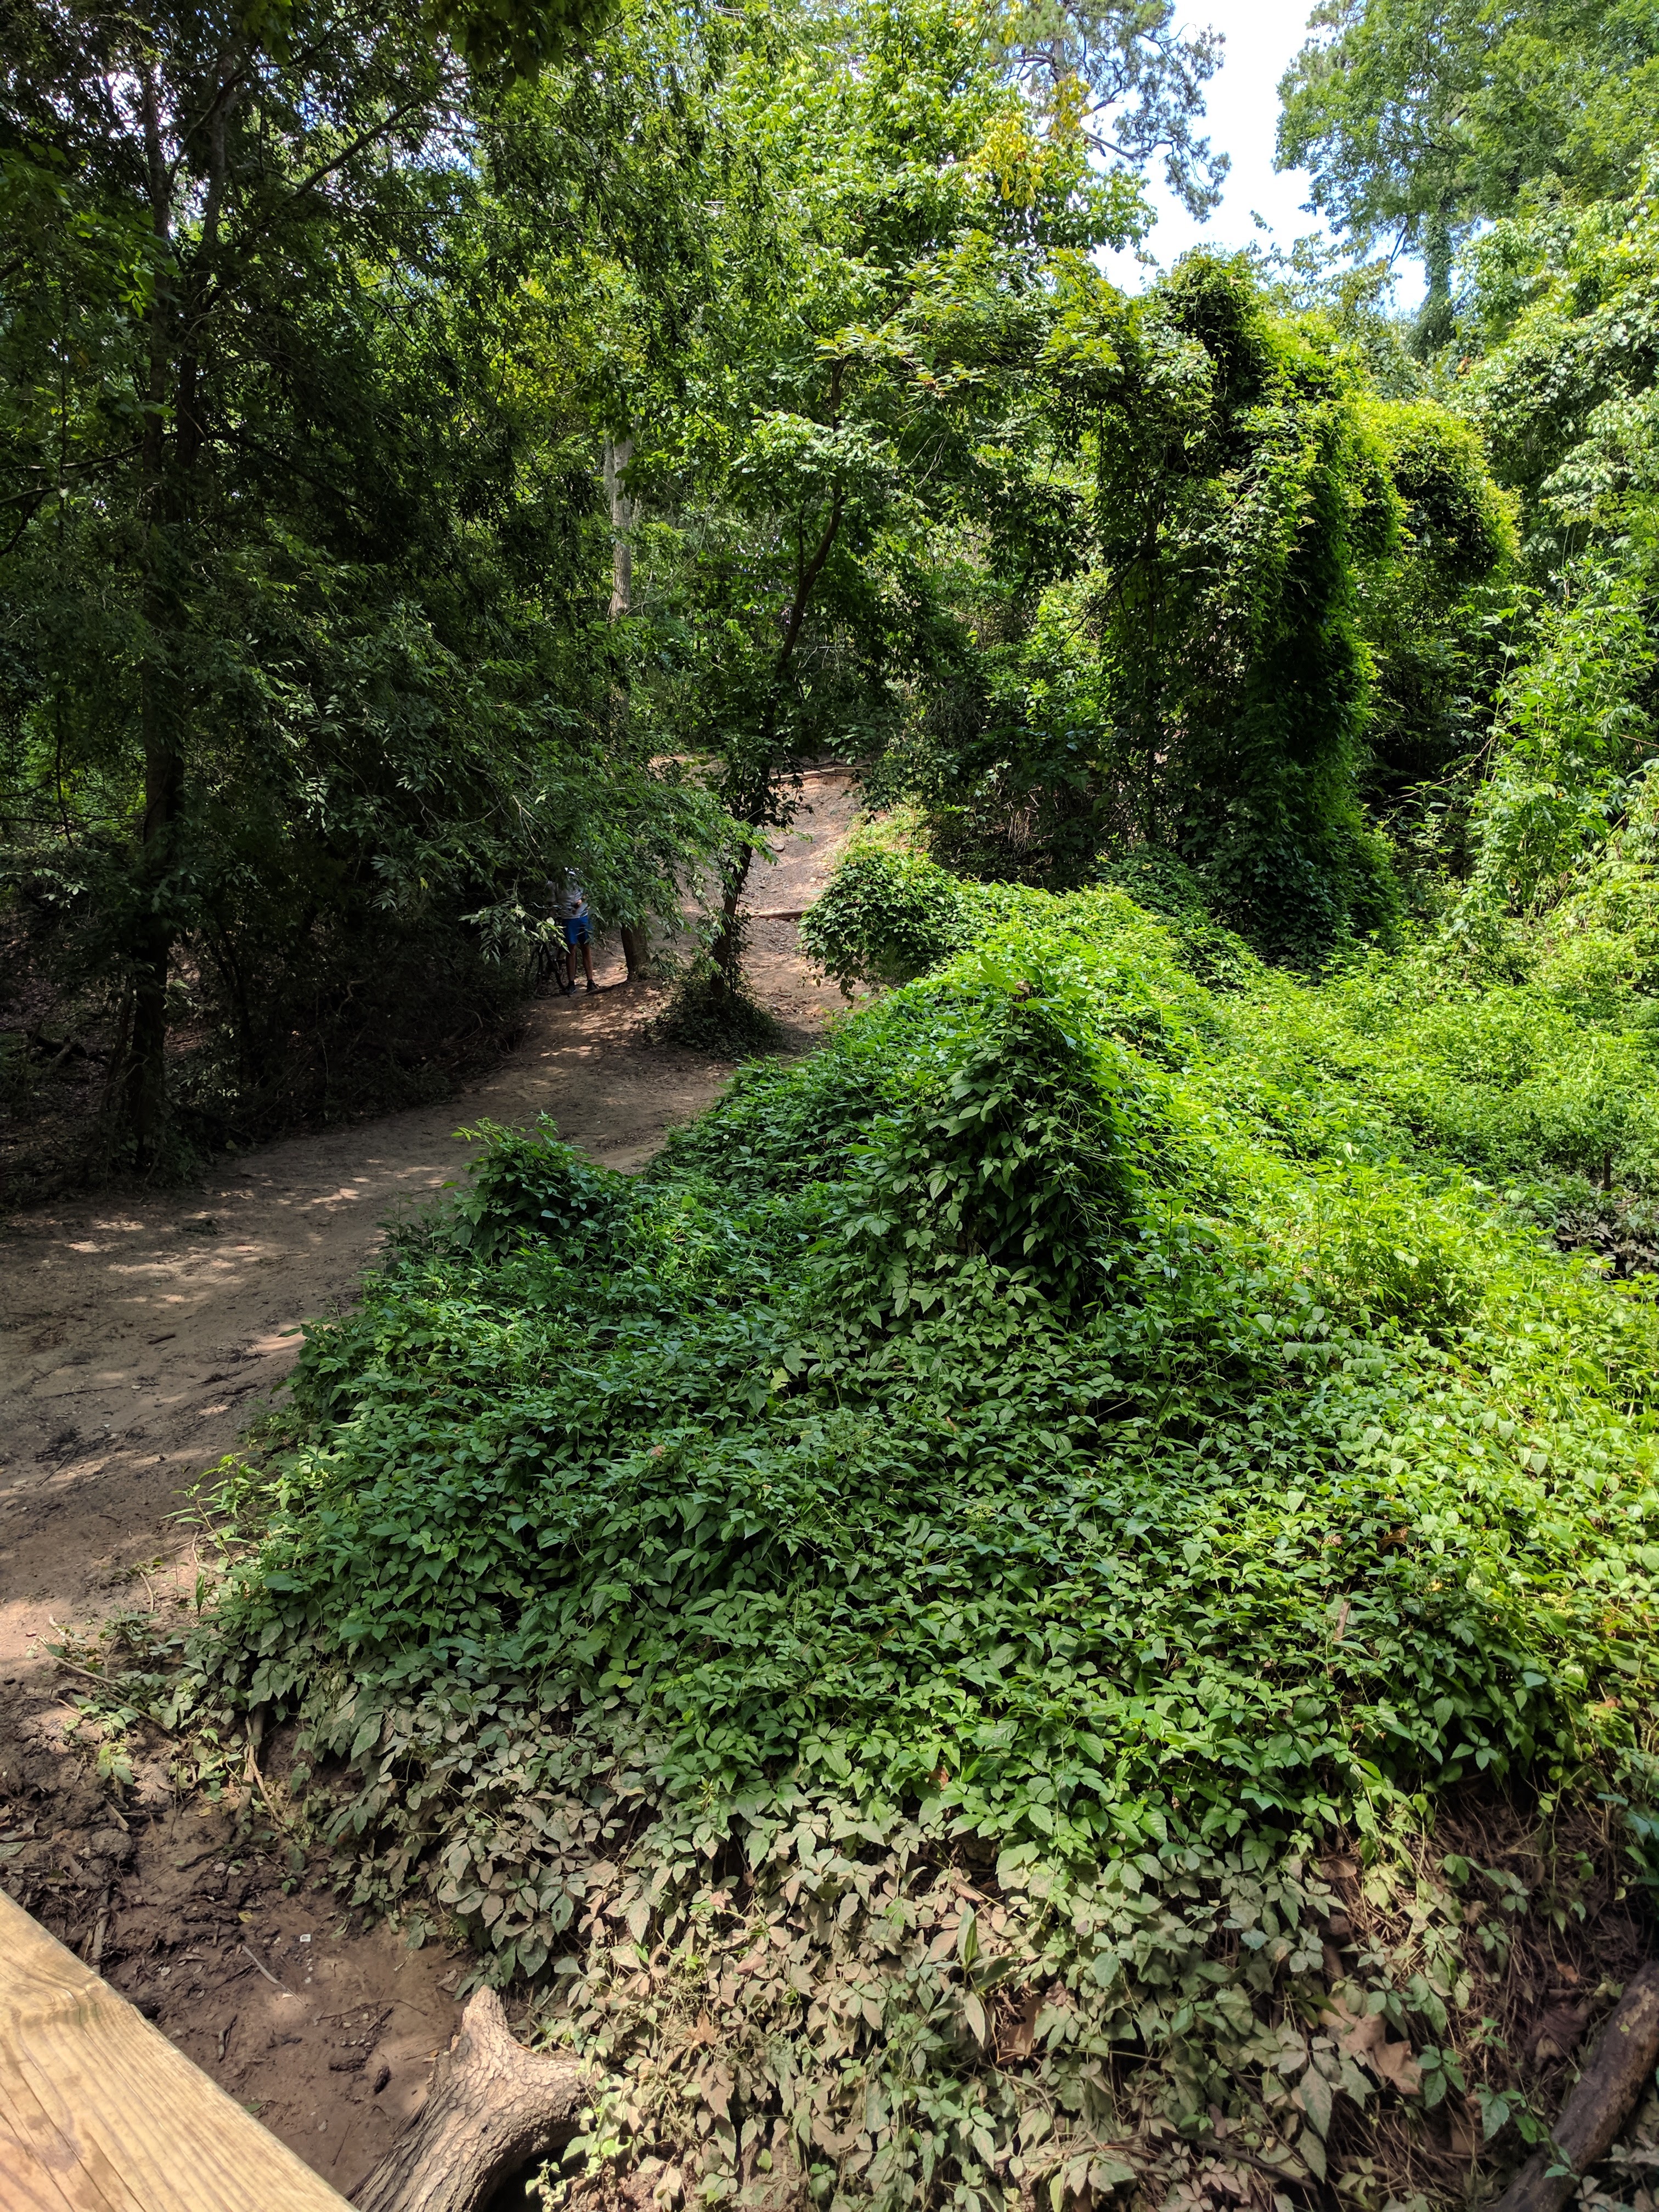
Much green
Incrivel meu amigo, gostaria de morar no martel com voce no lugar do felipe
You’ll have to take me to this biking place one day!
YES IT’LL BE SO LIVE