Bonus picture from Friday:
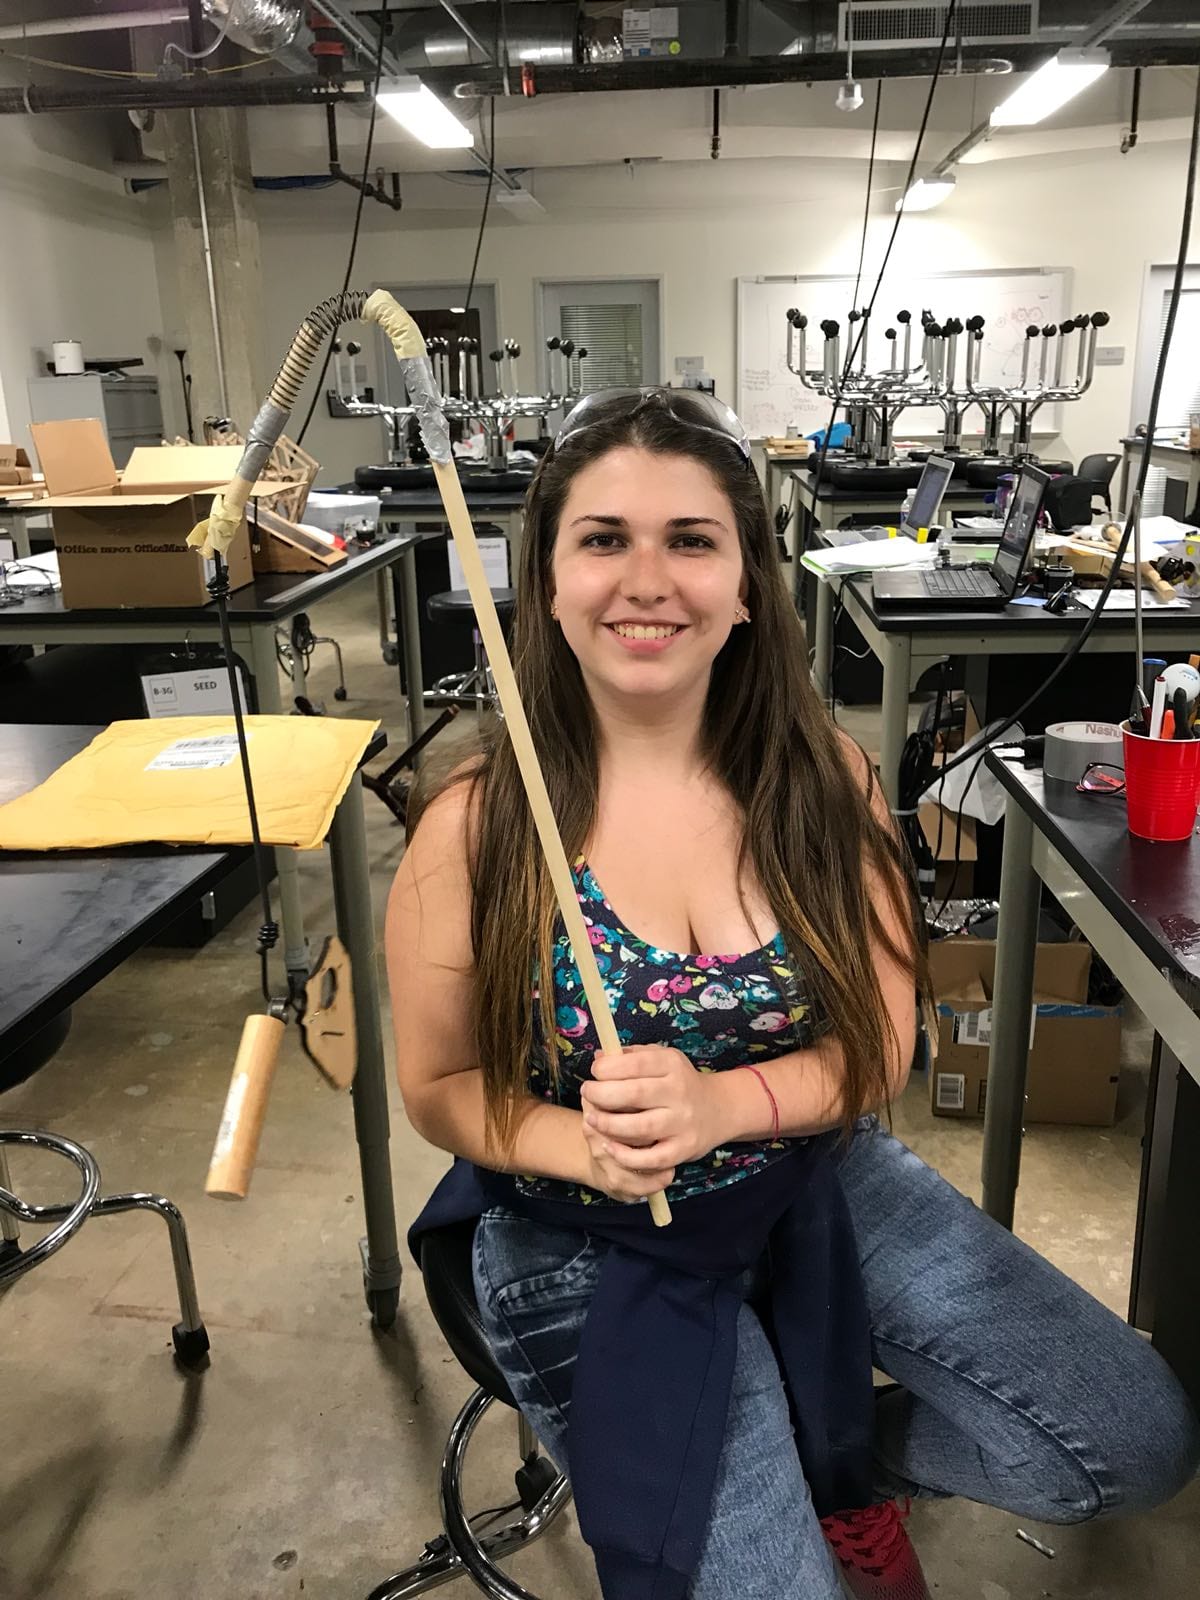
Rebeca Going Fishing
This week at SEED, we performed constructive surgery on our shoulder model and spent the remaining time on postoperative care and troubleshooting.
After our meeting with James on Thursday, we spent much of Friday and Monday refining our joint mechanisms based on his comments and critiques. We first experimented with using a spring to attach the scapula to the trunk. Our previous connection method, the flexible pipe, did not have a flat bottom and caused the scapula to hang unevenly. Because of its soft material, the pipe also may not last after years of twisting/compressing. A spring would do better in terms of durability and has a greater ability to bend (very important for the horizontal abduction shoulder movement).
We looted the OEDK for springs and secured them to a piece of cardboard. We then hung a 200 g weight (about the mass of a dowel arm + scapula) to the springs to see how much they’d bend and wobble. After testing with a bunch of different springs, we got two promising candidates! Both of them could hold the 200g weight with minimal bending, and hopefully would be able to hold a scapula upright without sagging.
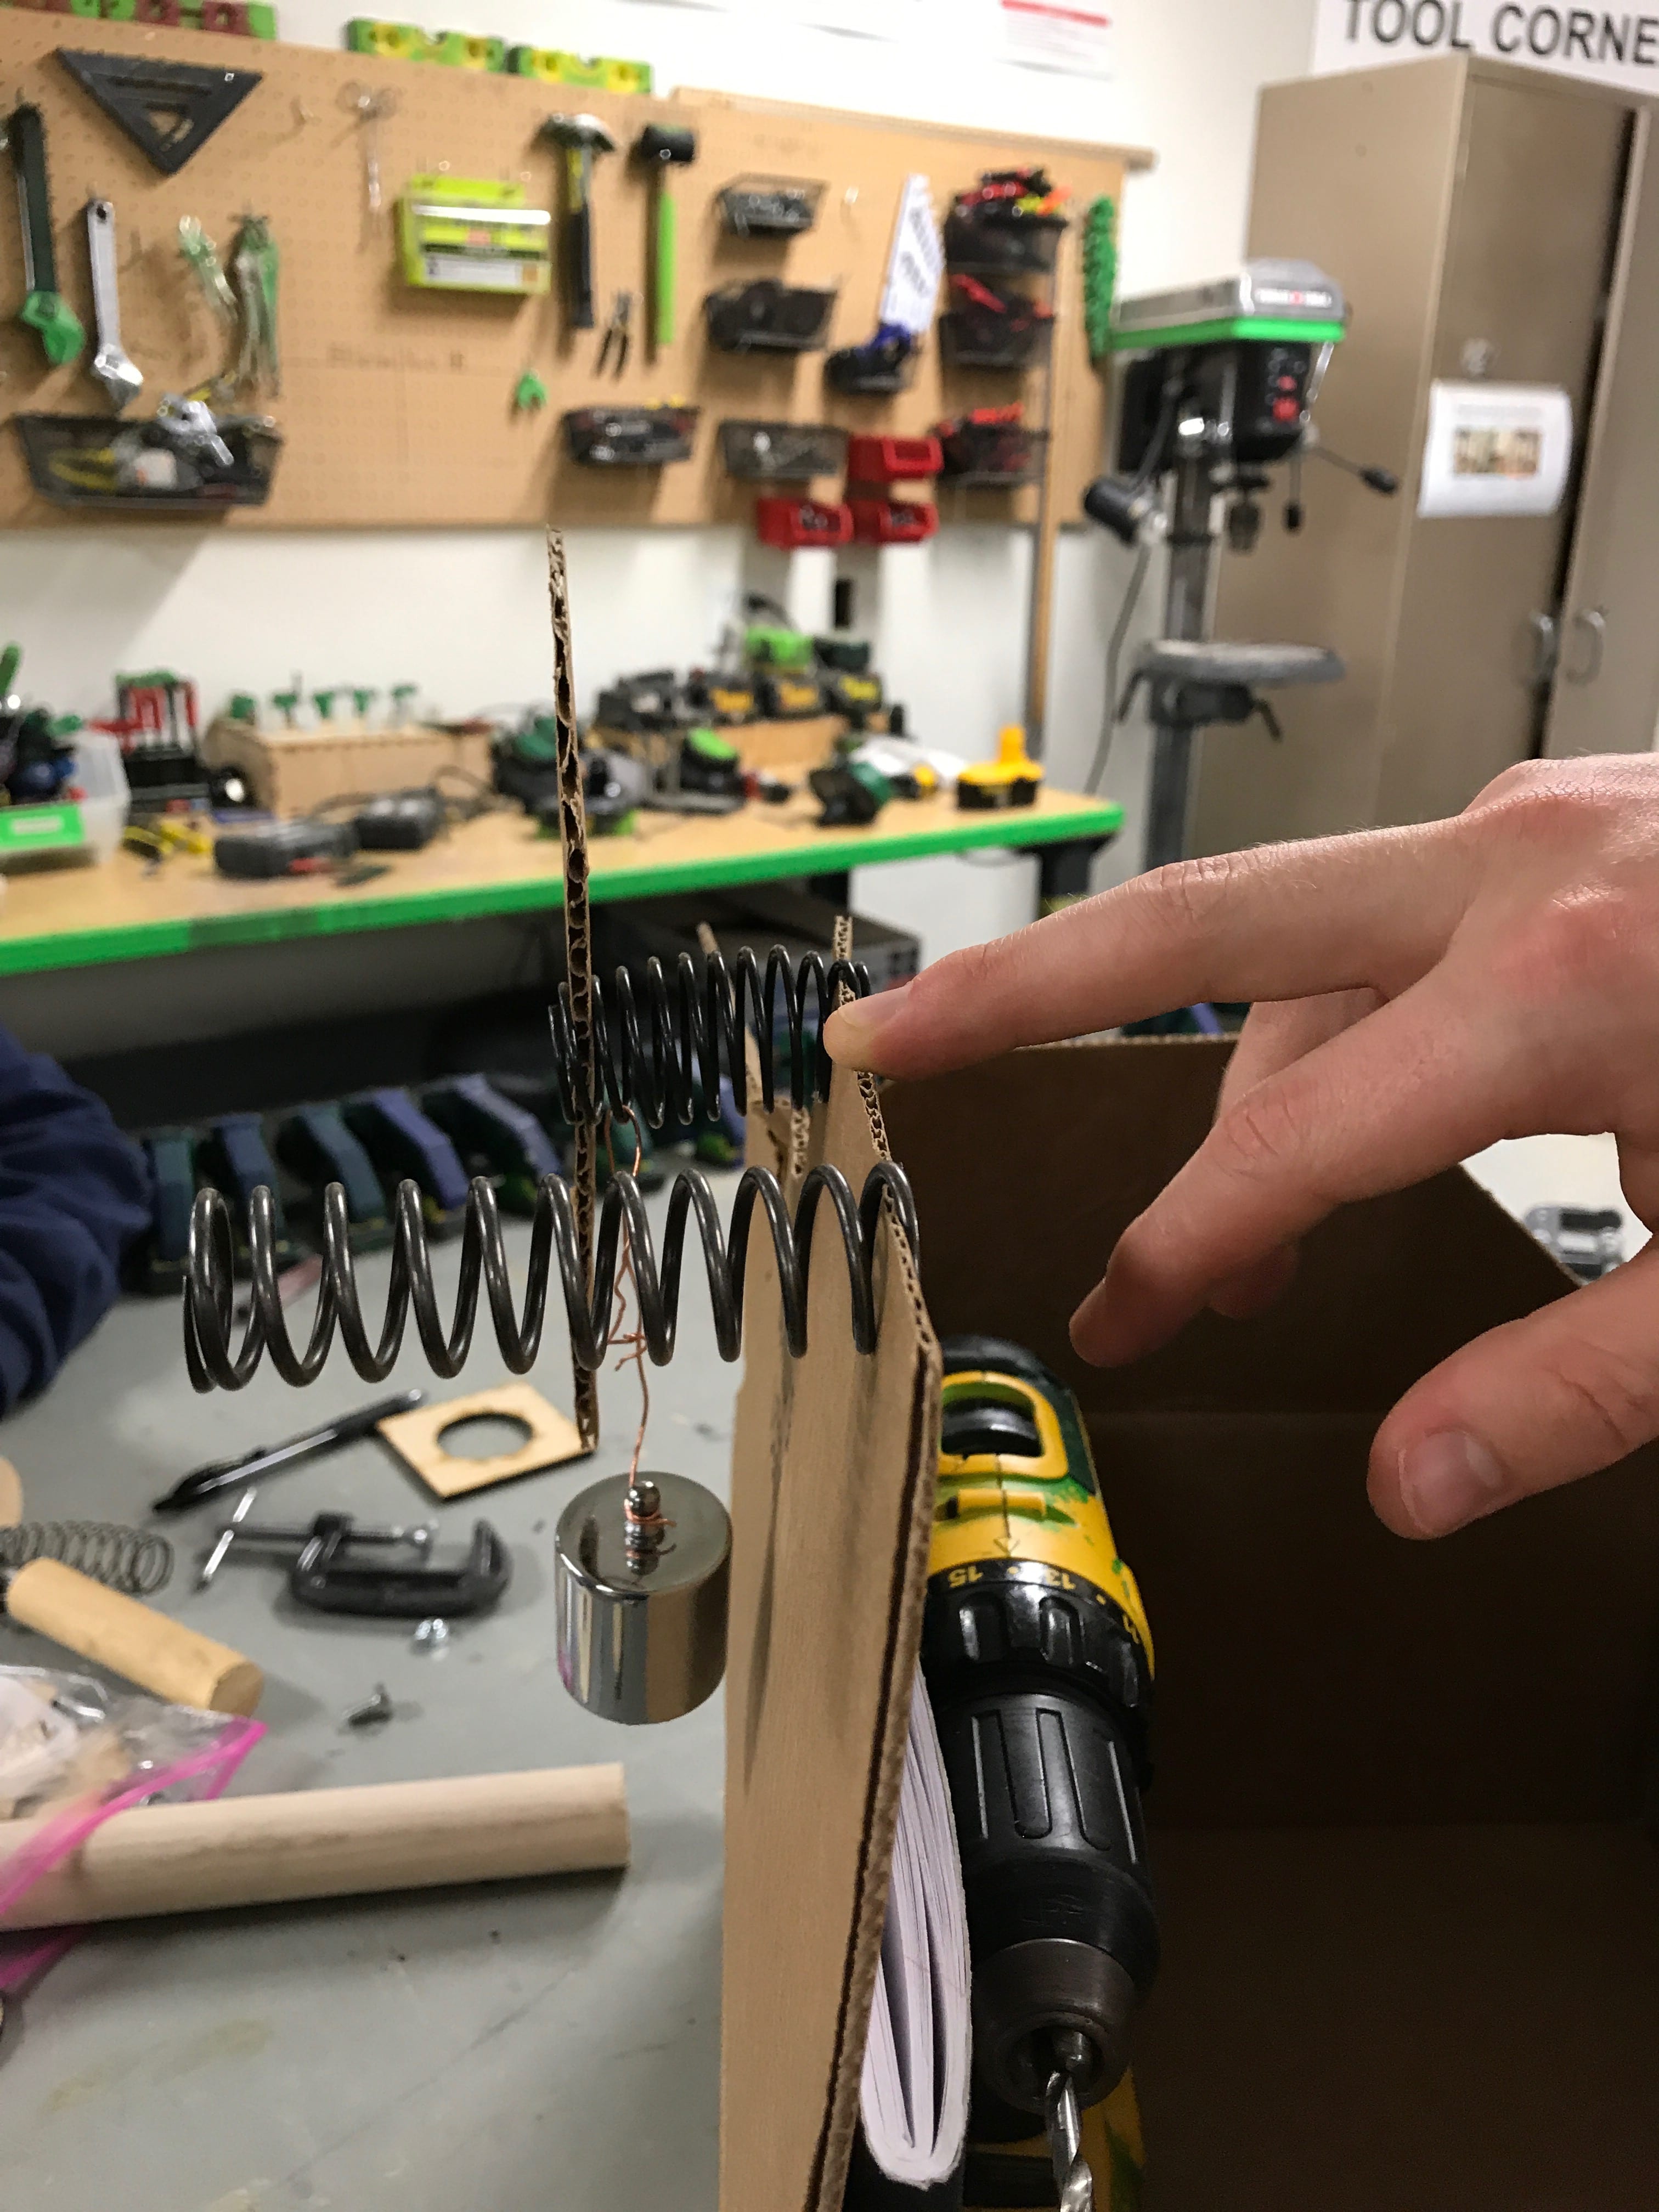
Spring Feasibility Test
The problem is, how do you attach a spring to a piece of wood? We tried securing the spring with strips of metal (spring can unscrew itself). We tried threading wire through the spring to secure it (unstable, too much effort). We even tried hammering a nail through a metal sheet to make a hole to poke the spring through (also too much effort, and too much chance of losing a finger while hammering). Eventually, we created a “cup” to hold the spring using a metal cap and a short wooden dowel, with one cup attached to each side of the spring. The plan was to put the spring around the dowel and flood the cup with glue.
-
- Aesthetic
-
- Even more aesthetic
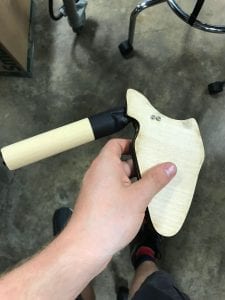
One joint down, another to go. We still had to create a solid, more sturdy joint for the scapula-arm attachment for the normal shoulder, that did not use an elastic connection. Grant came up with the idea of swivel clasps, spinning hooks found in lanyards. If we attached the arm to the clasp using an eyehook, that combination would give us the full freedom of motion needed.
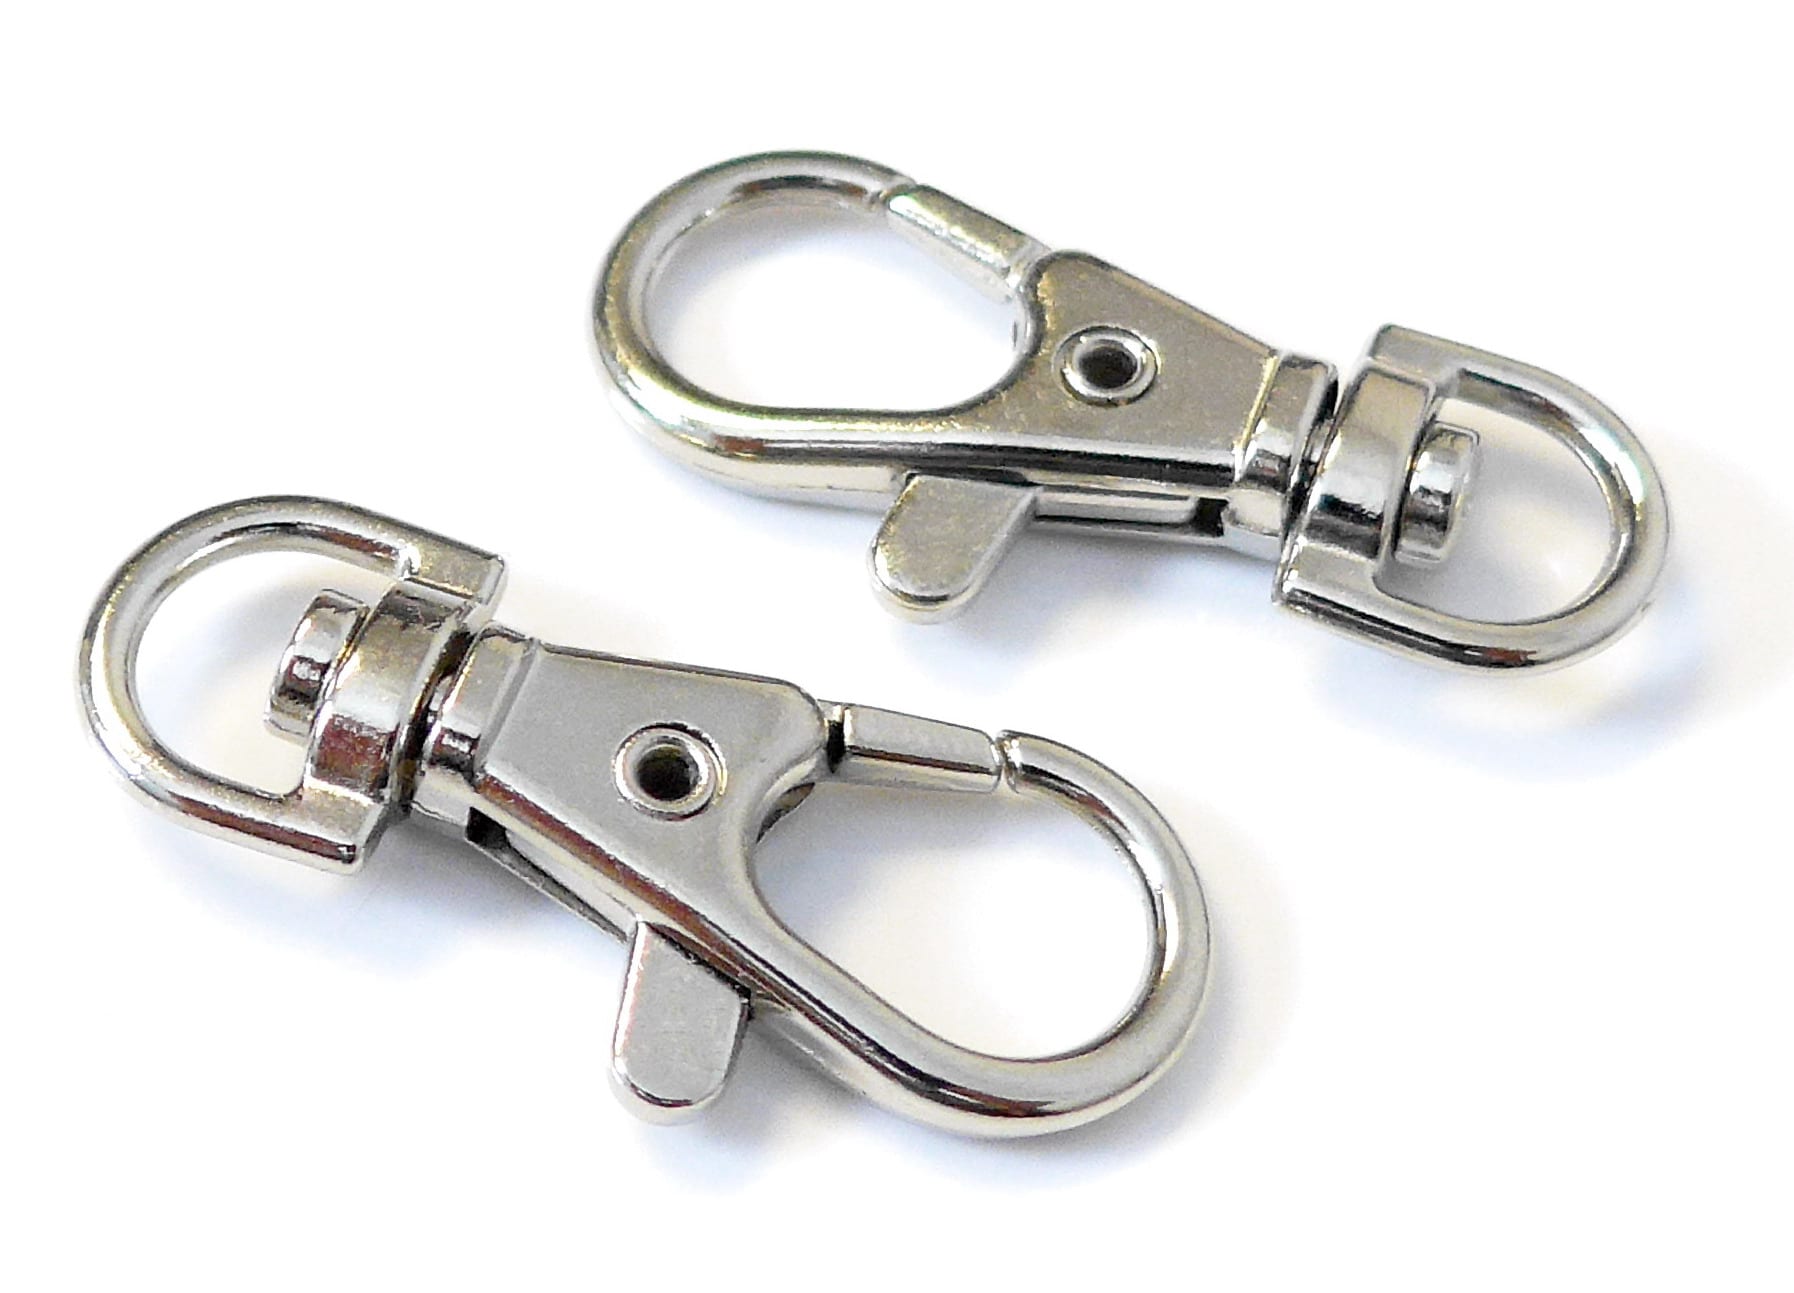
Swivel clasp
Now it was time to put our ideas to the test! By Tuesday afternoon, we were ready to combine all our mechanisms into a full medium fidelity prototype. The preparation for the operation was intense. We laid out all the tools, parts, and procedures beforehand. Even one misplaced screw, one accidental drop of glue, could mean disaster.
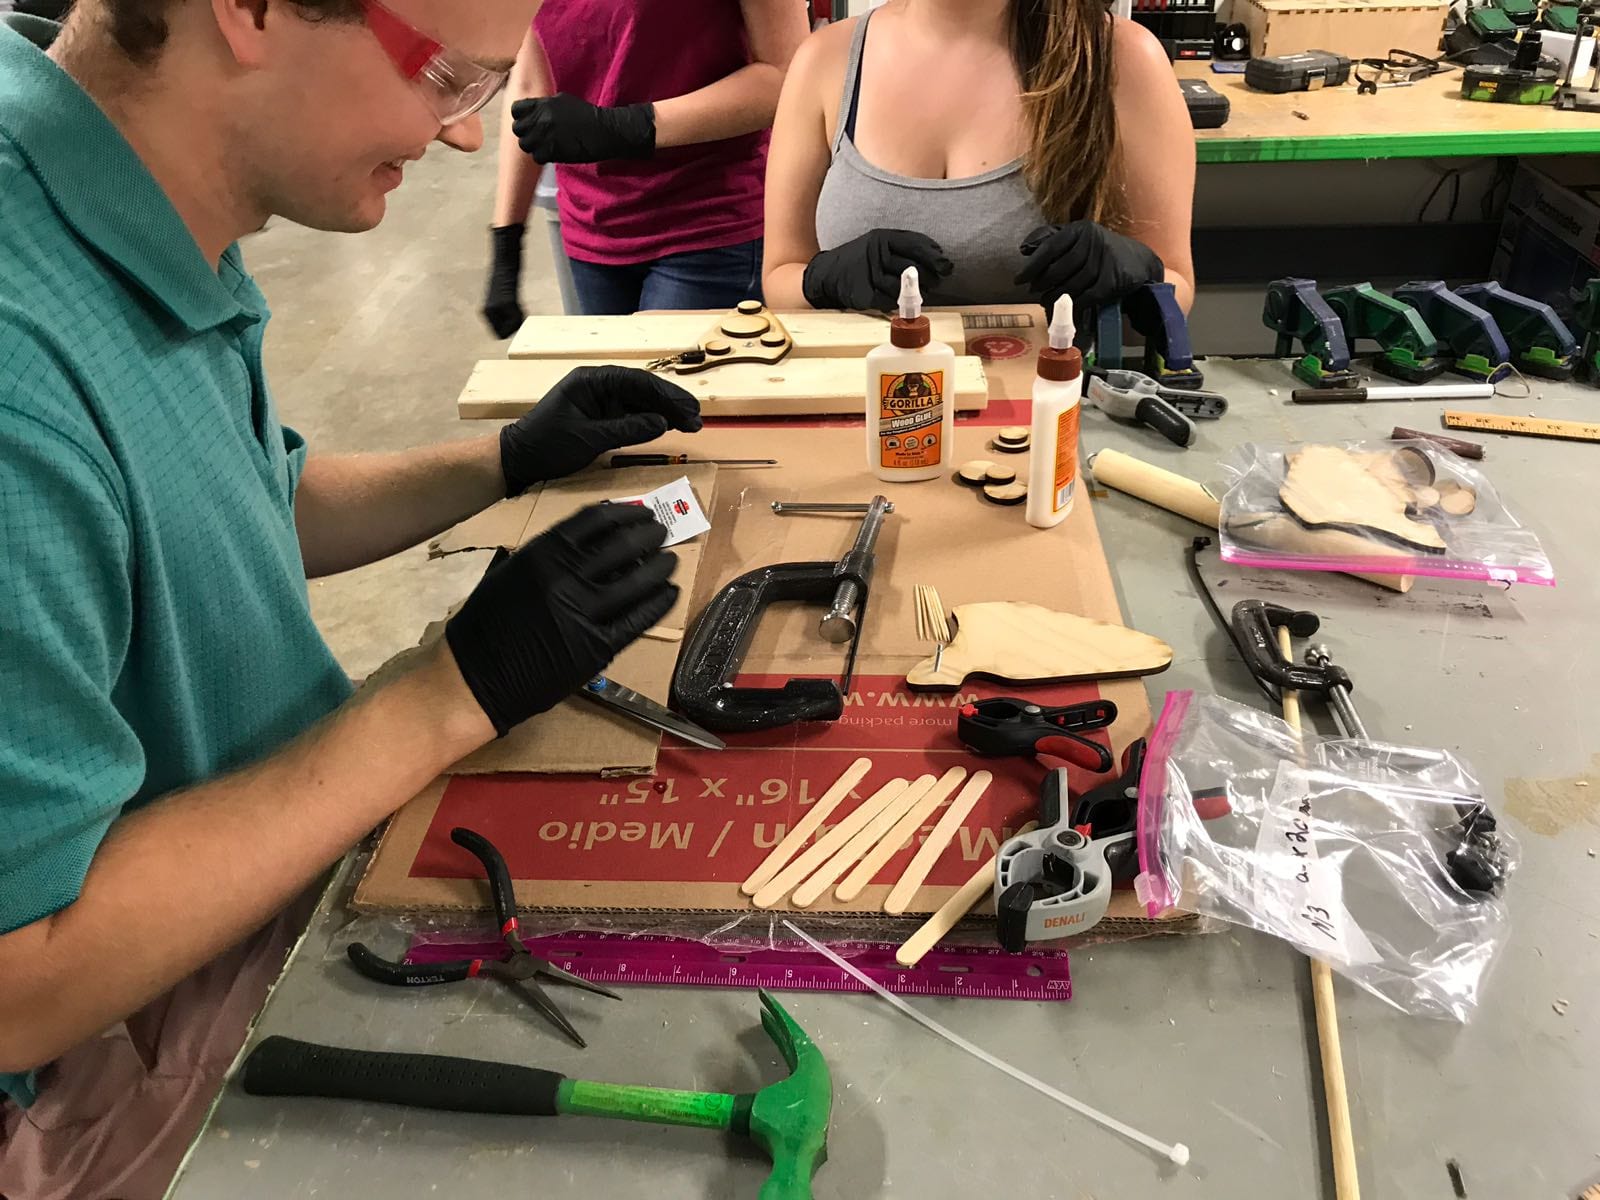
Preparation For Surgery
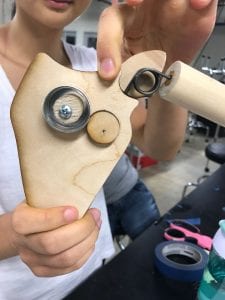
We left our wooden patient strapped and clamped down overnight, to let the wood glue dry. When we returned on Wednesday morning to check on its progress, all of its parts seemed to be in one piece. We soon realized, though, that the model would require some follow-up operations. The scapulas drooped down kinda sadly and couldn’t hold the weight of the arm. The slipdisk in the trunk was loose and didn’t always rotate properly. The normal joint looked disturbing and should be covered up.
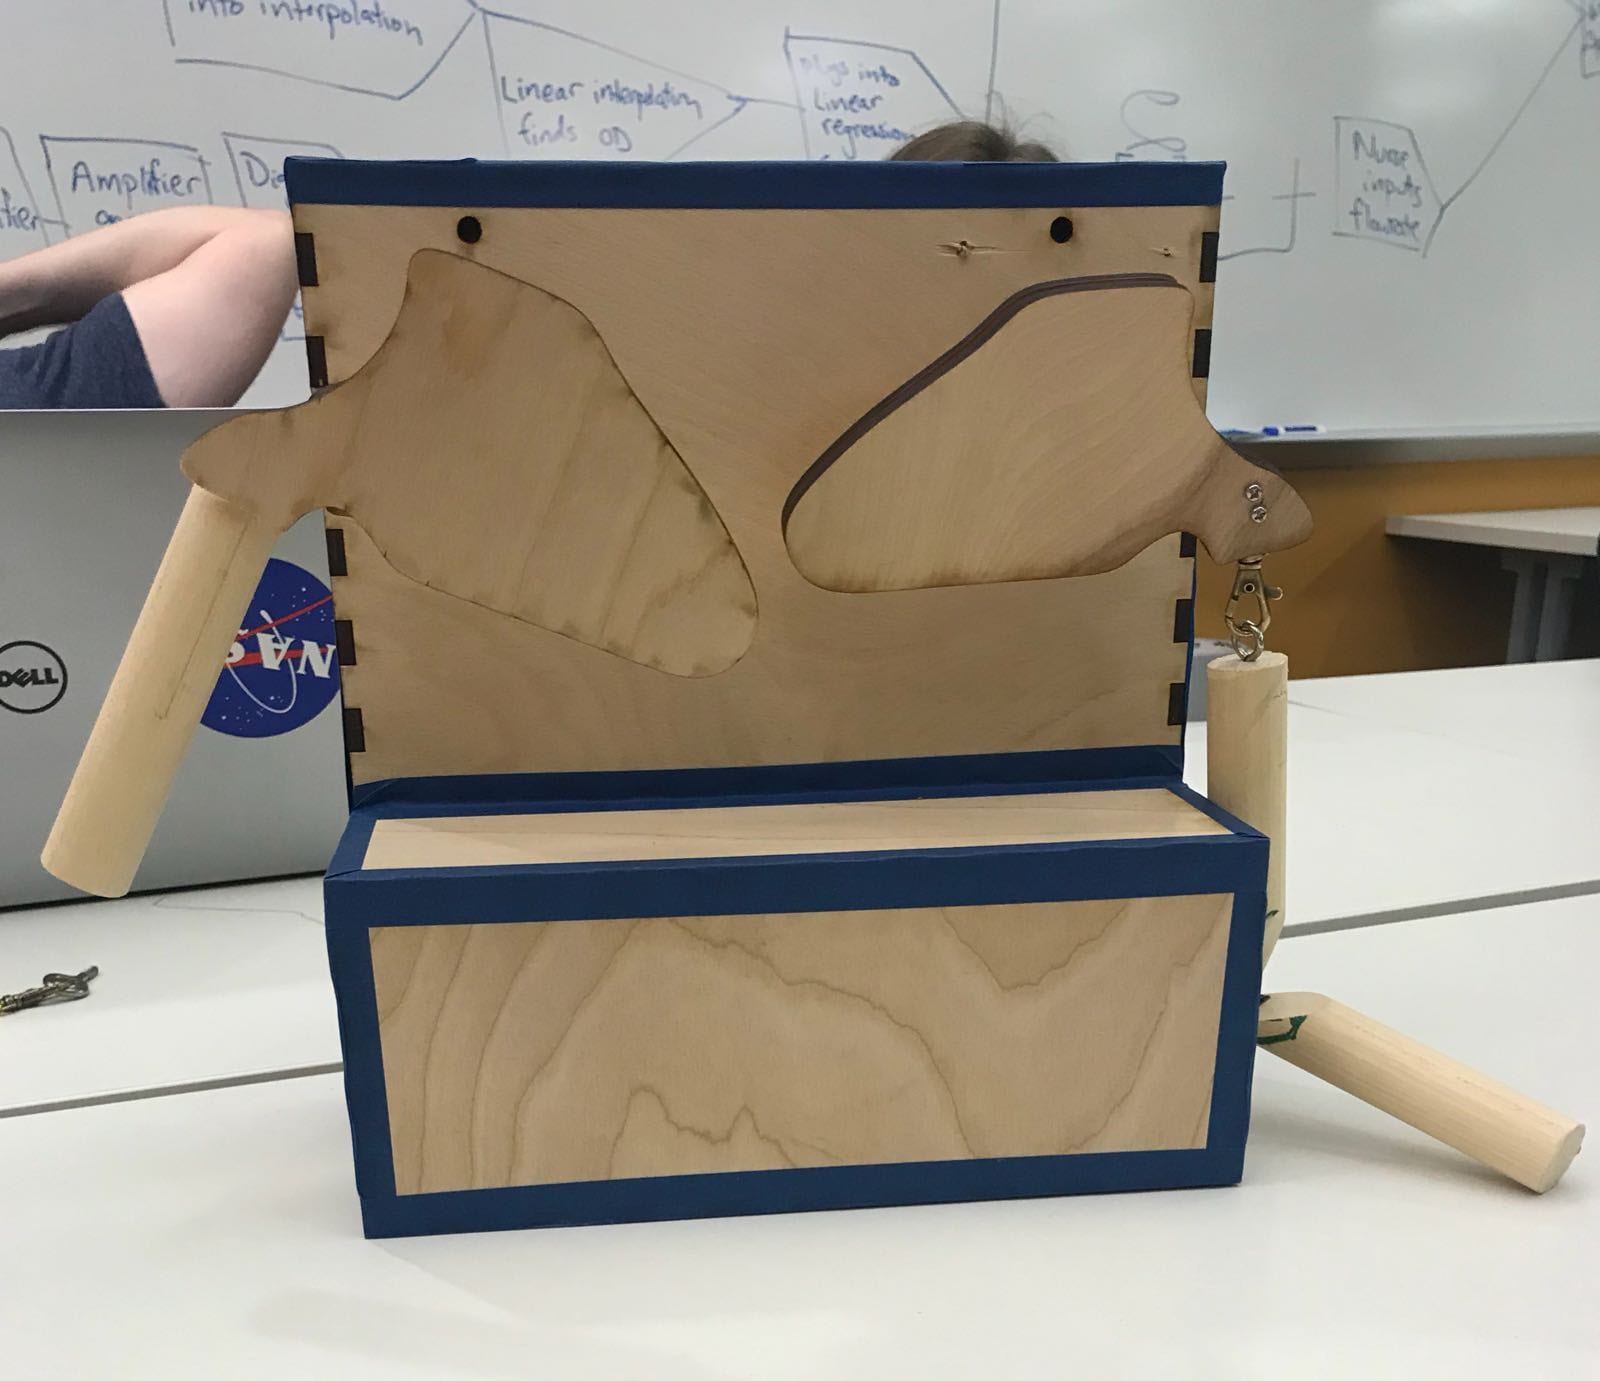
Completed Medium Fidelity Prototype
Those were just some of the things we needed to address for our final prototype. The rest of the week was dedicated entirely to troubleshooting and optimization. Everything we did and tried would be too boring to list and would bring back too many frustrating flashbacks. So, here’s a friendly list of some final touch-ups we made to fix our model:
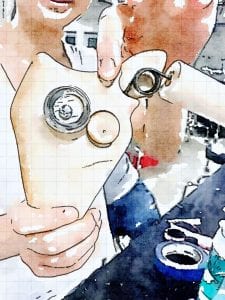
- Switching to smaller eyehooks to reduce the disturbing clanking of the normal joint (even a small eyehook can hold 20+ lbs!!)
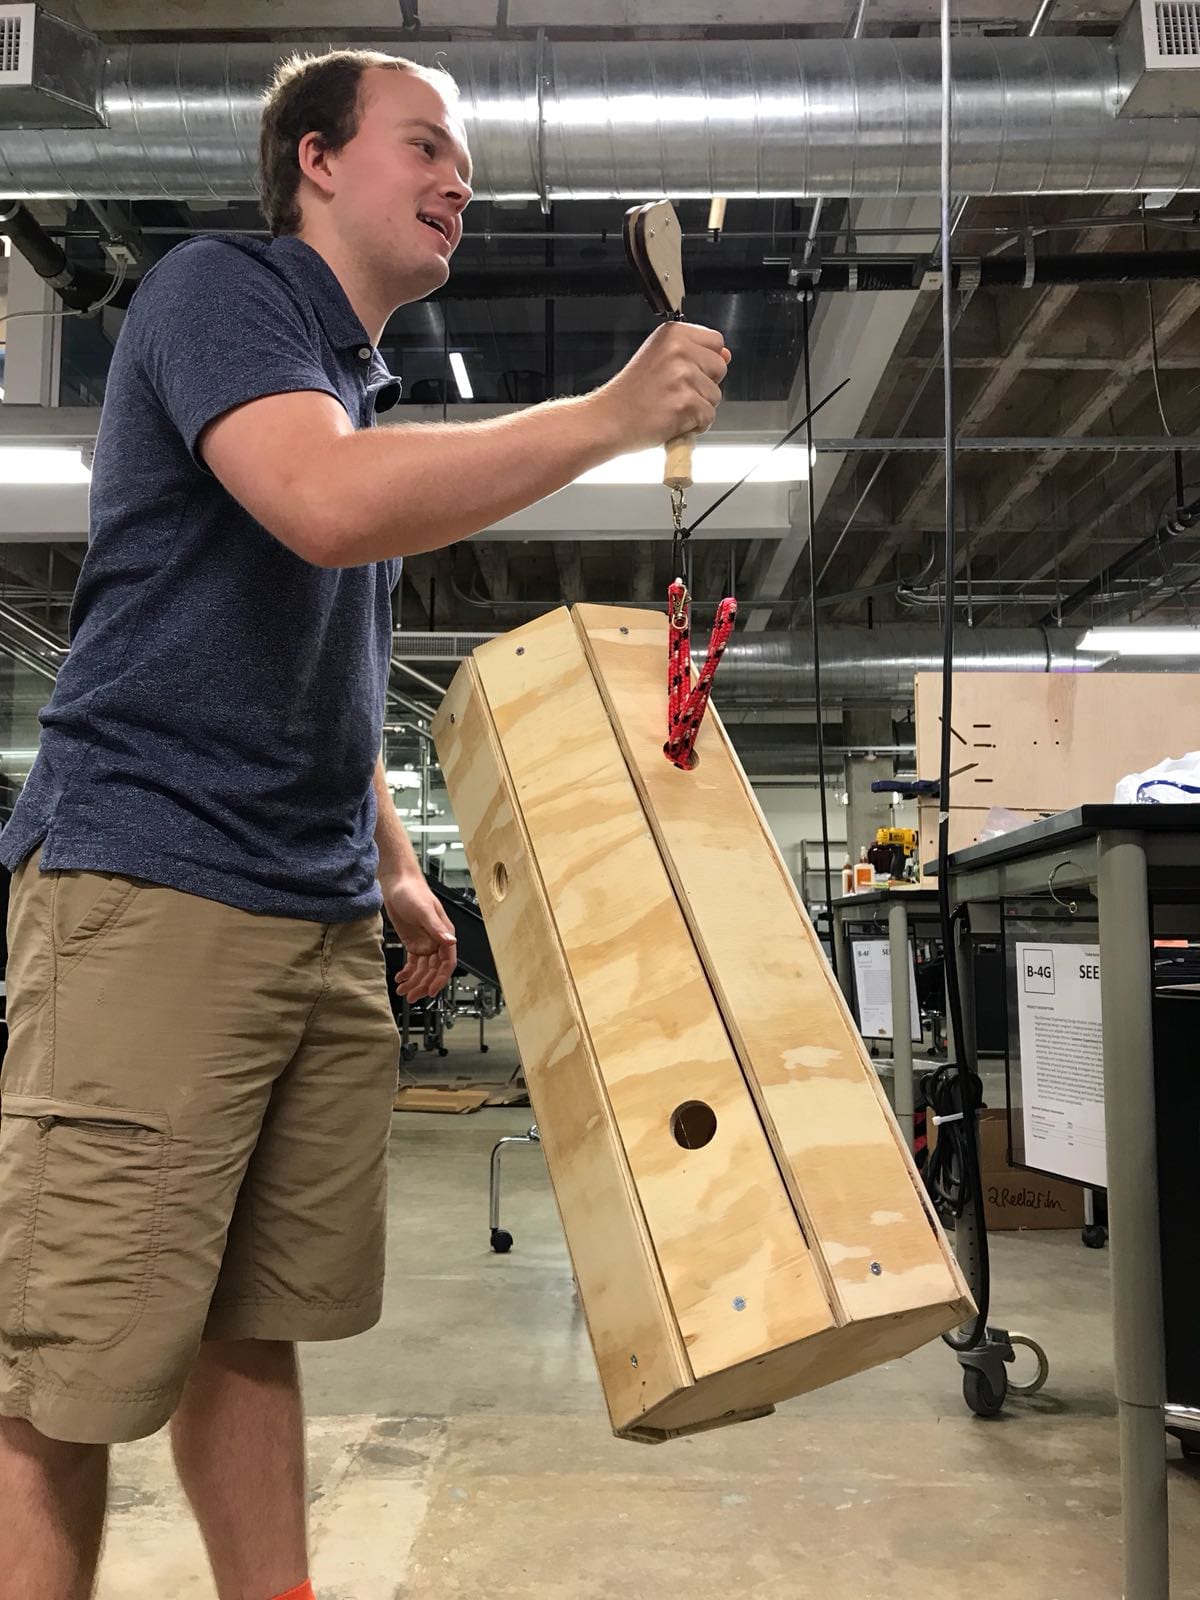
Weight Test with Small Eyehook
- Adding an internal border to our scapula sandwich, instead of circular supports. This will seal the scapula and will prevent dust from accumulating inside.
- Switching to a sturdier spring for the STJ, to minimize scapula wobbling and drooping
- Added a tube around the GHJ to cover up the scapula-arm joint
- Tried putting washers inside the scapula to balance it while hanging (questionable success, testing still underway)
-
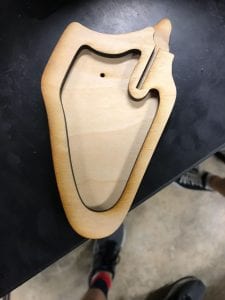
- Supportive Border around Scapula
-
- Scapula Balancing
By Friday, we had a collection of improved and refined mechanisms. We have a bit more refining to do, especially with the slipdisk tightening mechanism. I’m confident that my team will be able to finalize all our designs next week and begin our next and final constructive surgery.
Besides tinkering around with mechanisms, we also got to play around with stains and sprays this week! I learned to raster and engrave wood for the first time with the laser cutter, and had lots of fun with that. We tested various different wood stains to see which stain we want to use for which parts of our model (scapula, trunk, arm). I’ve got to say – staining and waterproofing wood is one of the most satisfying activities there is. Seeing the smooth finish at the end is an awesome feeling.

Stains and Sprays
These weeks have been going by faster and faster, and I can’t believe I’ve almost reached the end. I’m not thinking about that too much though, because we’ve still got a lot of work to do! Next week is the grand reveal of the new, improved, and final shoulder model. After all the changes and difficulties my team went through to get there, this model is going be sleek. Just trust me. Until next time.