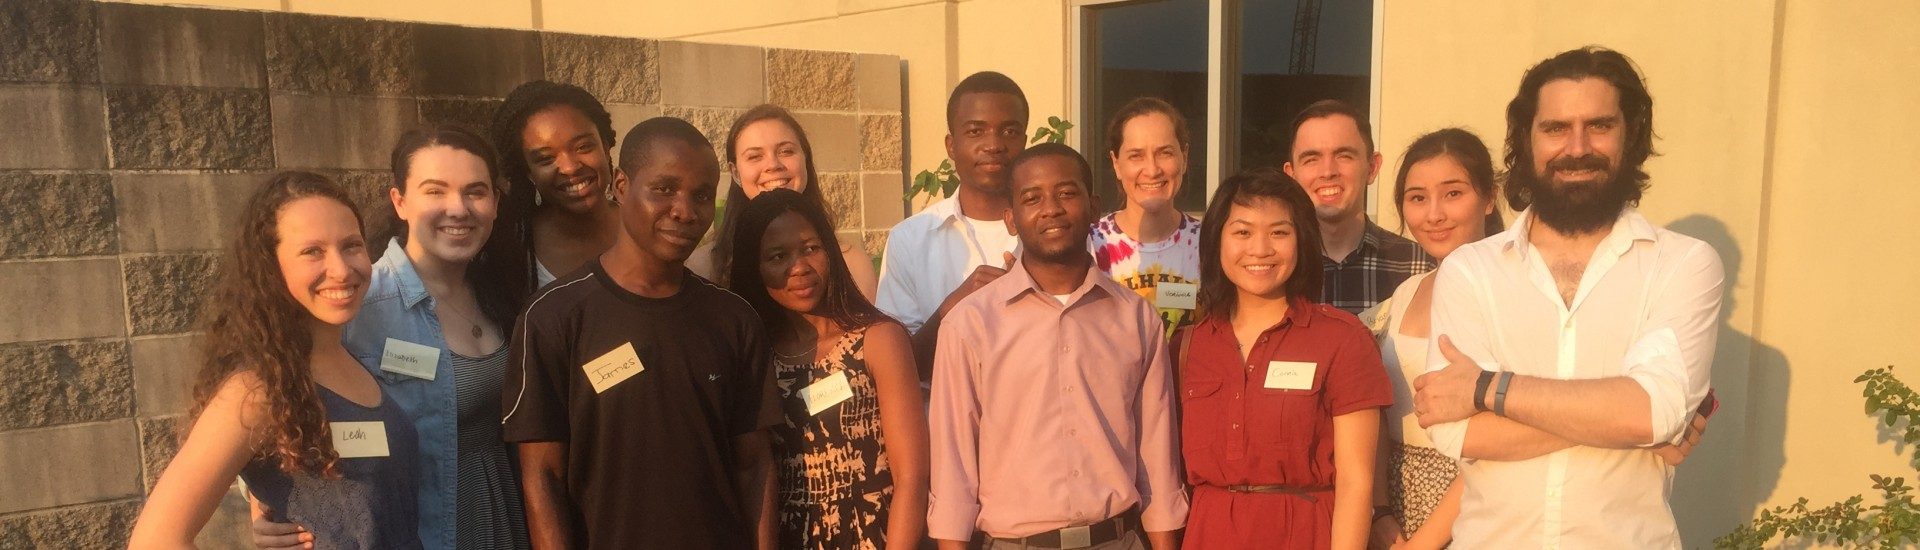
It’s Week 6 of SEED and apparently the OEDK is my home.
Most of our efforts in the first part of this week were focused on the scapulothoracic joint (STJ) which connects the scapula of the model to the trunk. In our meeting with our client, James enjoyed the functionality of our model but wanted us to upgrade the durability of our materials as we moved to higher fidelity. No flexible rubber pipe for the STJ, or elastic as the sole connection point on the shoulder joint. Sounds good, so we’ll switch the pipe out for a spring. Easy!
….Well, not so easy. On Friday we started figuring out what kind of spring could have the strength to hold up the scapula and attached humerus, but retain the flexibility to move with a pull on the contracted shoulder and bend in all the directions necessary. We made proxies by testing some springs from around the OEDK with a 200 g weight, our approximated weight it would need to hold up at a baseline.
-
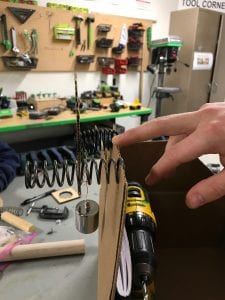
- A good candidate for STJ spring.
-
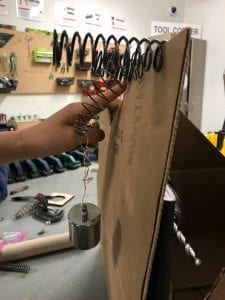
- …And not such a good candidate.
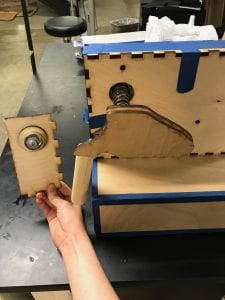
While we were at it, we experimented with a spring for the glenohumeral joint (GHJ) at the shoulder. That did NOT work, producing a creepily wobbly connection between the dowels we connected. It looked like a disjointed alien limb out to get you. To only slightly better effect, we experimented with ways of attaching a spring to a flat plywood slip disk. The threaded copper wire we had employed for our rubber pipe wouldn’t cut it anymore. We tried running the spring through a thin sheet of metal (puncturing 1/32th inch steel was a no go), and then cut strips of metal to cross through the spring and lock it in place. Still not enough security there. We developed another system using the metal cups that came with one spring set, screwing a short length of dowel and the cup into the plywood layer and then filling the gap between dowel and metal with epoxy and sandwiching in the spring.
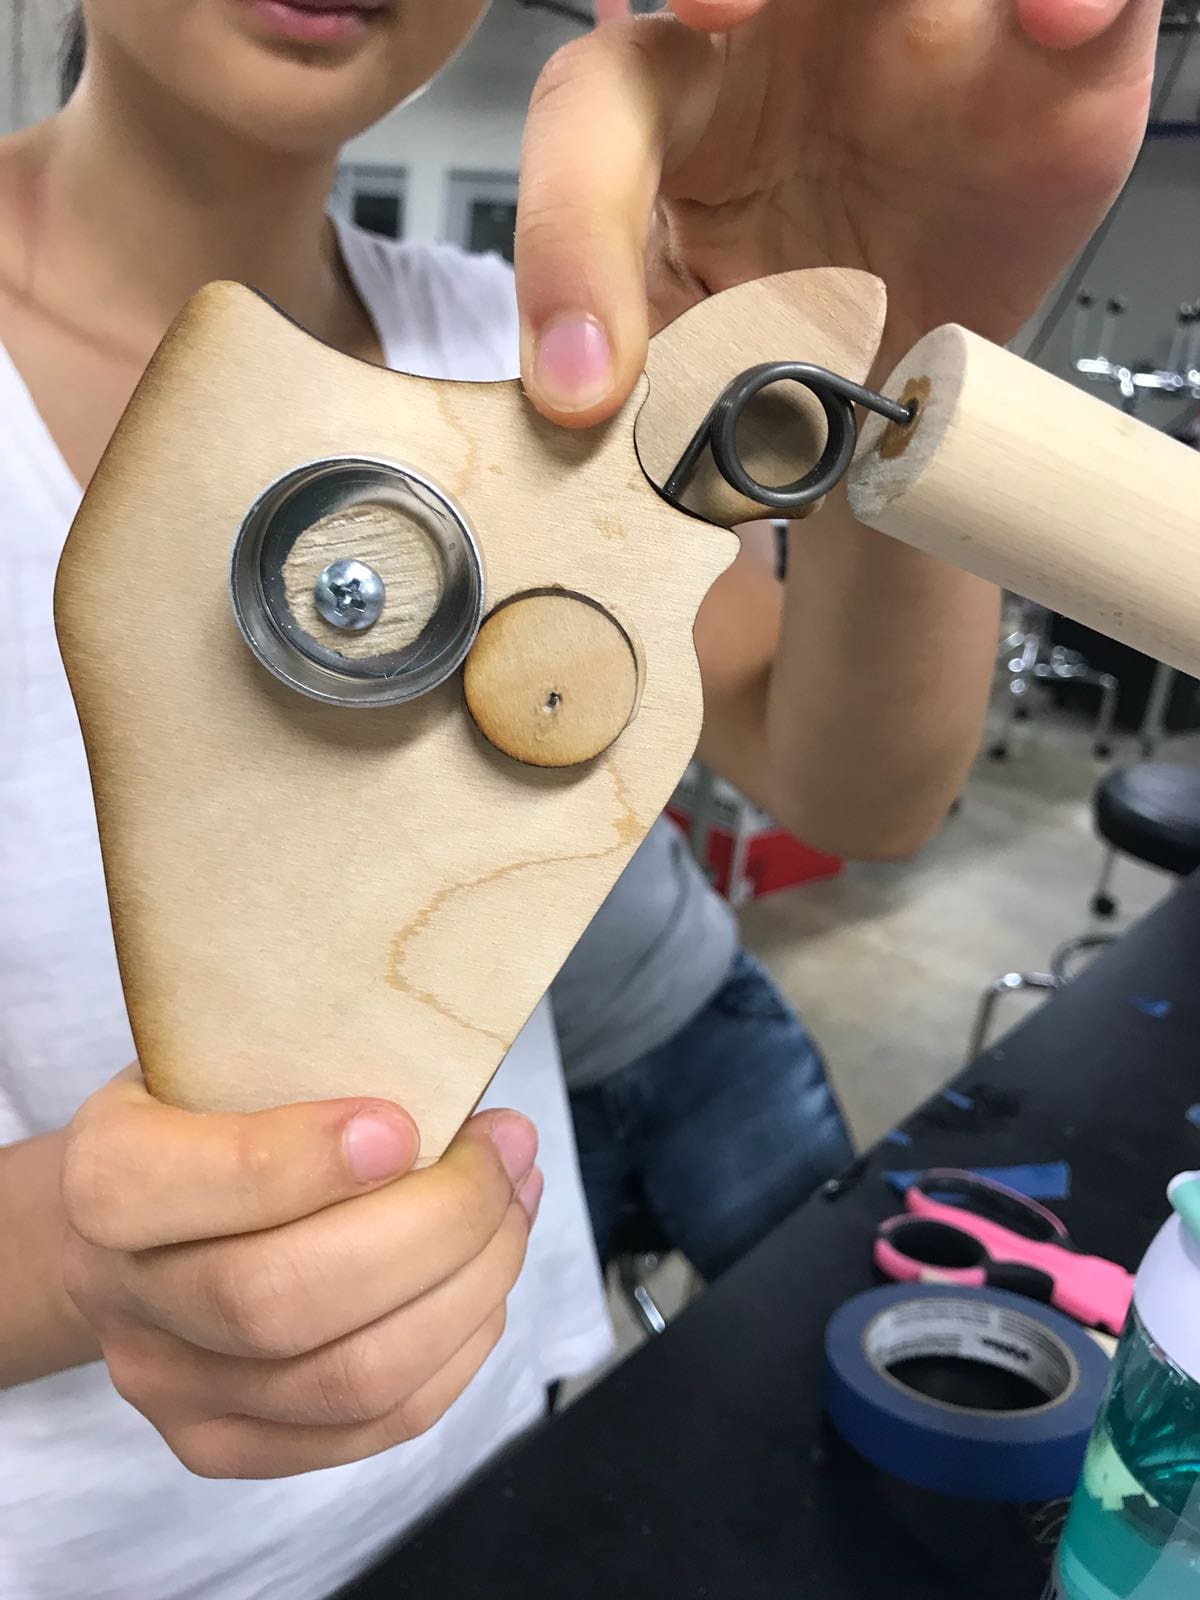
Our very aesthetic spring mount setup. Once we finally figured it out.
Monday was an exercise in troubleshooting. We started the day with a spring we thought could work and an idea of how to attach it. Now we just had to implement it. Right. The day was a series of fails: we drilled too large a hole in the dowel piece, so the threads stripped out. Oh wait, we had it back in, but we forgot the trunk side that has to sandwich over the spring. Why is the slip disk not turning? How is it not centered? Well even if this were holding together, the shorter spring looks like it’s drooping from the weight of the scapula… maybe that one won’t work. And so on. It was a *ahem* heavy research and development phase. Overall, after Friday, Monday, and some time put in on other days, I’m estimating we have spent a solid 60 man(and woman)-hours on getting these spring attachments to work. The upside is that this design makes the pieces of the model more modular during assembly, because we can assemble the scapula and trunk sides separately. The only part where the spring comes in is near the end of the process with epoxy, specifically JB Weld in the final version, to secure it into the mount.
One bright bit of Monday: I found a sparkly new sanding disc for the belt sander, and learned how to switch those out.
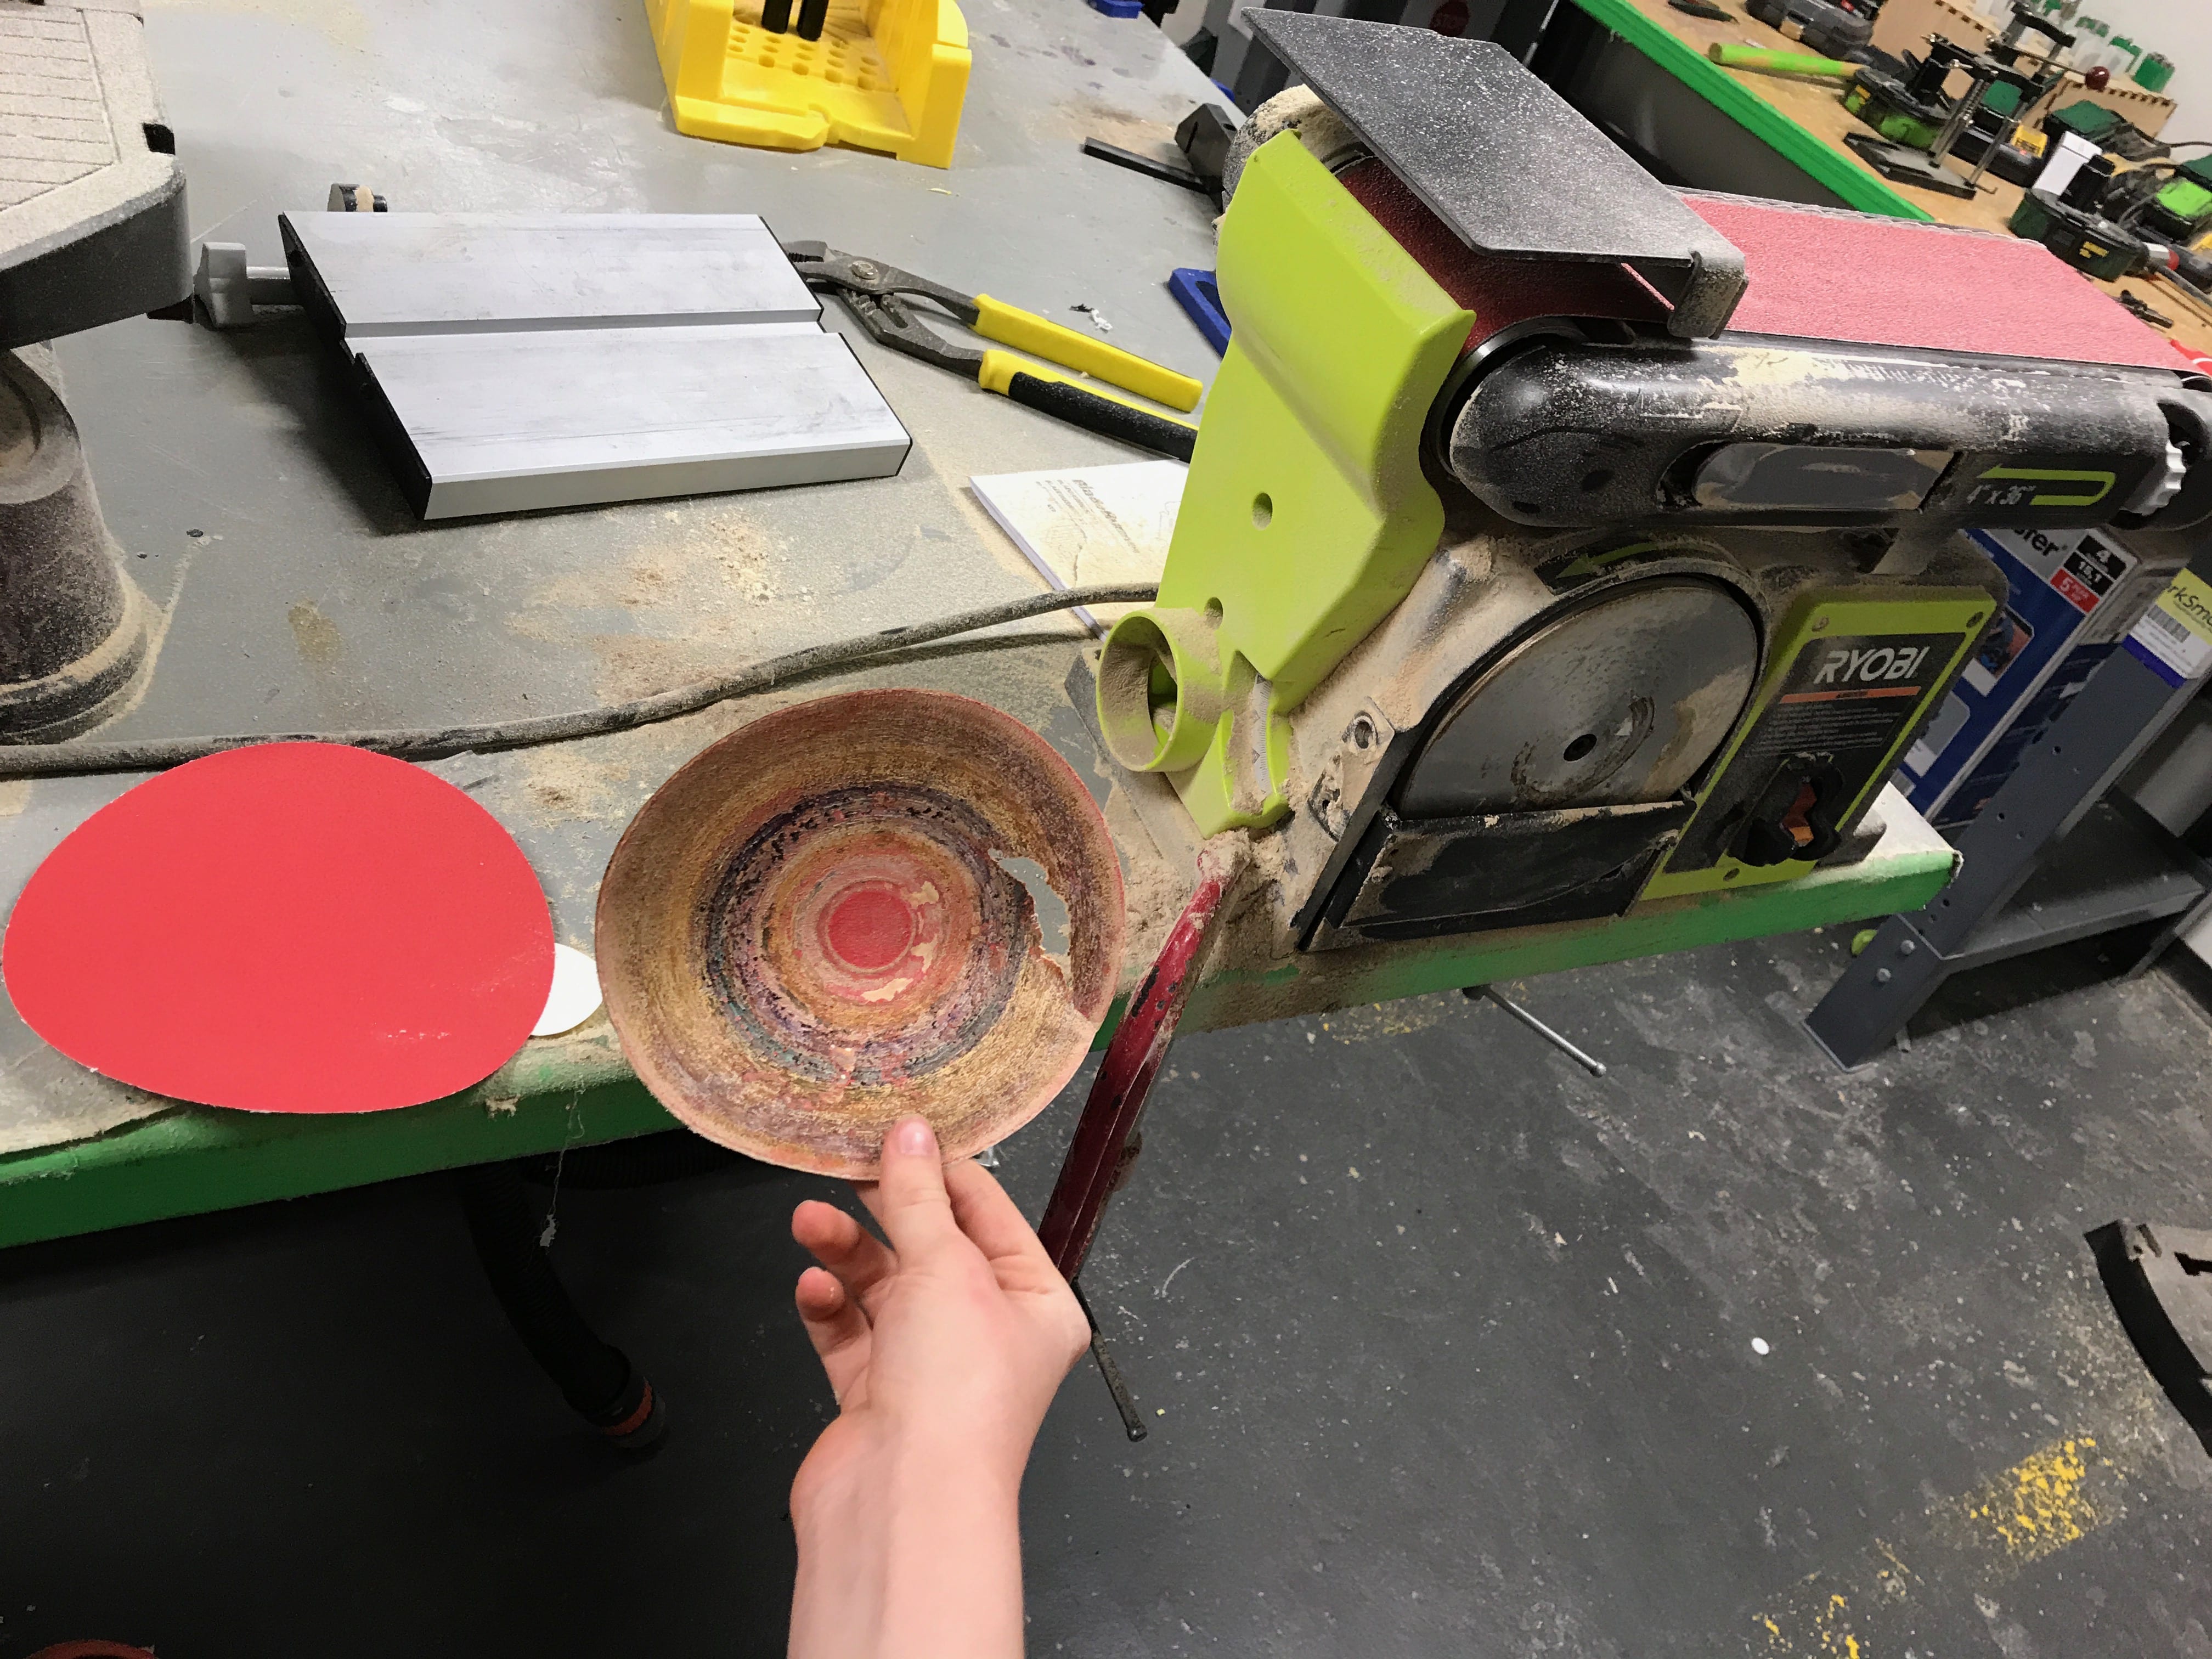
Learned how to replace the disk on the belt sander. Small wins.
On Tuesday we figured out how to mount the normal shoulder joint using the swivel clasp we had ordered. Basically, we found that a lanyard hook would give us the rotation and ability to clip it onto the eye hook that we screwed into the humerus dowel. Thinking outside the box! This way we can keep the full range of motion we had with the elastic knot connection, but avoid the durability liability of using elastic material that could wear out easily over time.
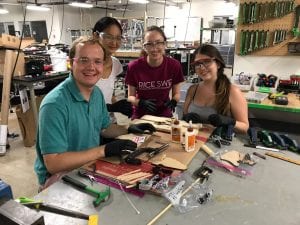
With this mechanism created, we were able to implement a full combined medium fidelity prototype Tuesday afternoon. We’ve been moving away from screws as we get into higher fidelity, because we want our final to have no sharp protruding bits (a weakness of our previous prototypes). We used 5-minute epoxy for many of the pieces, so our assembly was a very time-senstitive undertaking. We set up all of our materials, popsicle stick spreading utensils at the ready, and gloved up. It was a full on operation here on our baby model. Constructive surgery, not reconstructive- putting a full prototype together for the first time!
-
- Preparing for the operation.
-
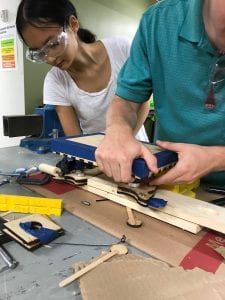
- Constructive surgery in progress.
-
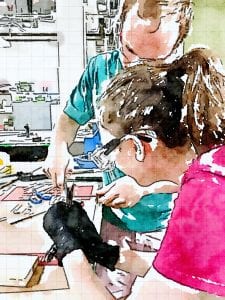
- Action shot (watercolor simulation apps are fun).
On Wednesday we tested our swivel clasp to make sure it could take weight/force applied to it. We searched at length for a way to weight test it, and finally found that we could hook a handheld luggage scale up to my tapir enrichment log barrel. This was 10 pounds, and the lanyard clasp showed no signs of stress. We later tested it filled with some water jugs and bottles, bringing the weight to 25 lbs. The clasp could hold the weight, but finally snapped off when I shook the thing up and down. So, the piece is not *quite* indestructible, but it is stronger than it looks. We are still searching for a way to effectively cover this joint, because it really does look awkwardly flimsy. Our first tries shrinking some heat-shrink tubing around the joint made it look somehow even worse. We should shift the joint into the scapula as much as we can, but it may still need a cover.
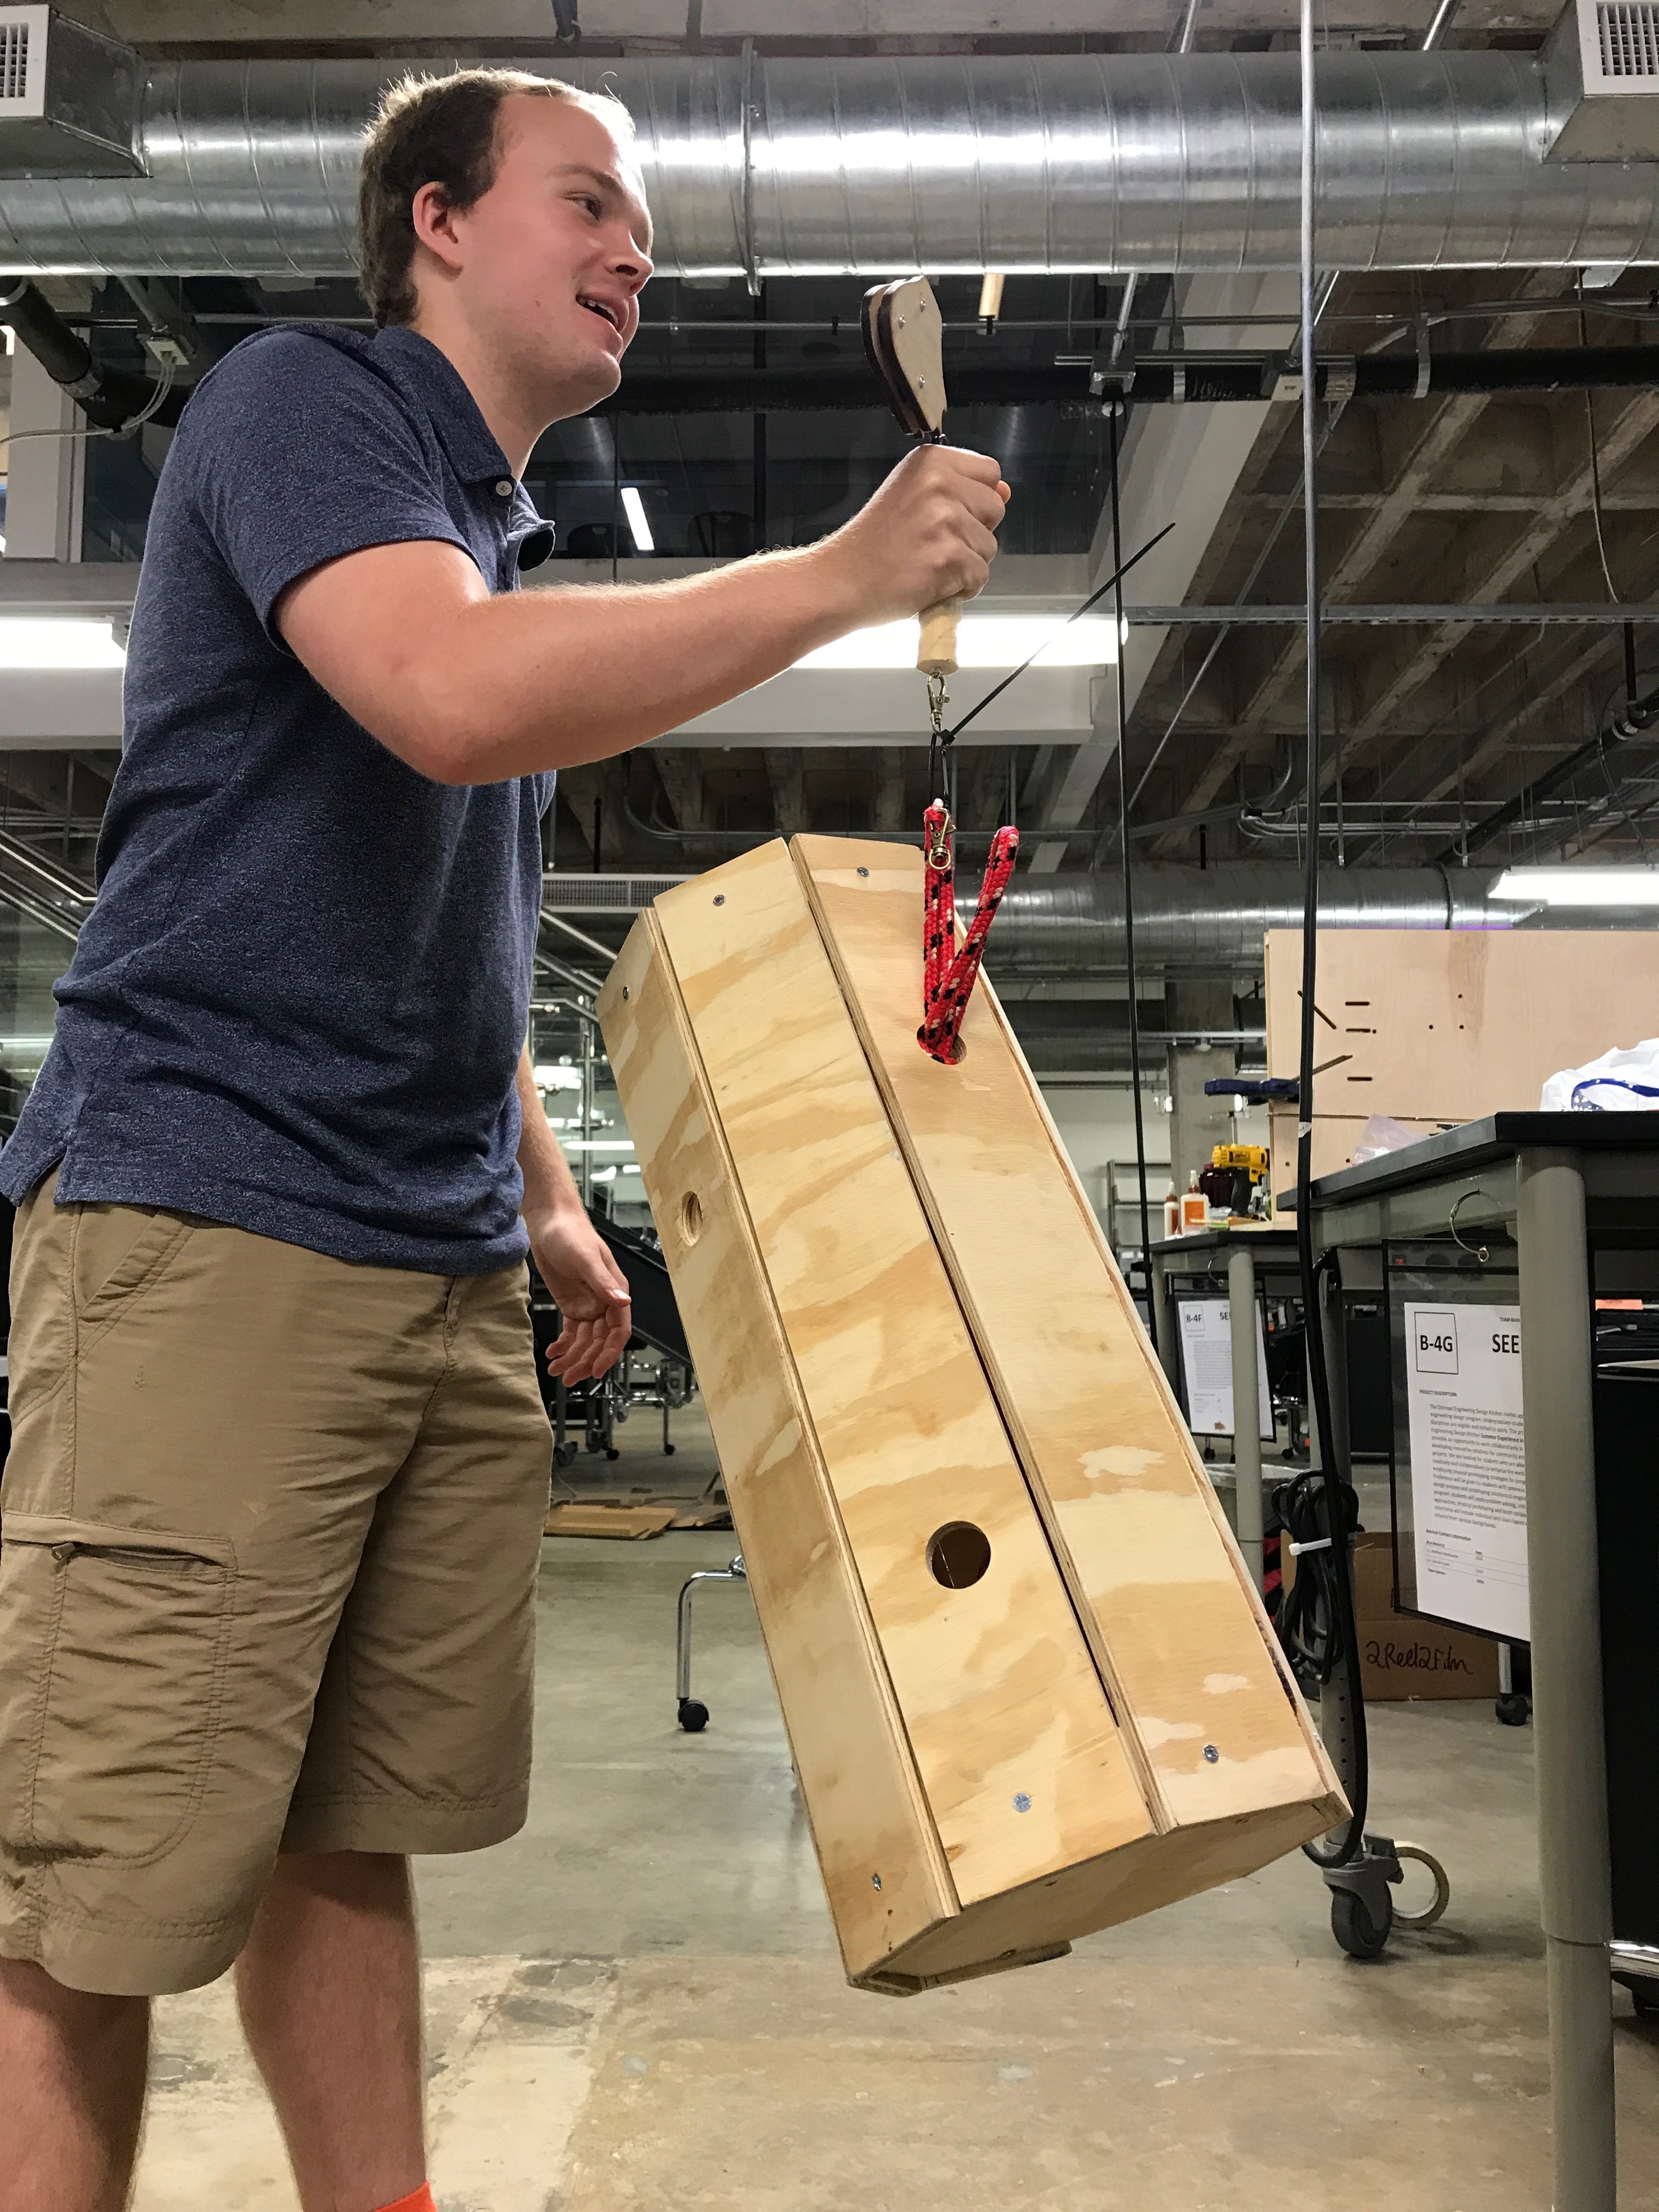
Aha, my tapir enrichment device finds a purpose! A new future in weight testing.
Today we tested out some stain and acrylic gloss coating on our plywood samples. We’re going to put the Rice and Texas Children’s Hospital logos on the back of our trunk, as well as marking the scapulas with an X and check for contracted and normal. We are experimenting with rastering and staining the plywood to see how these come out.
-
- Sad droop of a shoulder, and hopefully its fix.
-
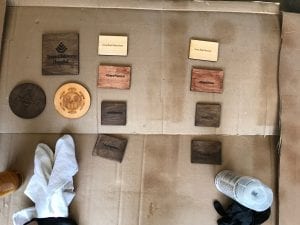
- Fancy test chips for stain and sealants.
Earlier today we were outside behind the OEDK to spray our stained test pieces of plywood with acrylic gloss, our first layer of four to seal them.
“Let’s go home,” I said.
Meaning back into the OEDK from the loading dock. So yes, the OEDK is my home.