This week at SEED has been a whirlwind of prototyping.
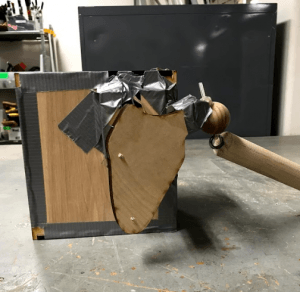
When we returned to the OEDK on Monday, we had nothing but a few laser cut pieces (scapulas, disks, box parts) and random hardware parts strewn across our table. We spent a while fiddling around with possible connection materials to model the shoulder joints. We glued dowel rods to metal disks, and connected the disks using magnetic spheres to mimic a ball and socket joint. The disk magnet broke because the magnetic sphere was too strong. We experimented with pex pipes (pipes used for plumbing) and gooseneck tubes. They were both too stiff and inflexible. Goodbye to those ideas. By Monday afternoon, we figured we had to have a physical prototype to show everyone during Tuesday’s morning meeting. So, in <4 hours and at our professors’ suggestion, my team built a whole medium fidelity prototype of a shoulder using a flexible pipe scapula connection and and wood/elastic ball and socket joint for the glenohumeral joint. It was a mad scramble during the last hour. Our prototype was a 2x scale model of an infant shoulder. Though the prototype was rough and duct-taped around the edges, we were still relieved to have finished.
The next morning, we revealed our duct-taped shoulder during the morning meeting. Afterwards, we had a long conversation with Dr. Wettergreen and Dr. Hunter about the state of the prototype, and our plans moving forward. We realized that we disagreed about the proper range of motions the scapula should perform, especially in the normal shoulder. Our prototype was mainly a proof of concept demonstration for our material choices, and not made to specifically demonstrate normal/contractured shoulder movements. My team spent a large portion of the morning discussing our design plans and objectives moving forward. In the end, we decided to create two separate prototypes of a normal and abnormal shoulder, with an elastic attachment shoulder joint for the normal shoulder, and a fused joint between the scapula and arm for the abnormal shoulder. With difficulty, we scrapped our pugh scoring solutions and the idea of a ball and socket joint entirely, for the sake of time and feasibility. We stuck with a 2x scale, to make our model easier to build and to use/manipulate.
Tuesday afternoon and all of Wednesday was when the serious building happened. We created boxes for trunks. We assembled scapulas. We drilled and screwed and bolted everything together until we finished two medium fidelity prototypes (one of the normal shoulder, the other for the abnormal shoulder). The normal shoulder model even had a bendable arm attached to it! We also put together a combined trunk box with holes included for both shoulders. I spent lots of time editing Illustrator files and guarding the laser cutter. The strange smell of the laser cutting room has grown on me. The program MakeABox, which generates templates for laser-cut boxes of any dimension you want, is amazing.
-
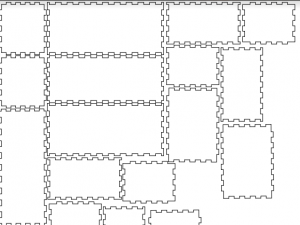
- Our Monstrous Make A Box File
-
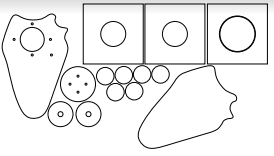
- Scapulas and Disks
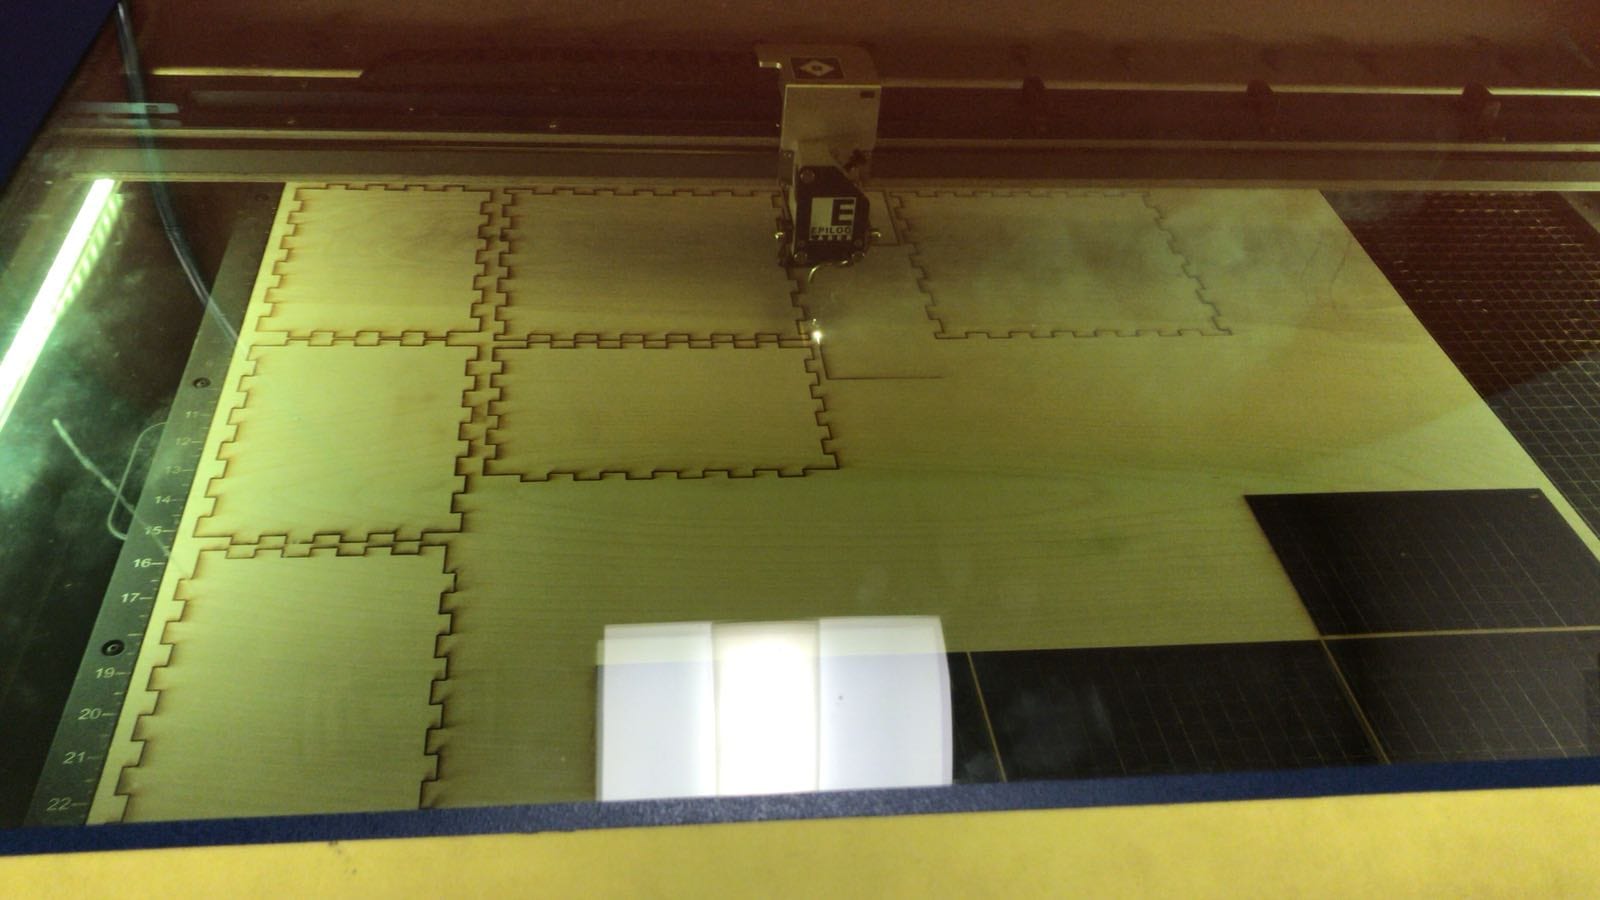
Laser Cutter in Action – Don’t Gaze Too Deeply into the Laser!
The two medium fidelity prototypes look and work much better compared to the first! They’ve certainly come a long way. The stylish blue tape around the edges adds tremendously to the aesthetic.
-
- 1st Medium Fidelity
-
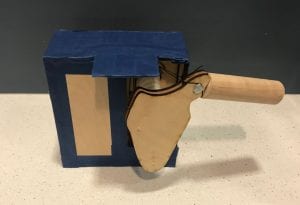
- Prototype of Irregular Shoulder
-
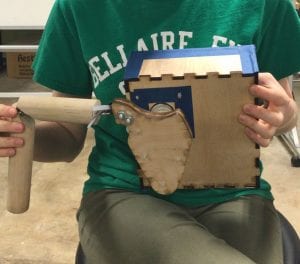
- Prototype of Normal Shoulder
On Thursday, we met with our client, James, to show him our medium fidelity prototypes. Before increasing the fidelity of our prototypes, we wanted to confirm with him that we were on the right track. Did our models satisfy his desired range of motions? How much should the scapula movements be restricted? Is he okay with the general realism of our model, with its box trunk and dowel arms?
We met James after lunch, and talked for nearly 2 hours. To say the least, it was a productive meeting. Overall, James liked our prototypes! He was very happy with the movement of the contracted shoulder, and the range of motion found in the normal shoulder. We learned that scapula movements shouldn’t be restricted by dowels/overhangs, so that he could teach parents how to restrict the scapula themselves, and that he appreciated the scale and appearance of the laser-cut box. Moving forward, we should make the box thinner to allow for more horizontal swinging of the arm, and modify the normal shoulder joint to find a sturdier material than elastic.
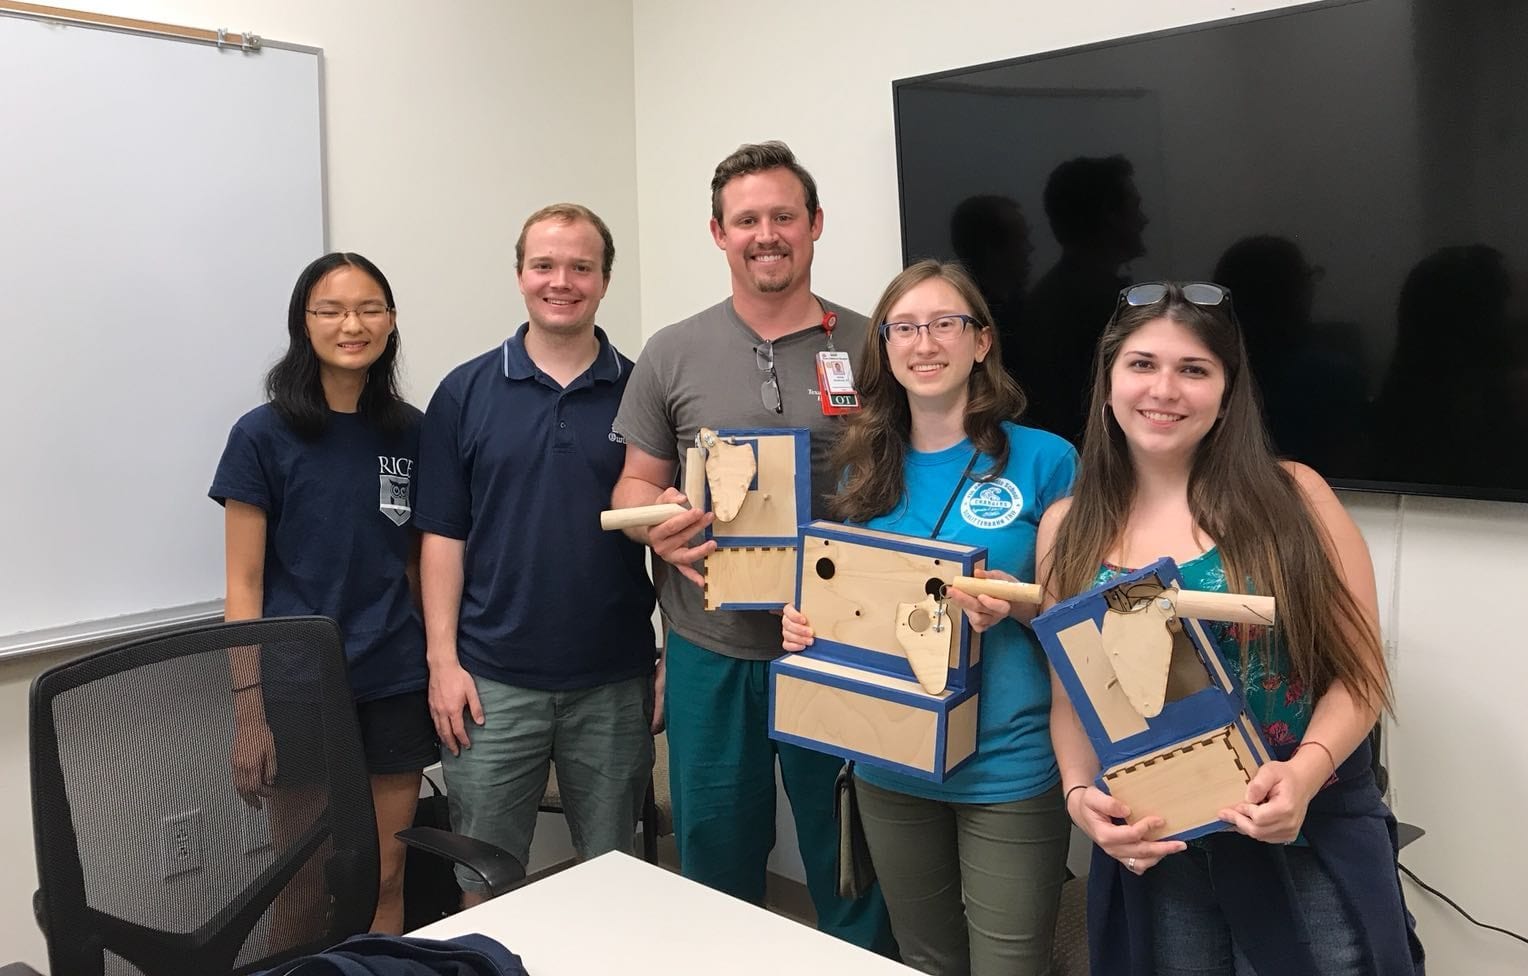
The Team, James, and our 3 half-baby models
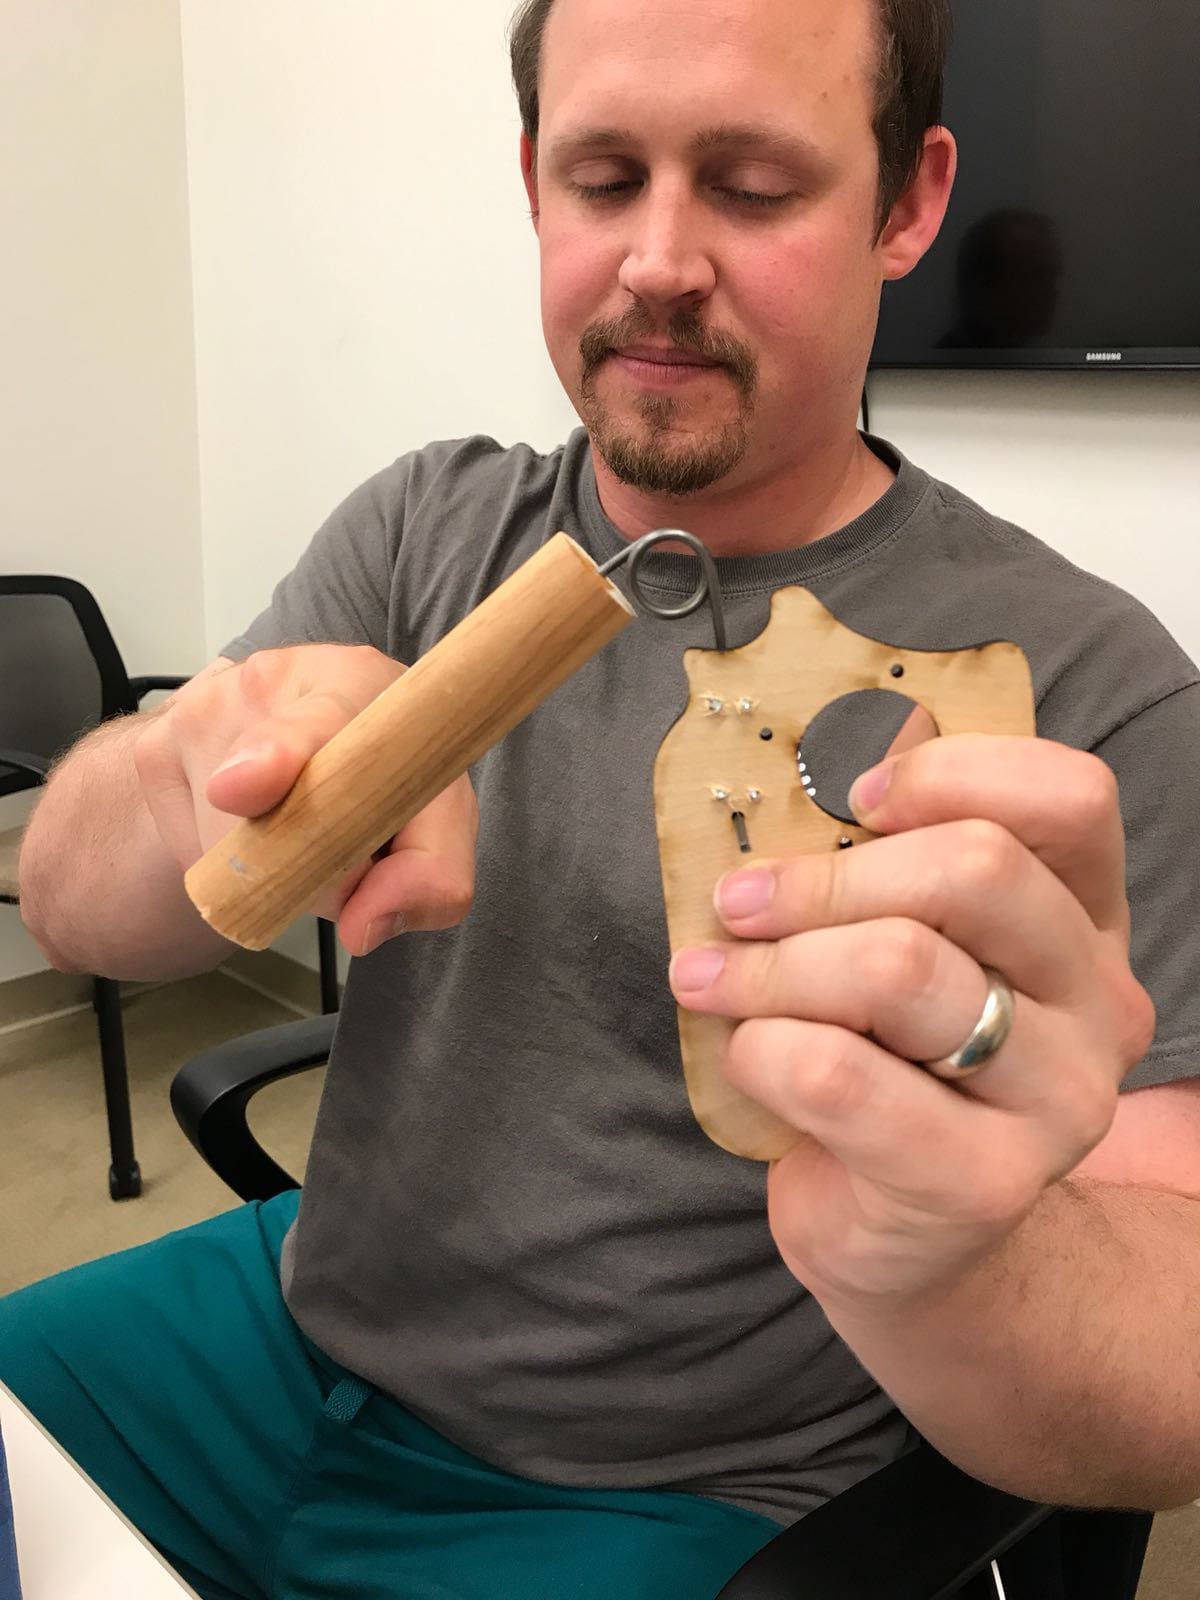
We took all his comments and critiques and made a giant task list of everything we should accomplish for the high fidelity prototype. After that meeting, I’m much for confident with my team’s direction going forward. However, our time limit is a bit worrying. We’re not finalized with all our design choices, and are still testing additional materials, like compression/torsion springs, to replace the flexible pipe scapula attachment (which is a bit wobbly and unstable) and fused shoulder mechanism in the abnormal shoulder. After all the changes we’ve gone through with each prototype, I’m almost expecting to be surprised. Next week will be another intense round of prototyping and testing. Until then!
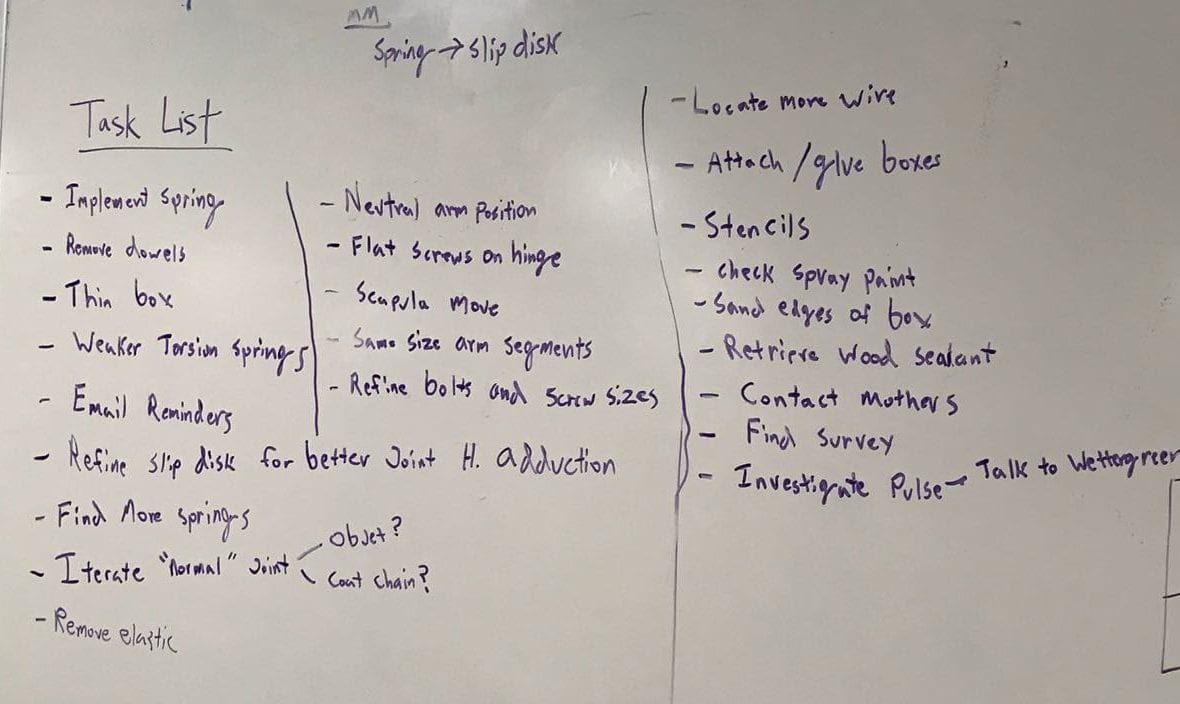
Our Grand To-Do List
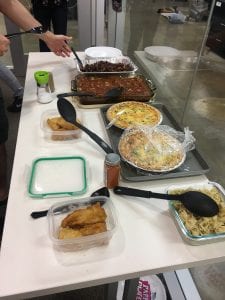
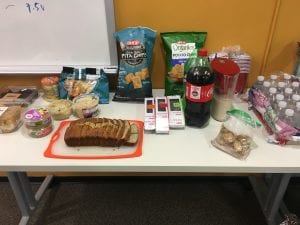
Bonus pictures: Another successful SEED pot-luck lunch!
A thorough and well-written report. I am amused at your love of the laser printer and its “home.” You take setbacks and change with resilience, including a good sense of humor.