Do you remember how I ended last week’s blog post all optimistic about our prototype? How it worked and how we would just have to fix it up a little to make it perfect?
Yeah… that ended about as well as one would expect it to when dealing with the Engineering Design Process.
When Dr. Wettergreen and Dr. Hunter saw our device, they decided that it was too shaky to deliver to our client. Instead, we should take the stable top supports of our device and bolt it to the stable bottom section of the previous device so we we could have a stable but Frankensteined project to give to our client. We didn’t love that idea, so Blessings, Liz, Alex and I spent all day planning and reevaluating how to make the best prototype we could in the time that we had. We decided to compromise with the professors by using the stable base of the previous team’s prototype, but instead use our back strut so it could still be adjustable. We removed the front legs because they wobbled and fell down every time you tried to adjust the device, and we had to make the armrests expand wider so people of varying sizes could comfortably fit inside it. And so, with this plan, we created our Twelve Steps to Success plan of action to complete to radically change our prototype in a period of three days.
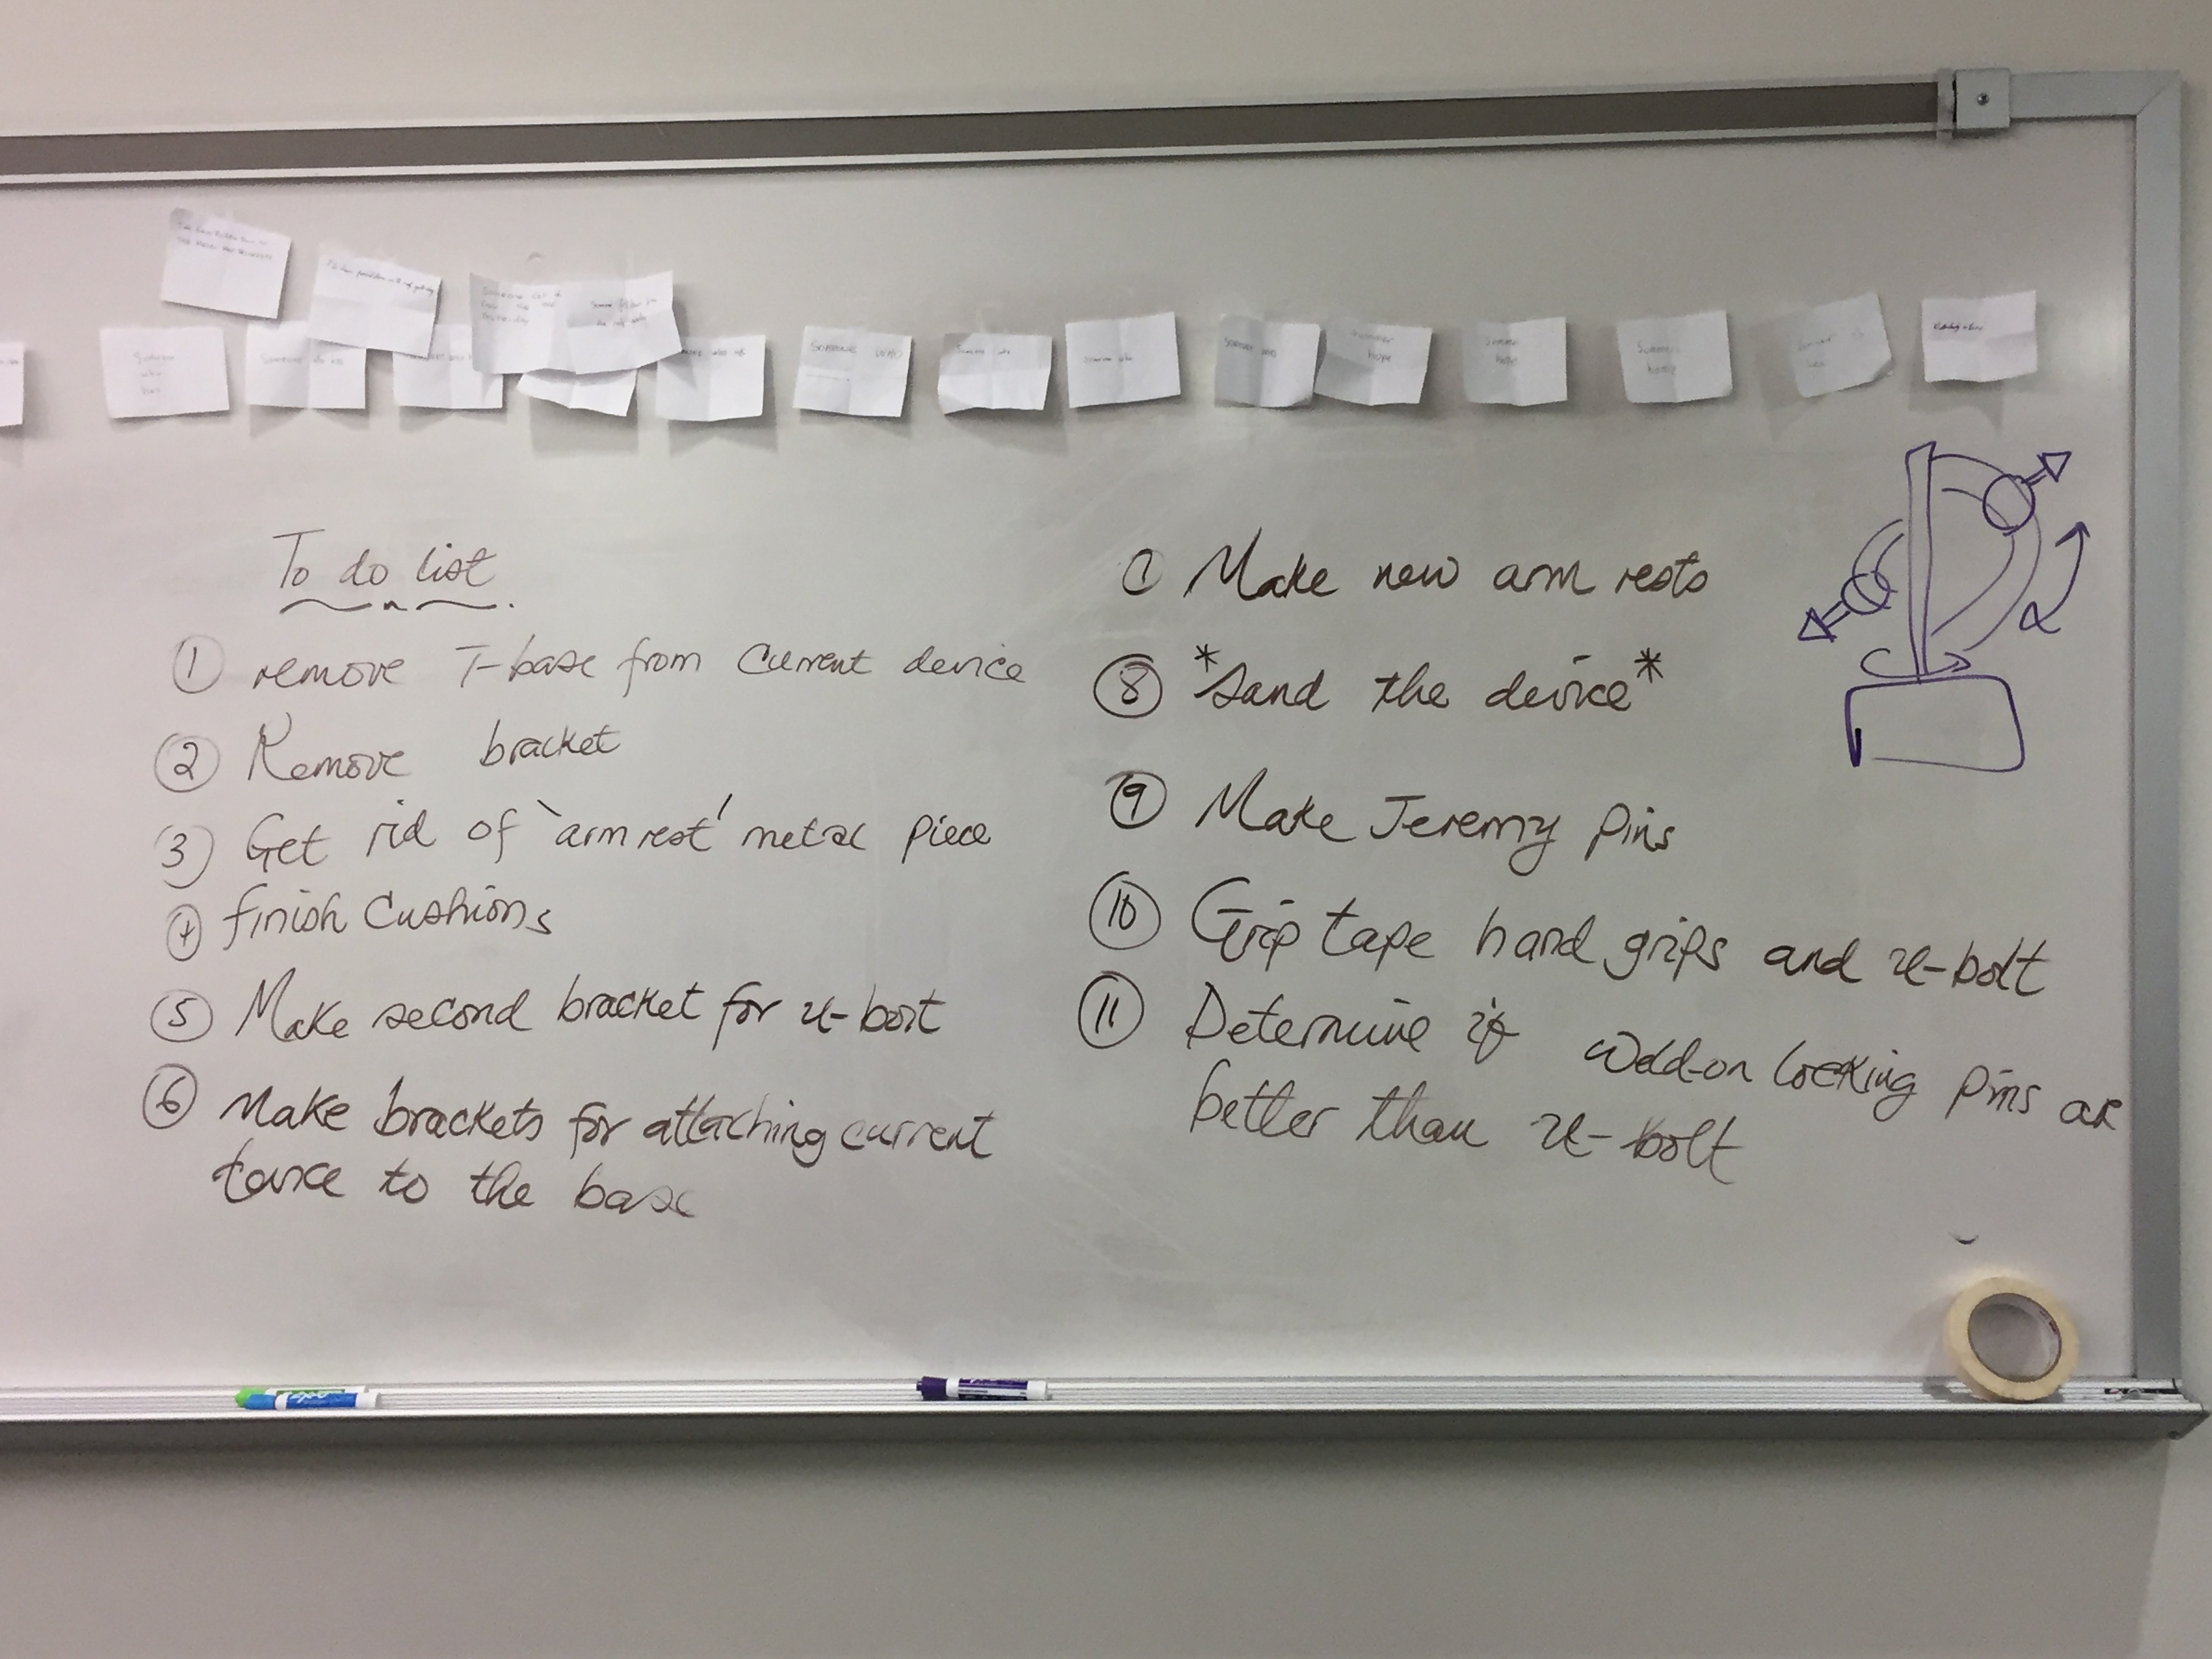
Our Twelve Steps to Success… that kept expanding
We walked in on Monday stressed about time and ready to work. We split up the work to hit as many steps as possible. Alex worked on adapting the CAD model to our new design. Liz continued working on the cushions (which was apparently a much bigger job than any of us expected). Blessings and I worked with the to unweld (de-weld? Take apart?) some of the welds we did because we deemed them either unnecessary or detrimental to our design. Or rather, he used the hacksaw and orbital sander to take apart the welds while I just stood on the parts to keep them in place. We started out using a hacksaw and an orbital sander, but that [not surprisingly] took absolutely forever until we realized that we should just grab a power grinder from Ryon to do the job instead. To make conversation, Blessings told me a story about how one student at his university was using a grinder when the blade fell off and hit his neck. And then Blessings proceeded to offer me the grinder to take apart our device. Um… not after that story.
By taking apart half of our device, we were able to cross a lot of steps off of our Twelve Steps to Success To-Do List. My next task was to cut some new brackets for keeping our device together. Last week when talking about plasma cutting, I highlighted the plasma cutter itself. This week, I want to take a moment to appreciate the sheet of metal I have been trying to work with for the past couple of weeks. The one sheet of steel thin enough to bend is actually leftover scrap material from a prototyping class taught here at the OEDK. This means that there are a lot of pieces cut out of it in random locations that we had to work around. It’s also warped in the middle and covered in rust. By the time we got to cutting out the brackets that secure the metal strut to the original base, there was practically no space left for our large brackets. So after hammering out the metal sheet to make it flat enough to cut and perfectly aligning the origin to cut, I cut out the pieces with about two mm to spare on each side. I was pretty proud of that cut (probably a little too proud of that cut), but the fact that I had to align it so perfectly was a little ridiculous.
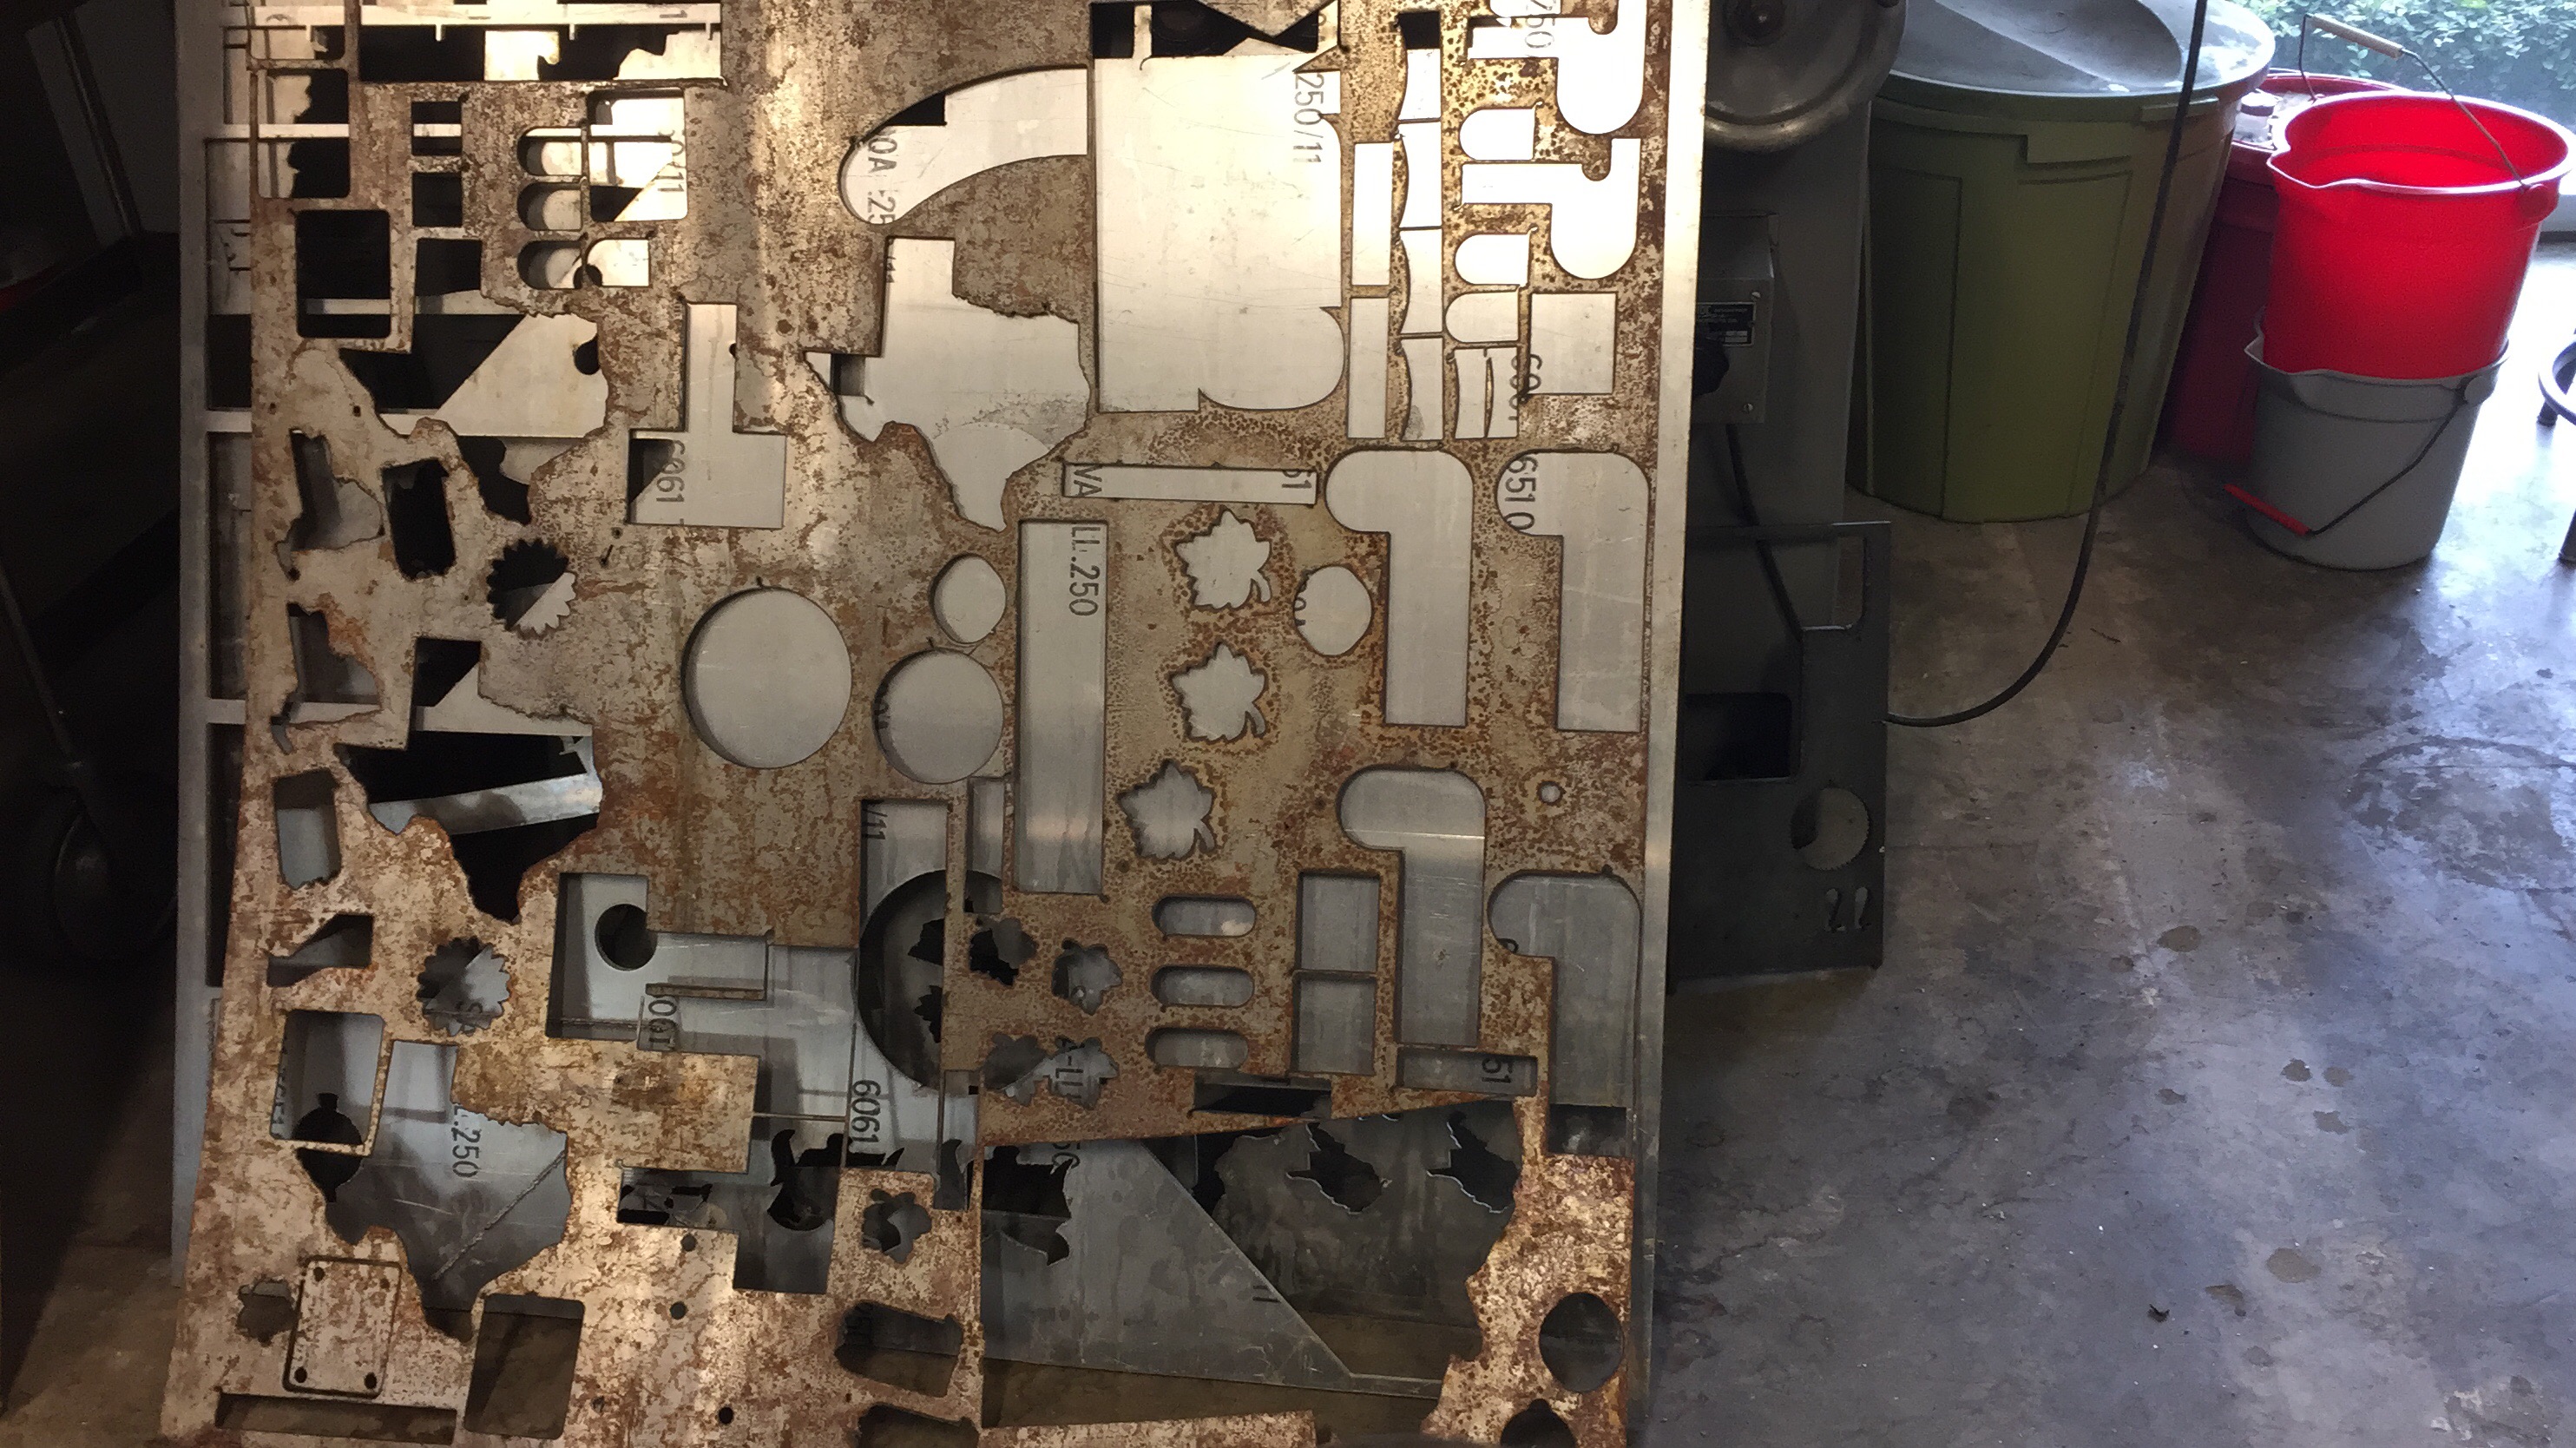
This sheet of metal lived a long and glorious life of providing metal for various engineering projects. Rest in peace.
After cutting out the metal brackets, we needed to sand them down so they actually look somewhat presentable and not covered in rust. I didn’t actually realize that it was possible to sand off rust, but after giving like twenty pieces of metal Cinderella-esque transformations, I stand corrected.
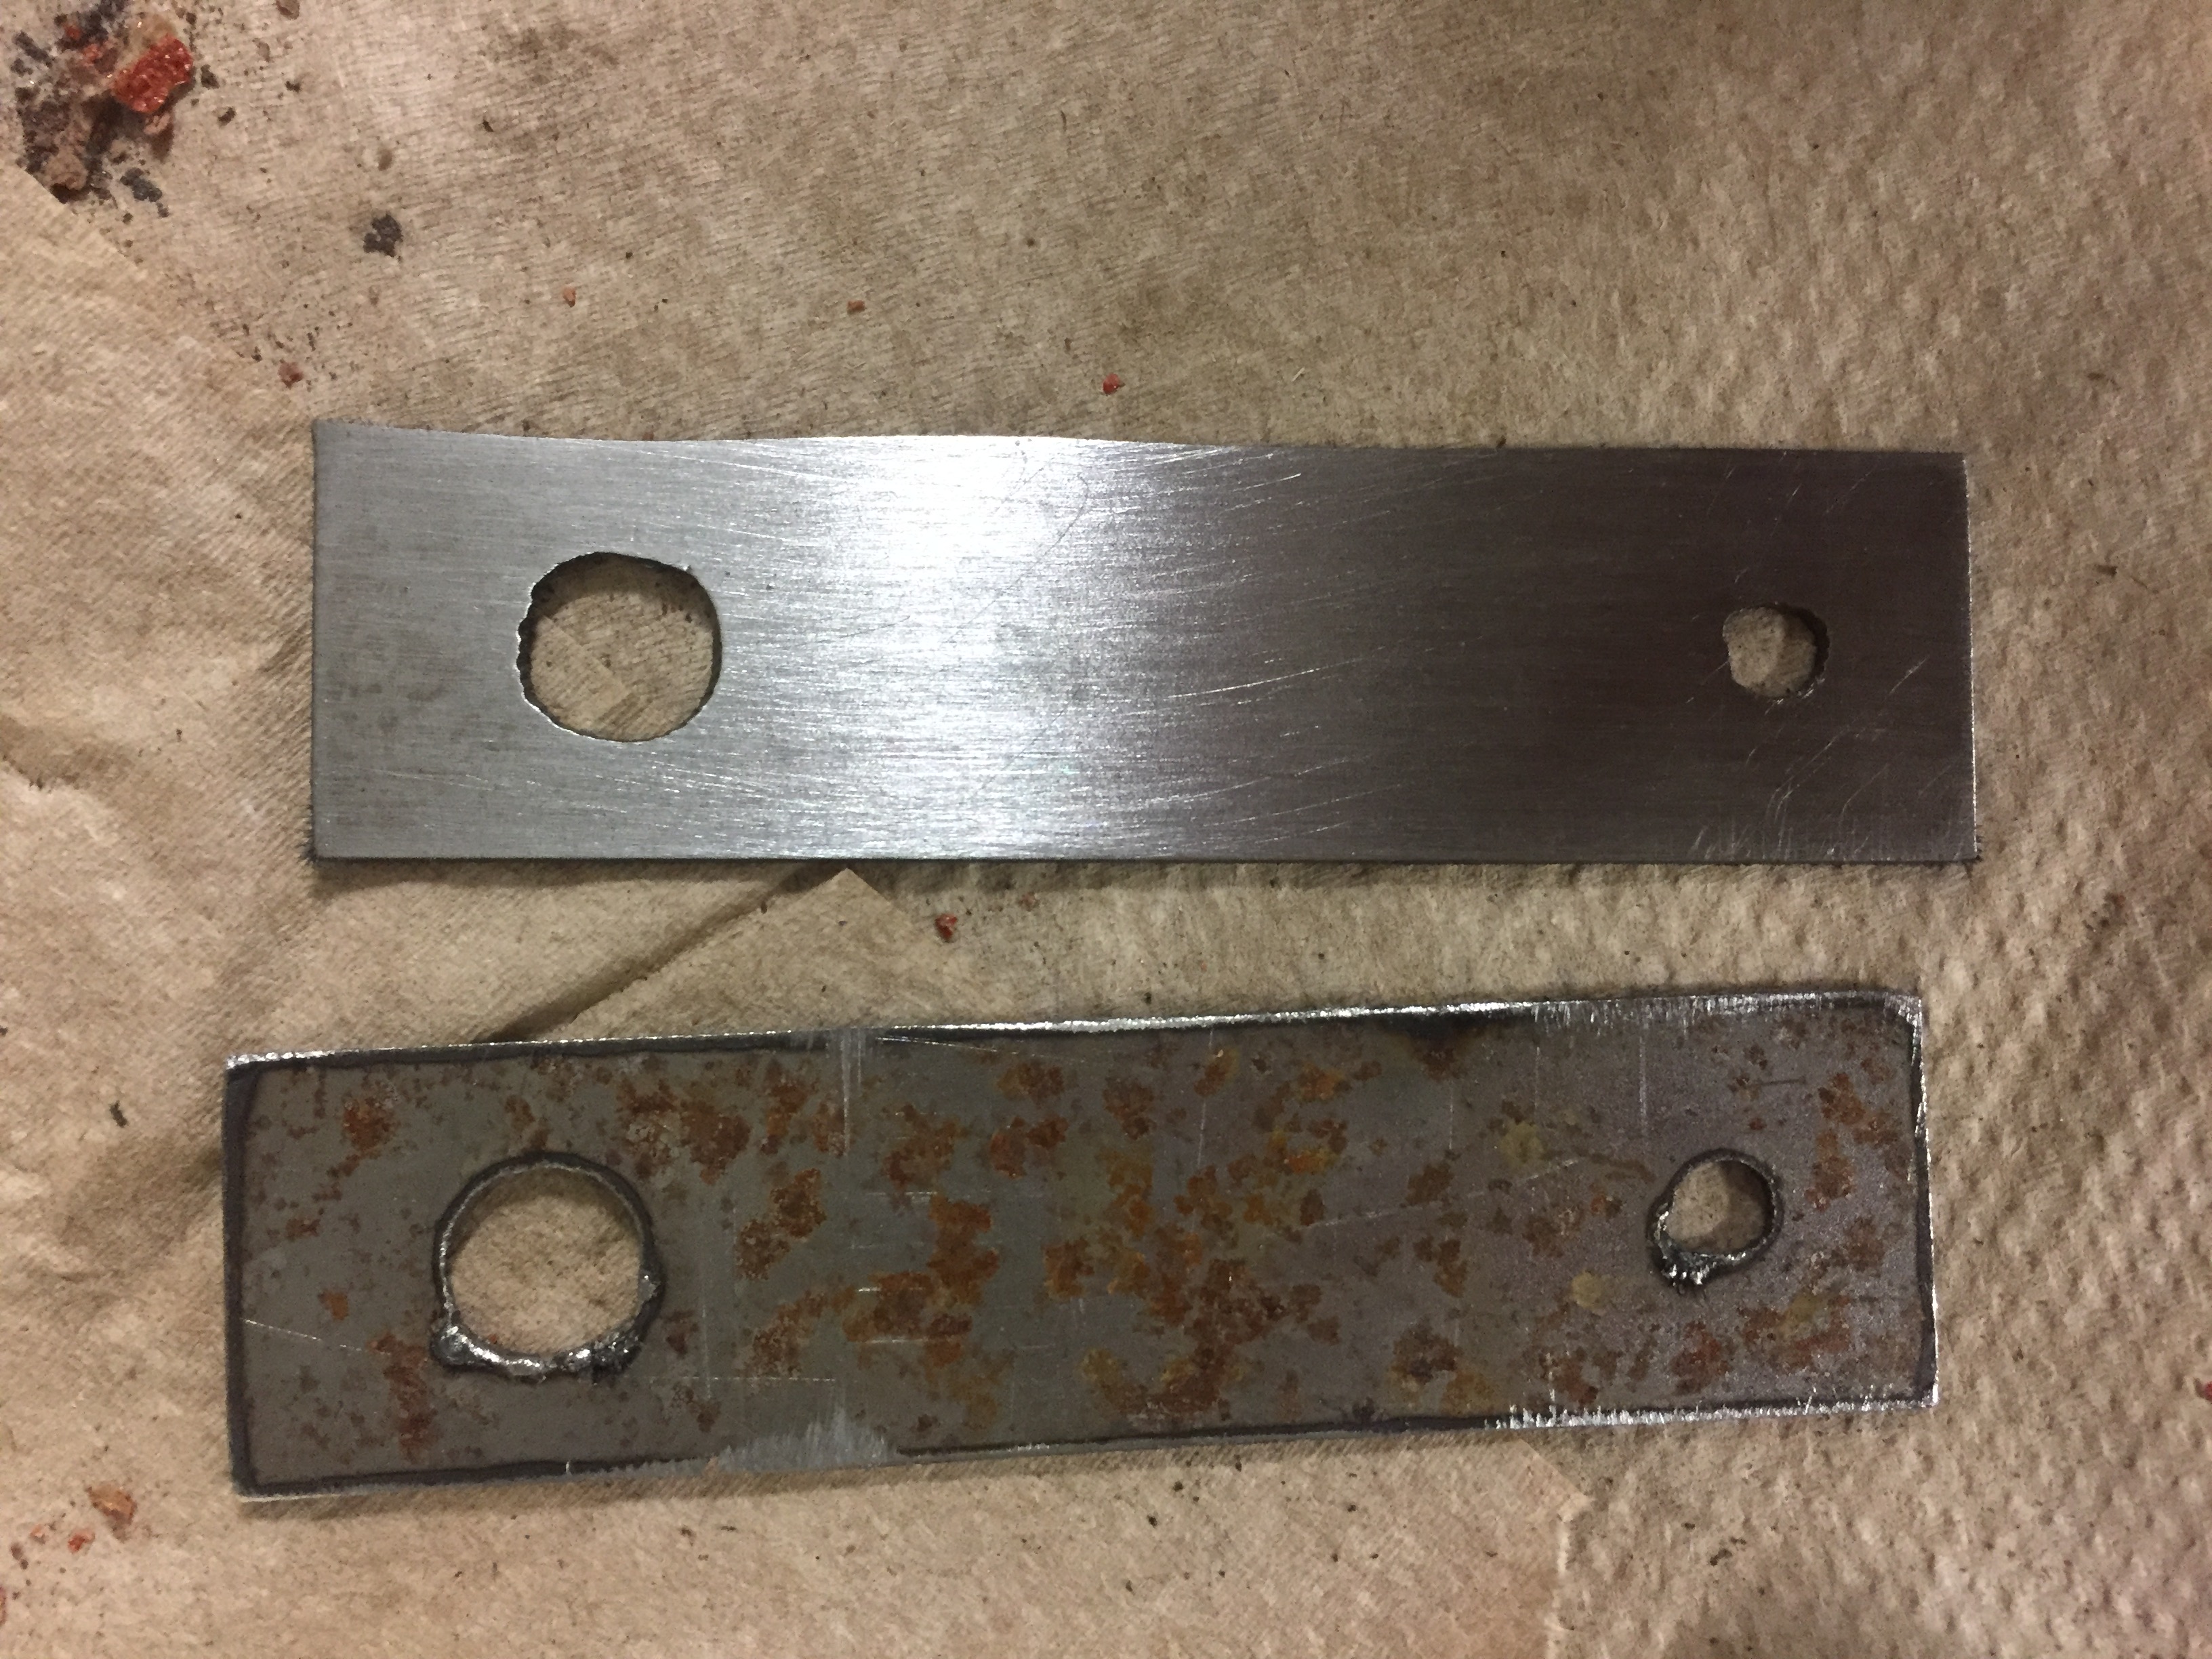
A Metallic Cinderella Story: Before and After
We reconvened to see how things were going with the other team members, and we decided to recut the metal T-bracket because the original ones didn’t fit. So I went upstairs to do that, but not even ten minutes later, Blessings came to find me because we were having yet another team meeting. Apparently the professors came back and decided that the base was still too wobbly, so the rest of the team decided to go ahead and use the back support from the original team and bolt our telescoping track to it. This would allow it to harness the stability of the original base and still allow the overall device to be height adjustable.
It doesn’t look quite as Frankenstein-ish as I feared.
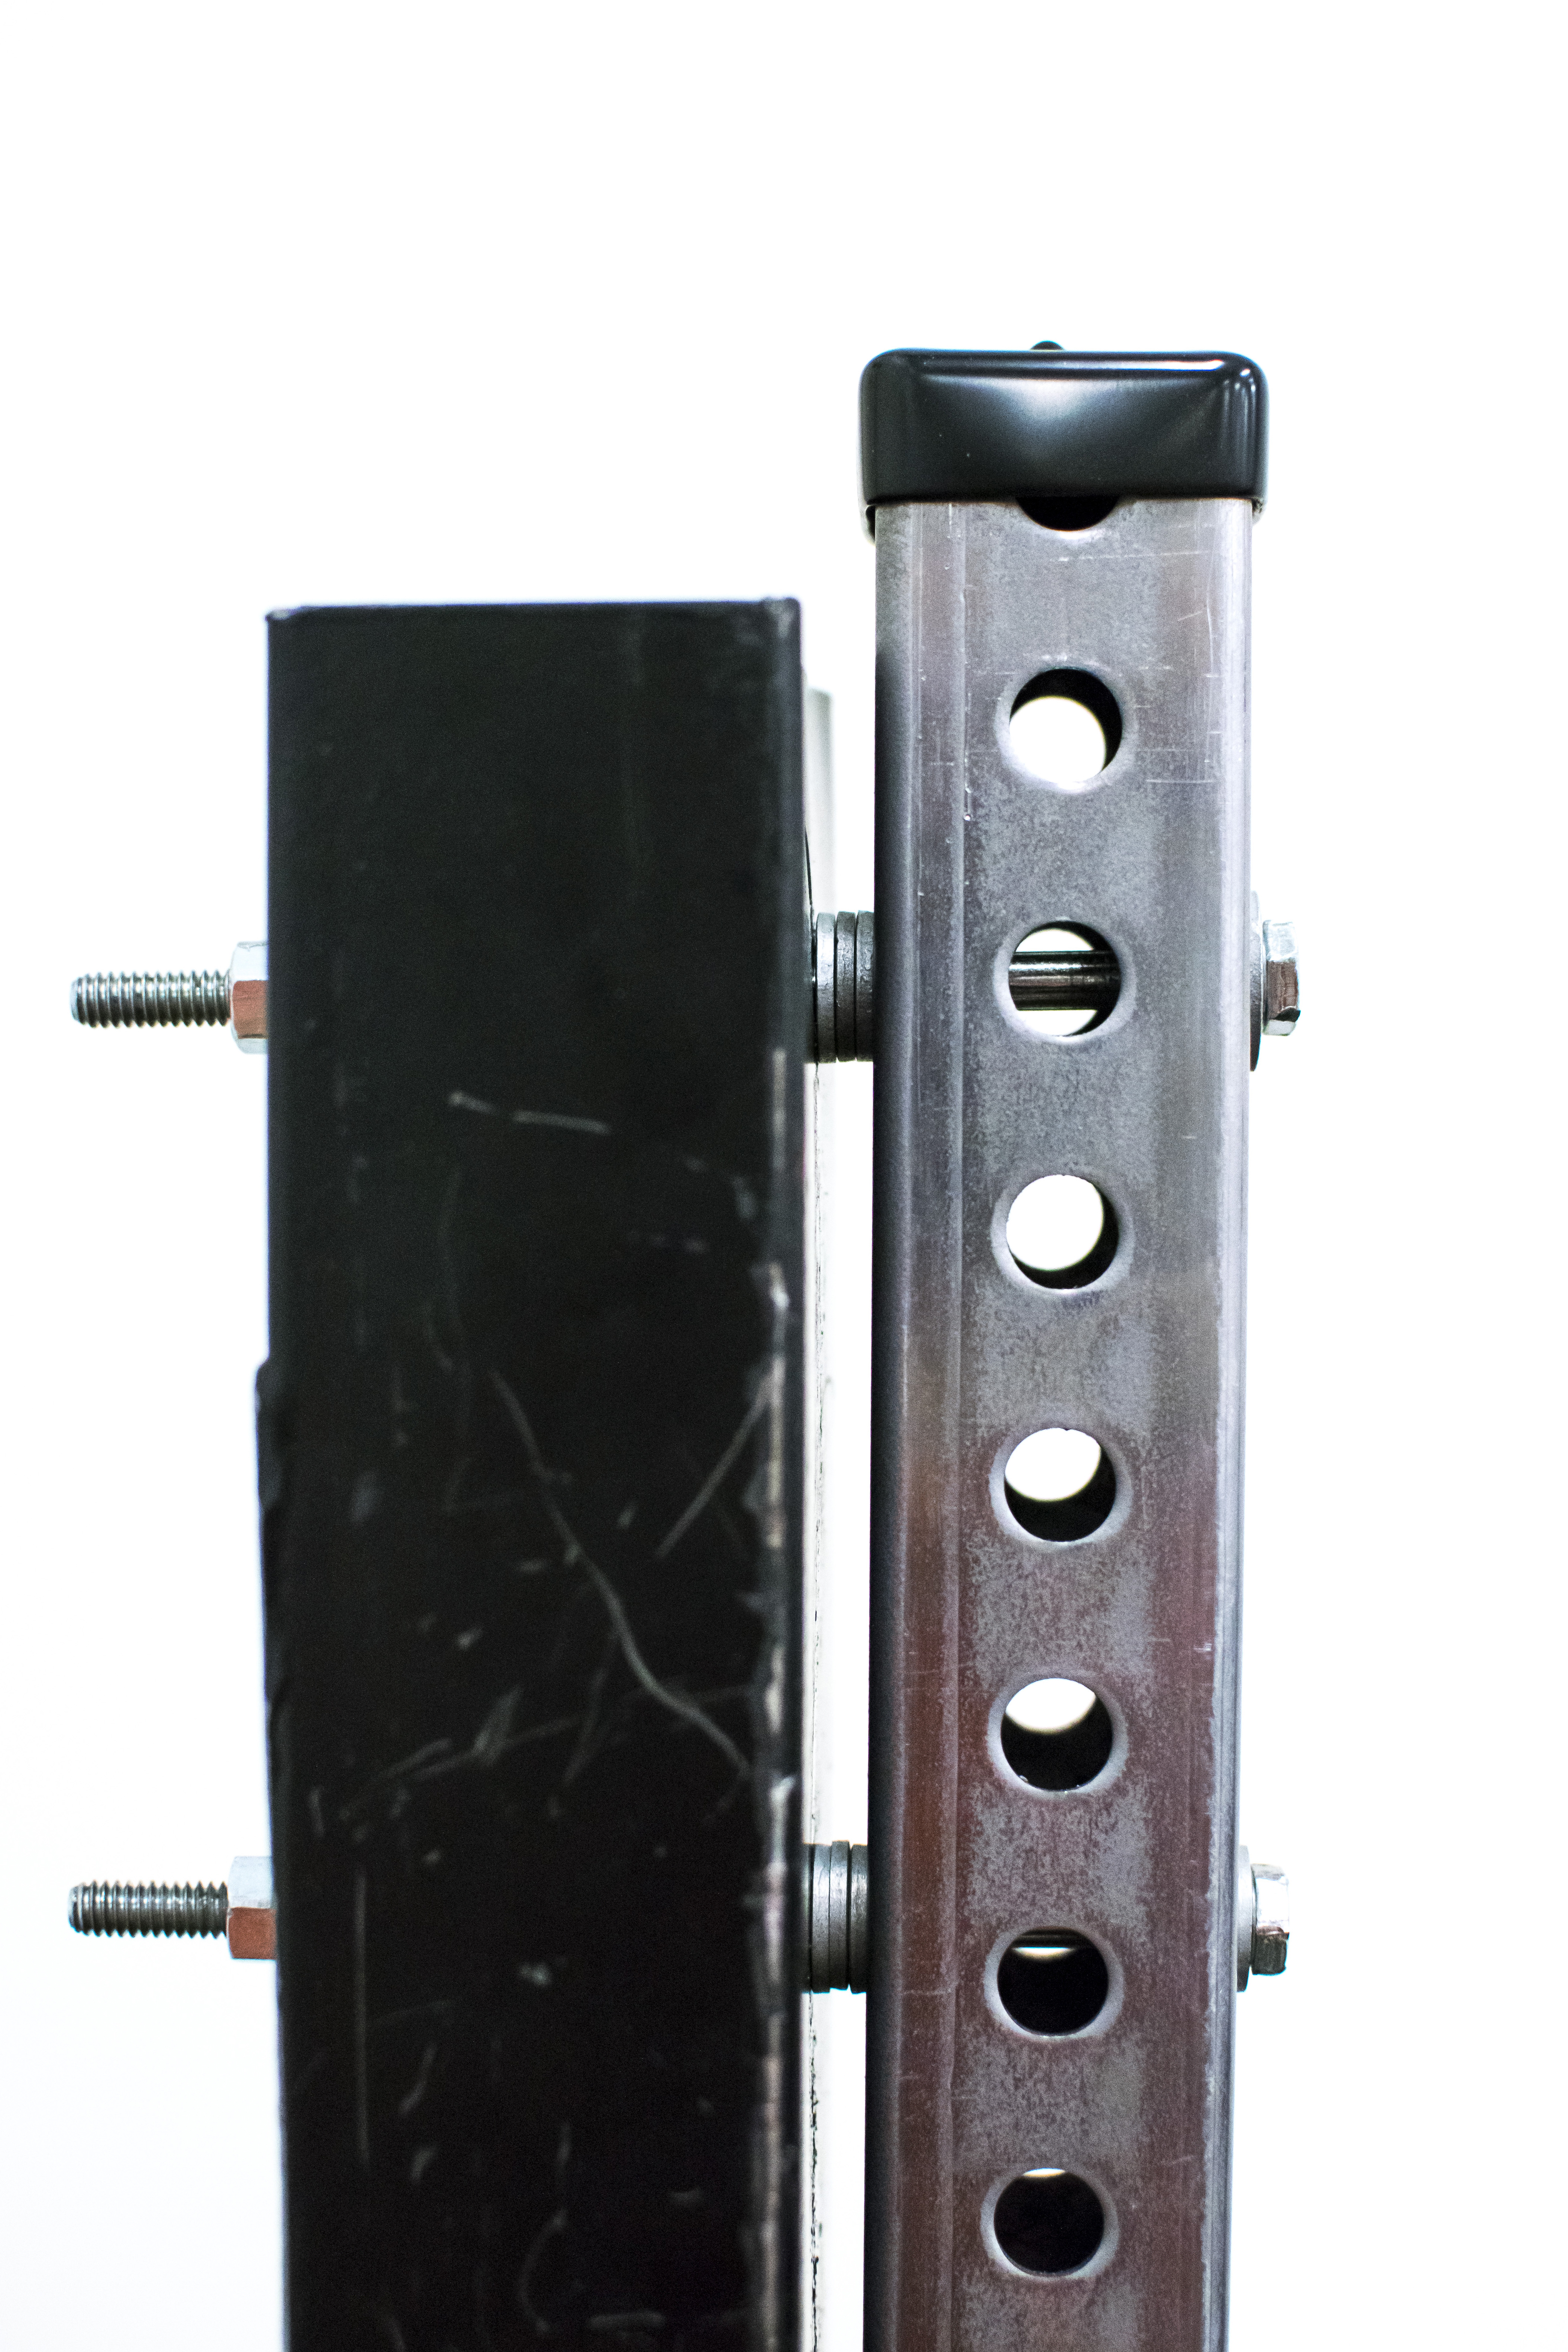
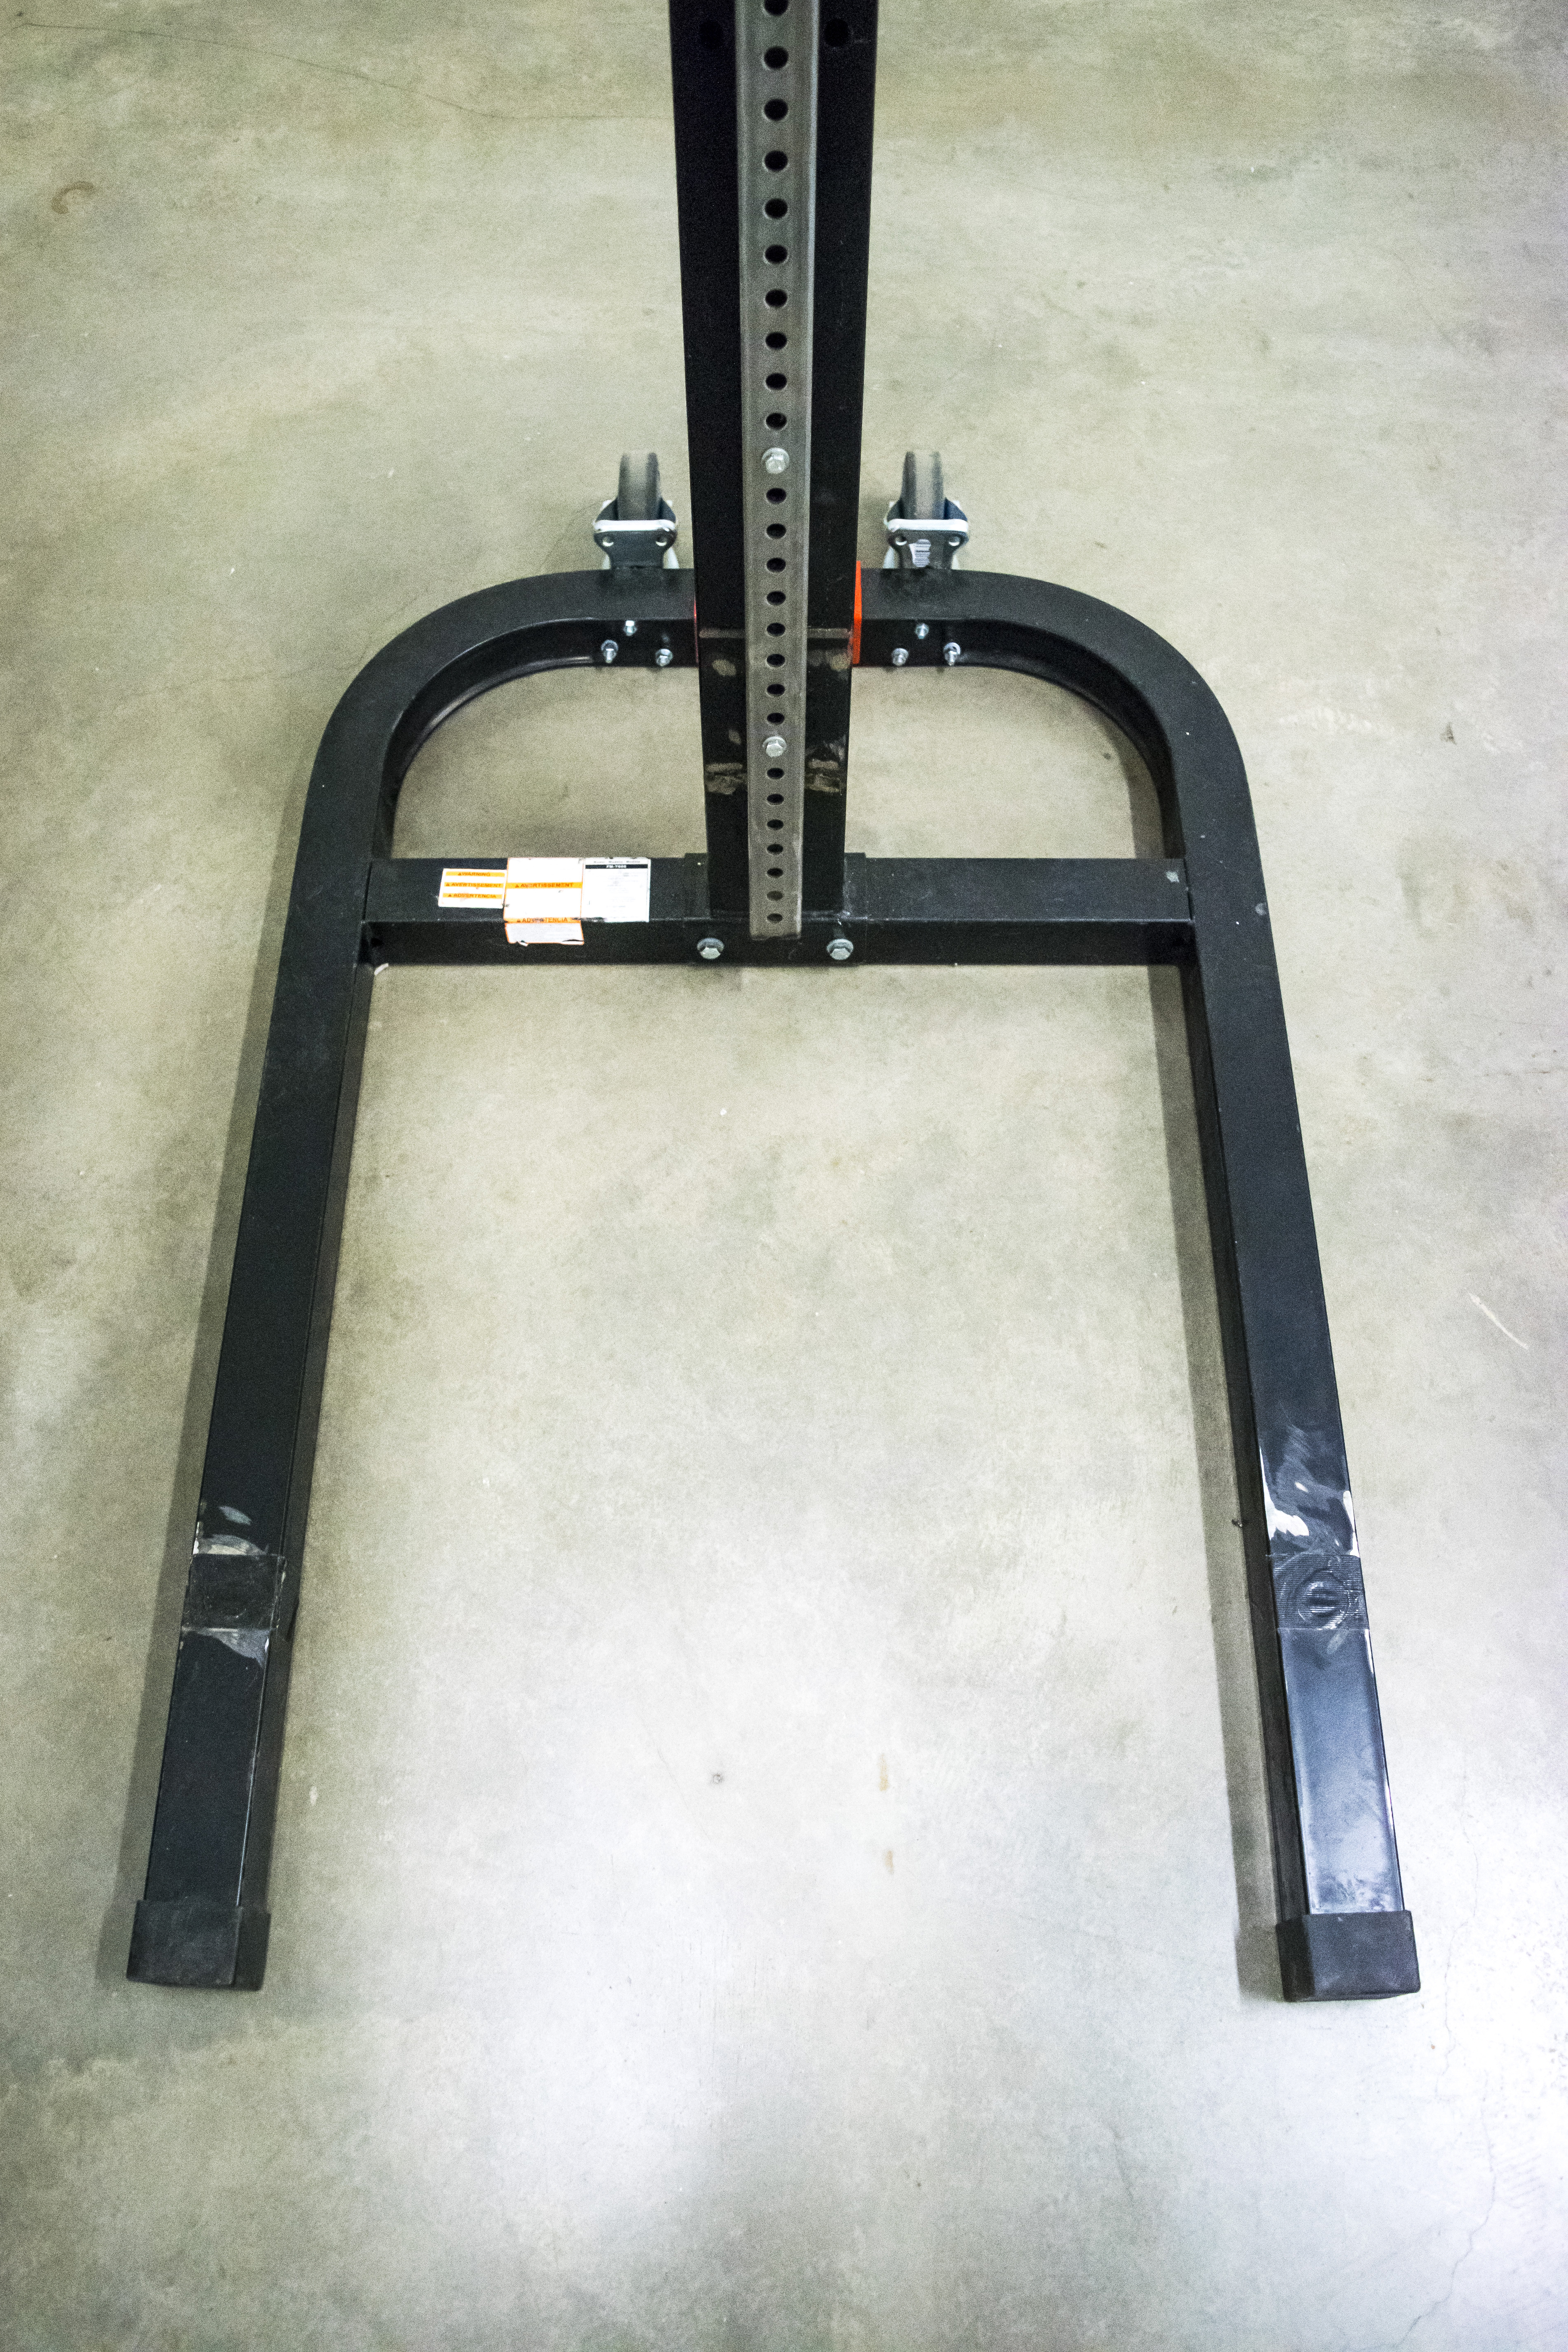
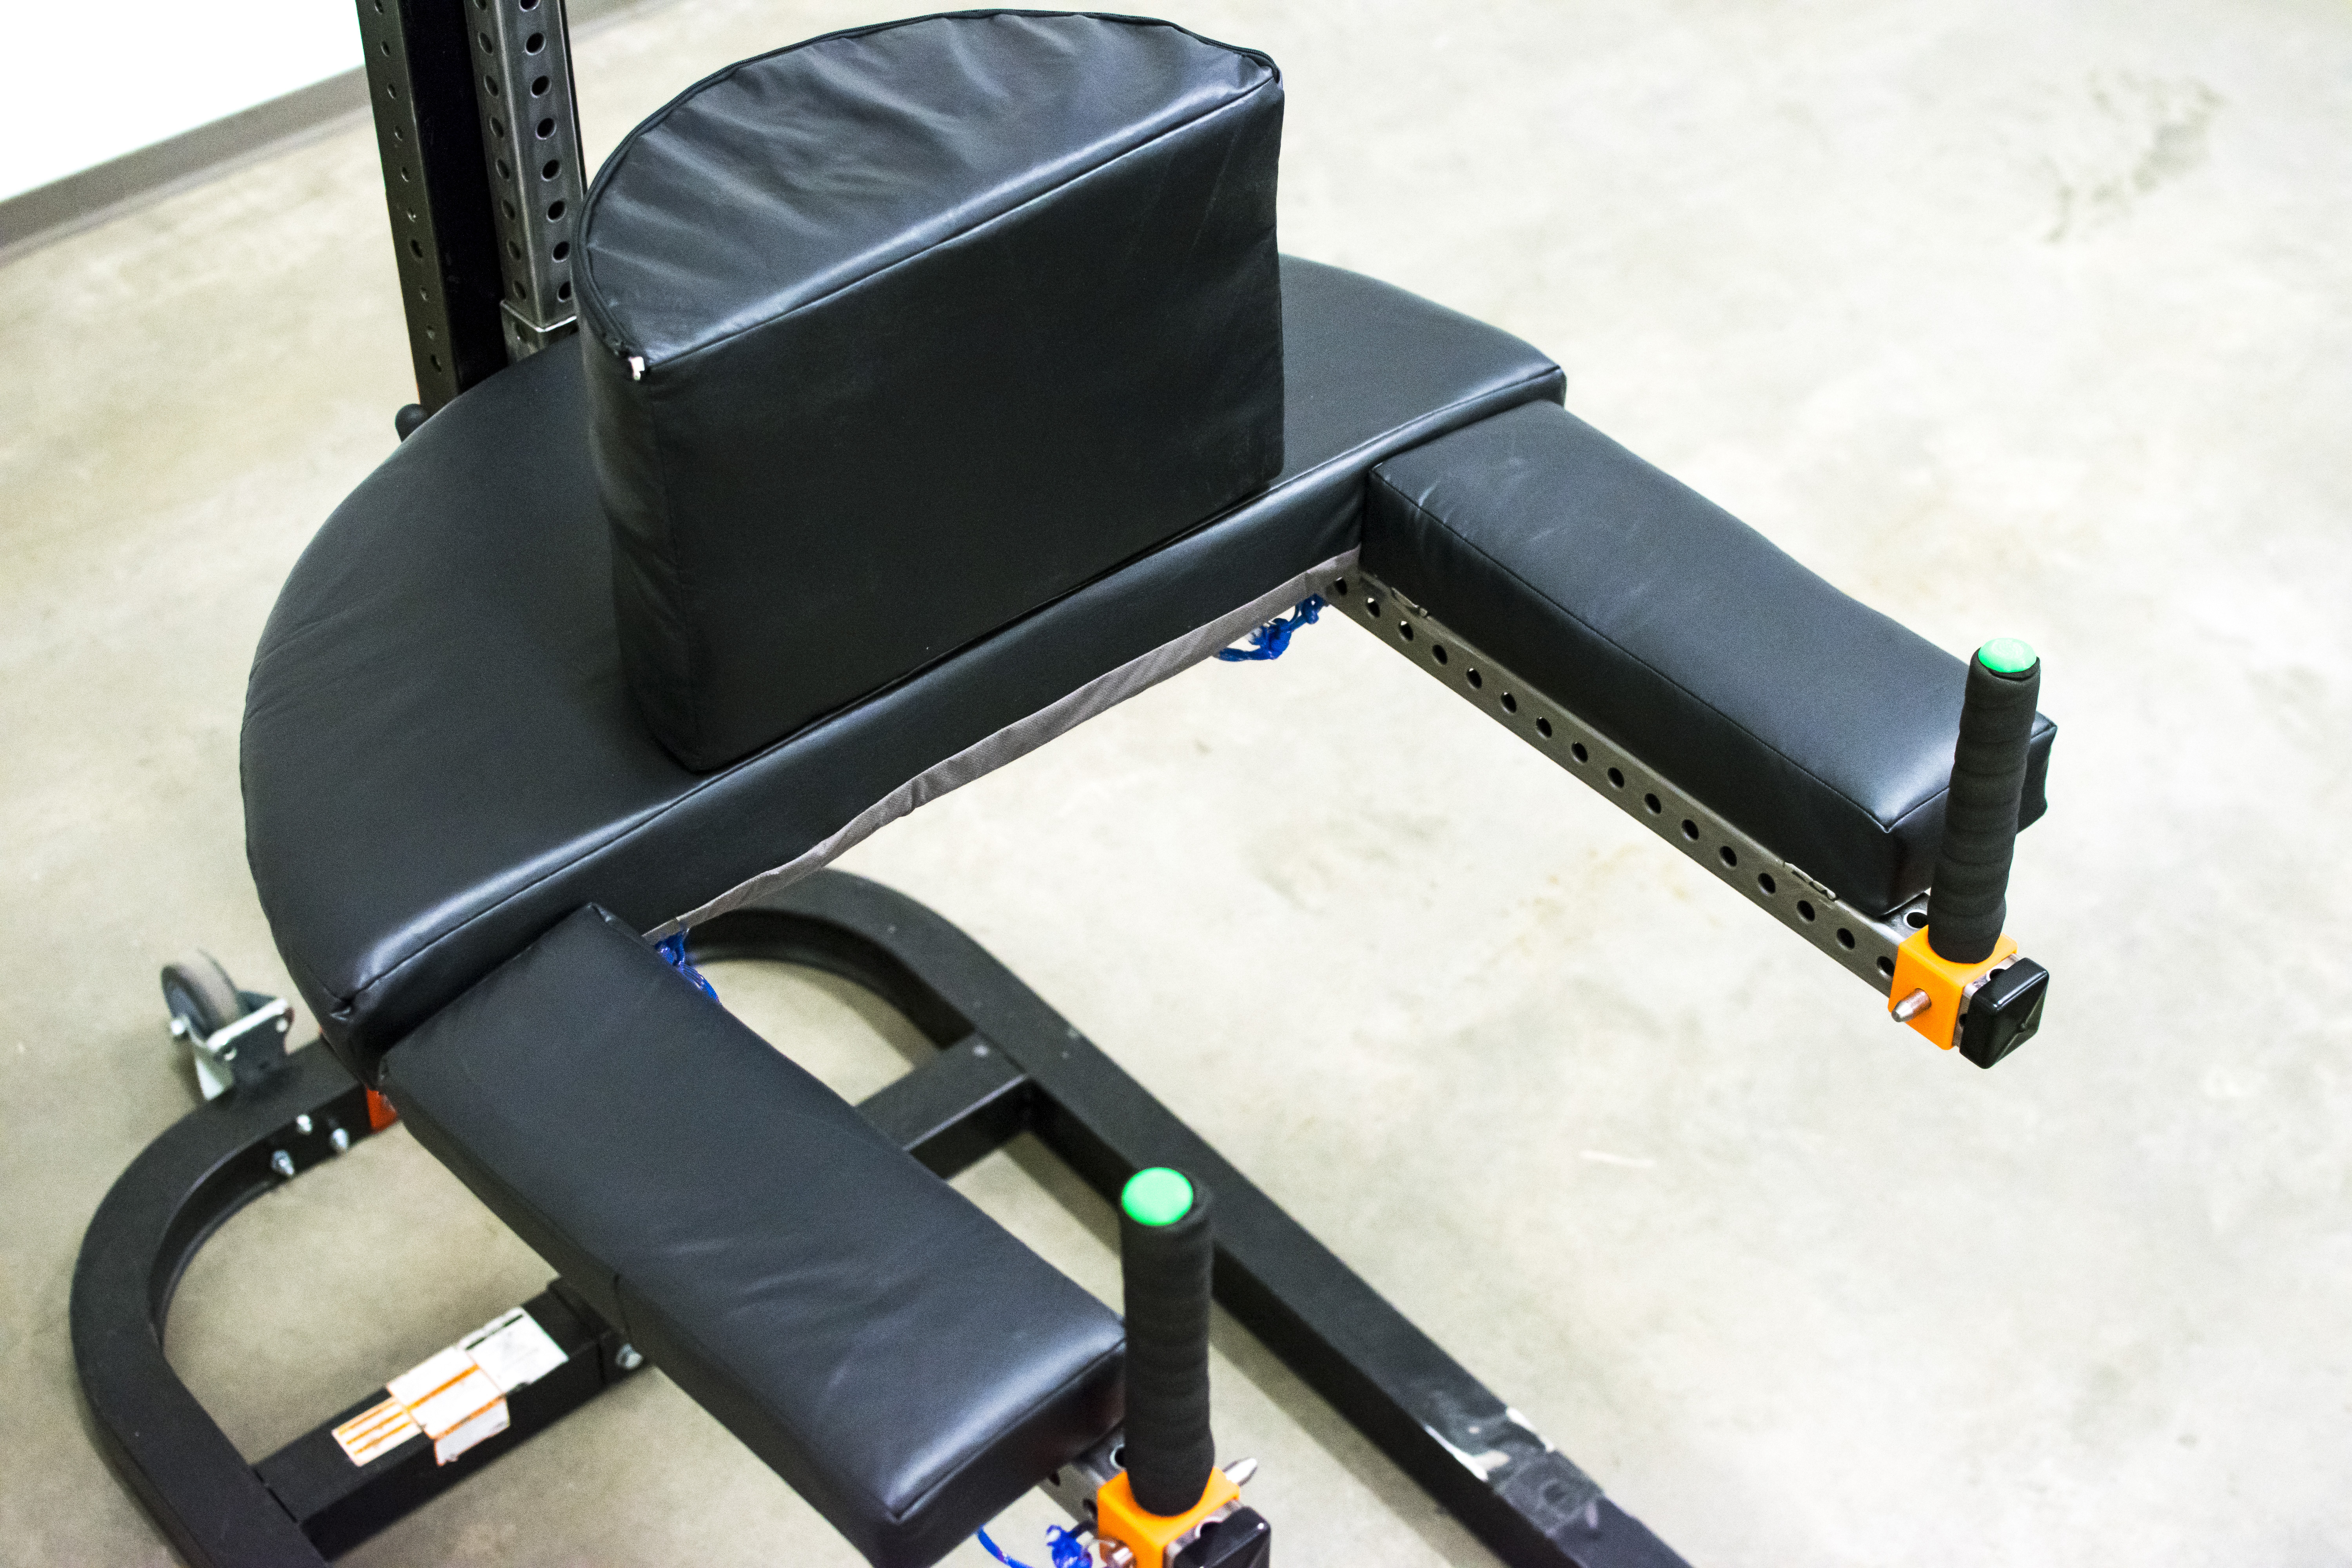
Close-up on the top of the device. By bolting our metal strut to the original black base, we had enough support and space that it was still easy to slide the metal armrests up and down.
So the guys worked on putting that together while I went over to the welding lab with Jeremy and Liz continued to work on the cushions. Now that we had taken apart our original device and replanned it out, we had to weld stuff in different places to make our design better. For instance, we remade the armrests so they were wider, and we moved the weld-in lockout pins to the sides of the main metal support of our device so it could be easily adjusted by one person. We had considerably less welds to complete this time, but we were still over there long enough for me to take a photo of this still life:
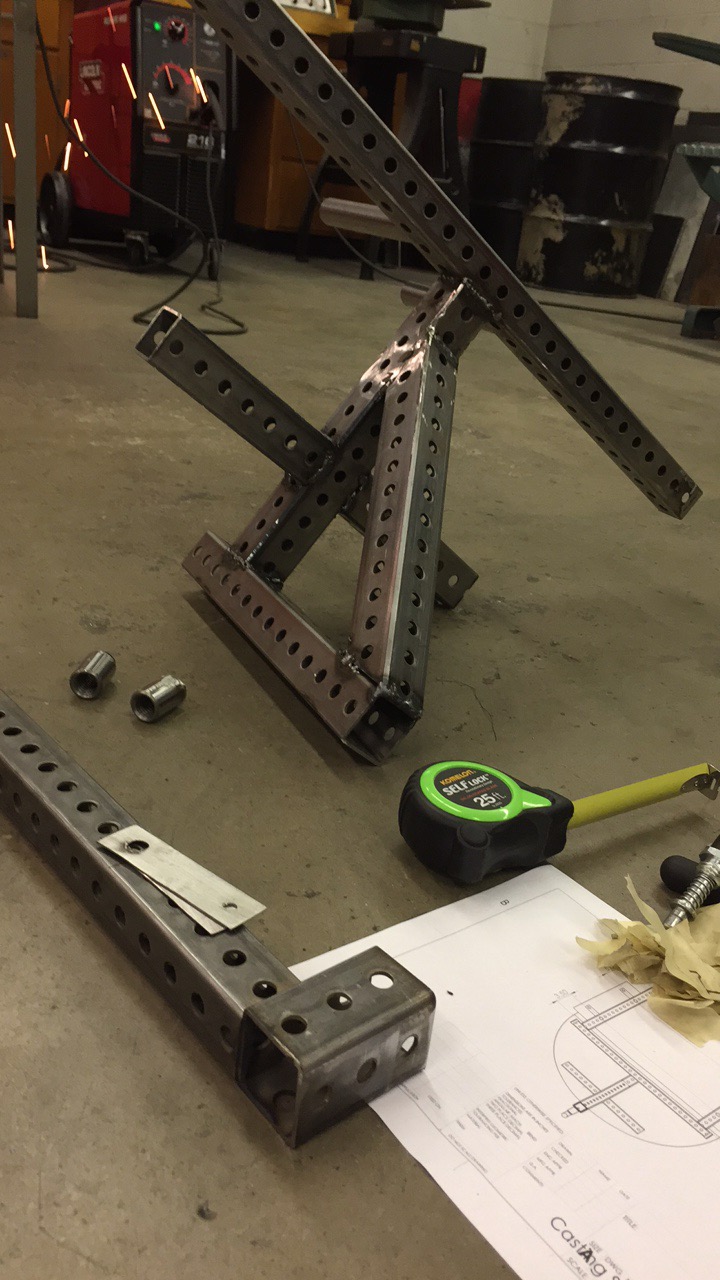
Still Life 02: Casting Stand Preparations
Although we ran out of time at work, Blessings, Alex, and I reconvened at the OEDK on Tuesday night to finish the prototype and work on the presentation we would be giving the next day but hadn’t started. So Alex and Blessings finished putting all the supports and pillows on while I started the PowerPoint. Just when I was hitting a creative wall with figuring out what to include, Alex sat down next to me and Liz logged in from home to help me with the PowerPoint, and we were able to finish it in like twenty minutes. It’s amazing what you can accomplish with the power of teamwork!
When we finished the PowerPoint, I started laser-cutting some personal projects (most of which I will not be sharing here because they are Christmas presents and my family reads this blog) when Alex and Blessings wheeled the finished device outside of the laser cutter door to show me that it was completed. And then they proceeded to the OEDK classroom to have a photo shoot with the device.
 |
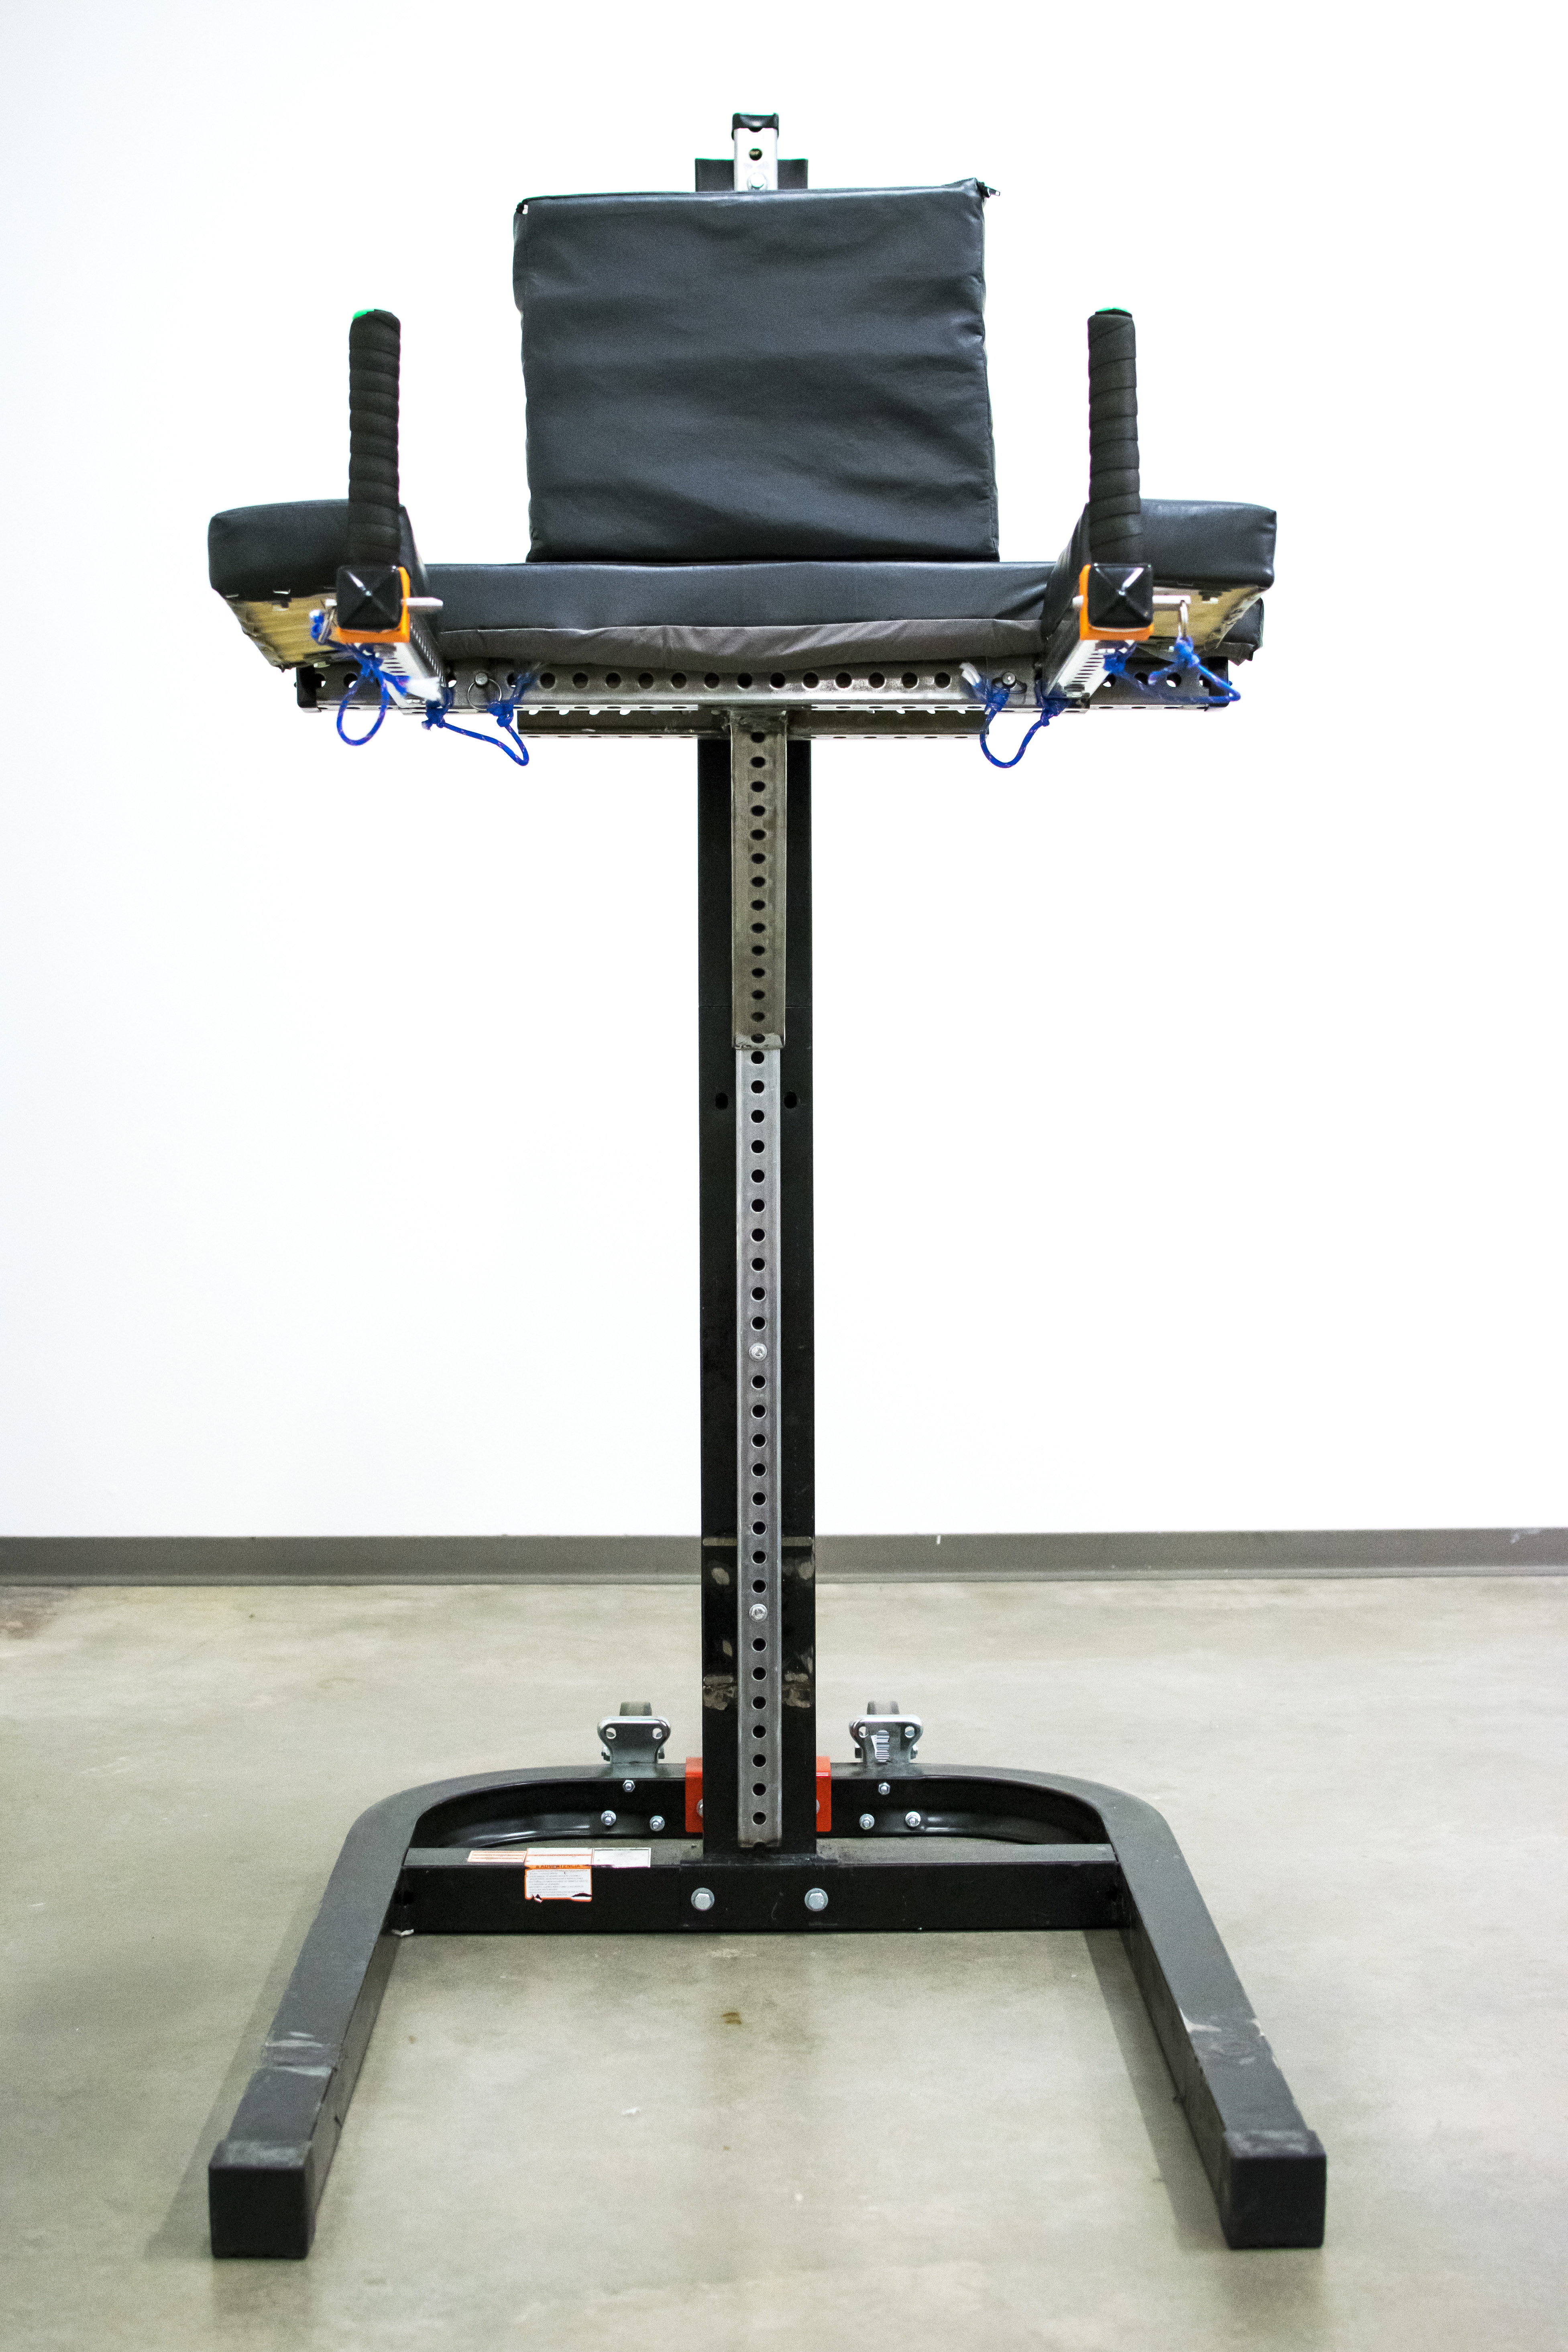 |
| Side-View of our Final Hybrid Design | Front View of our Final Hybrid Design |
 |
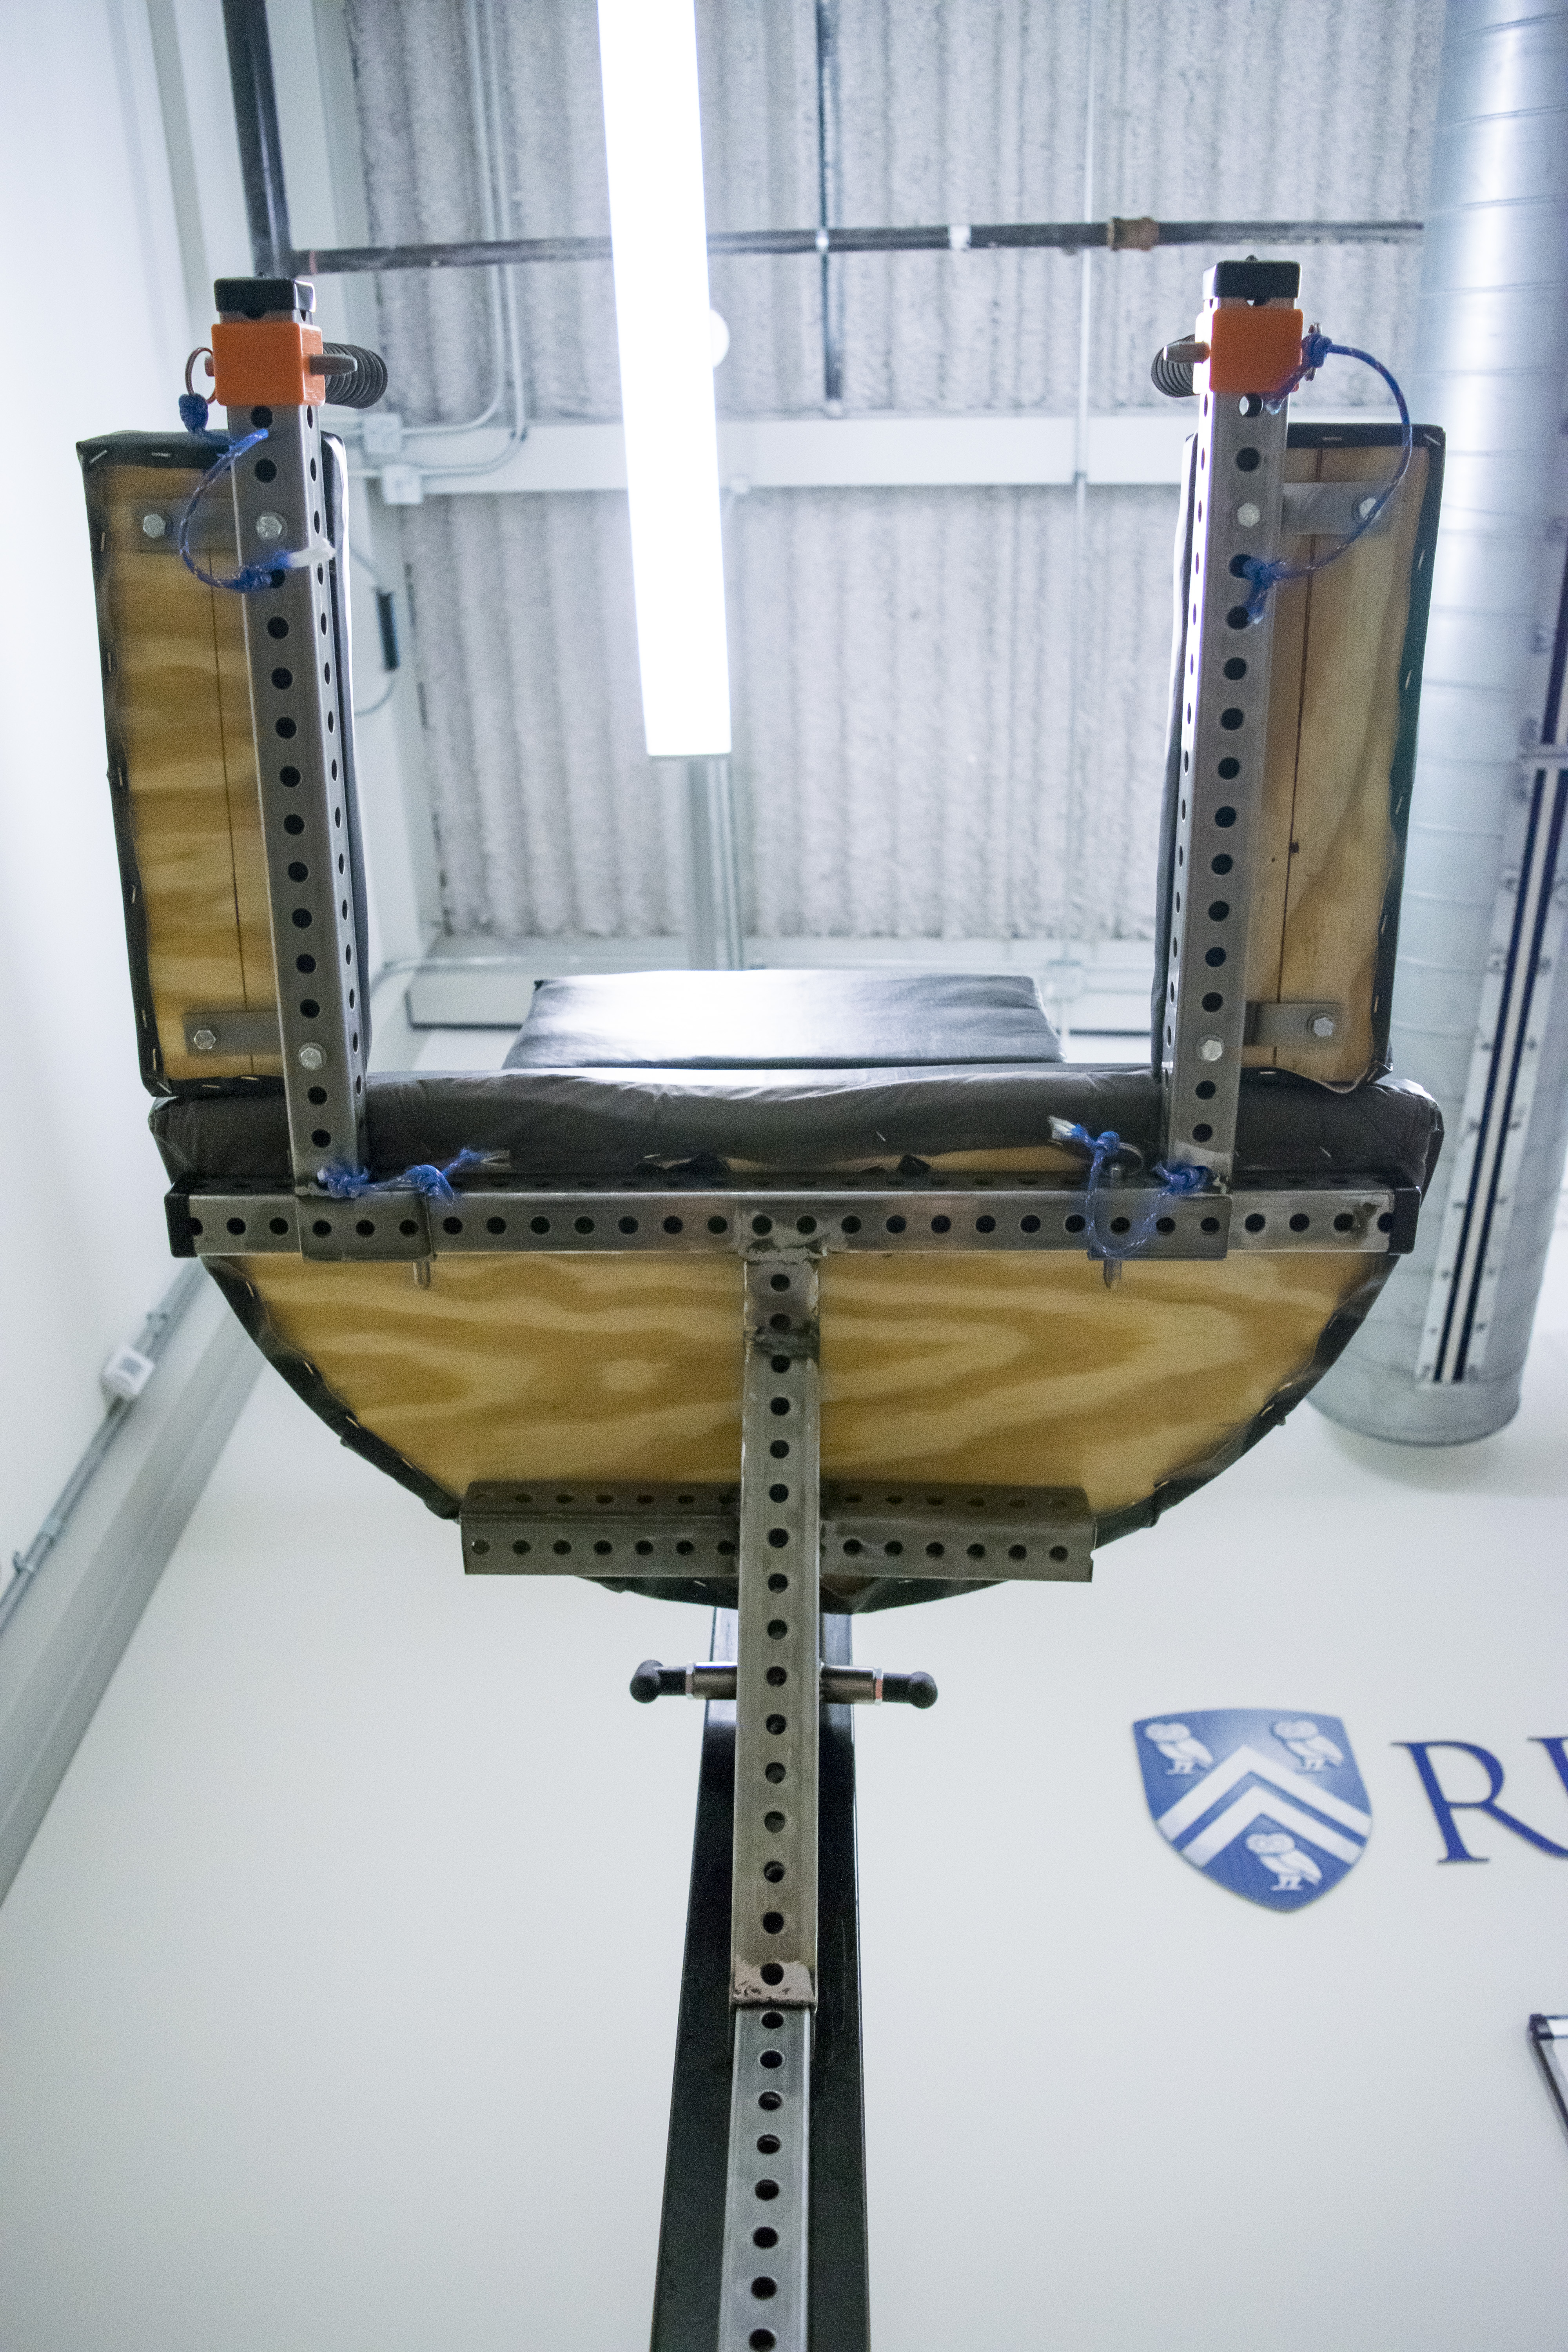 |
| Top-Down Isometric View showing off Liz’s cushions | Bottom-Up View showing off the adjustability of the armrests… and the OEDK ceiling |
 |
 |
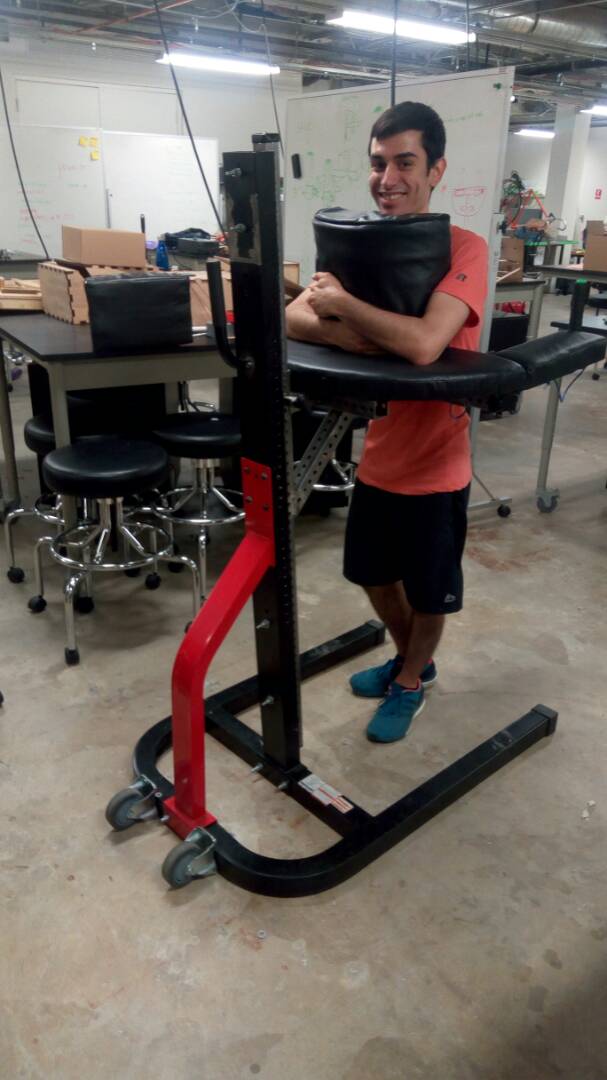 |
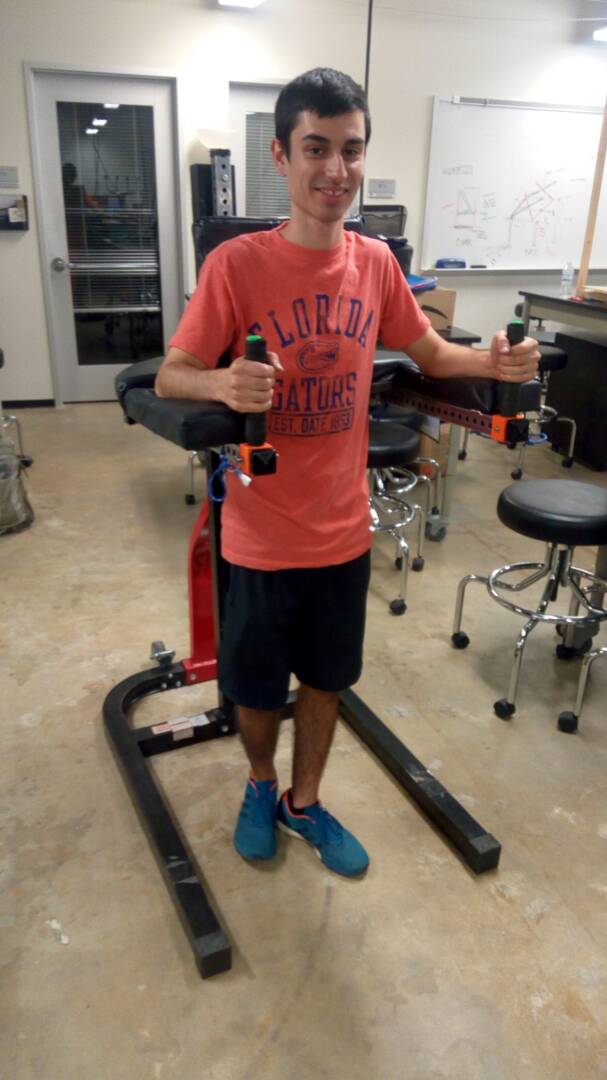
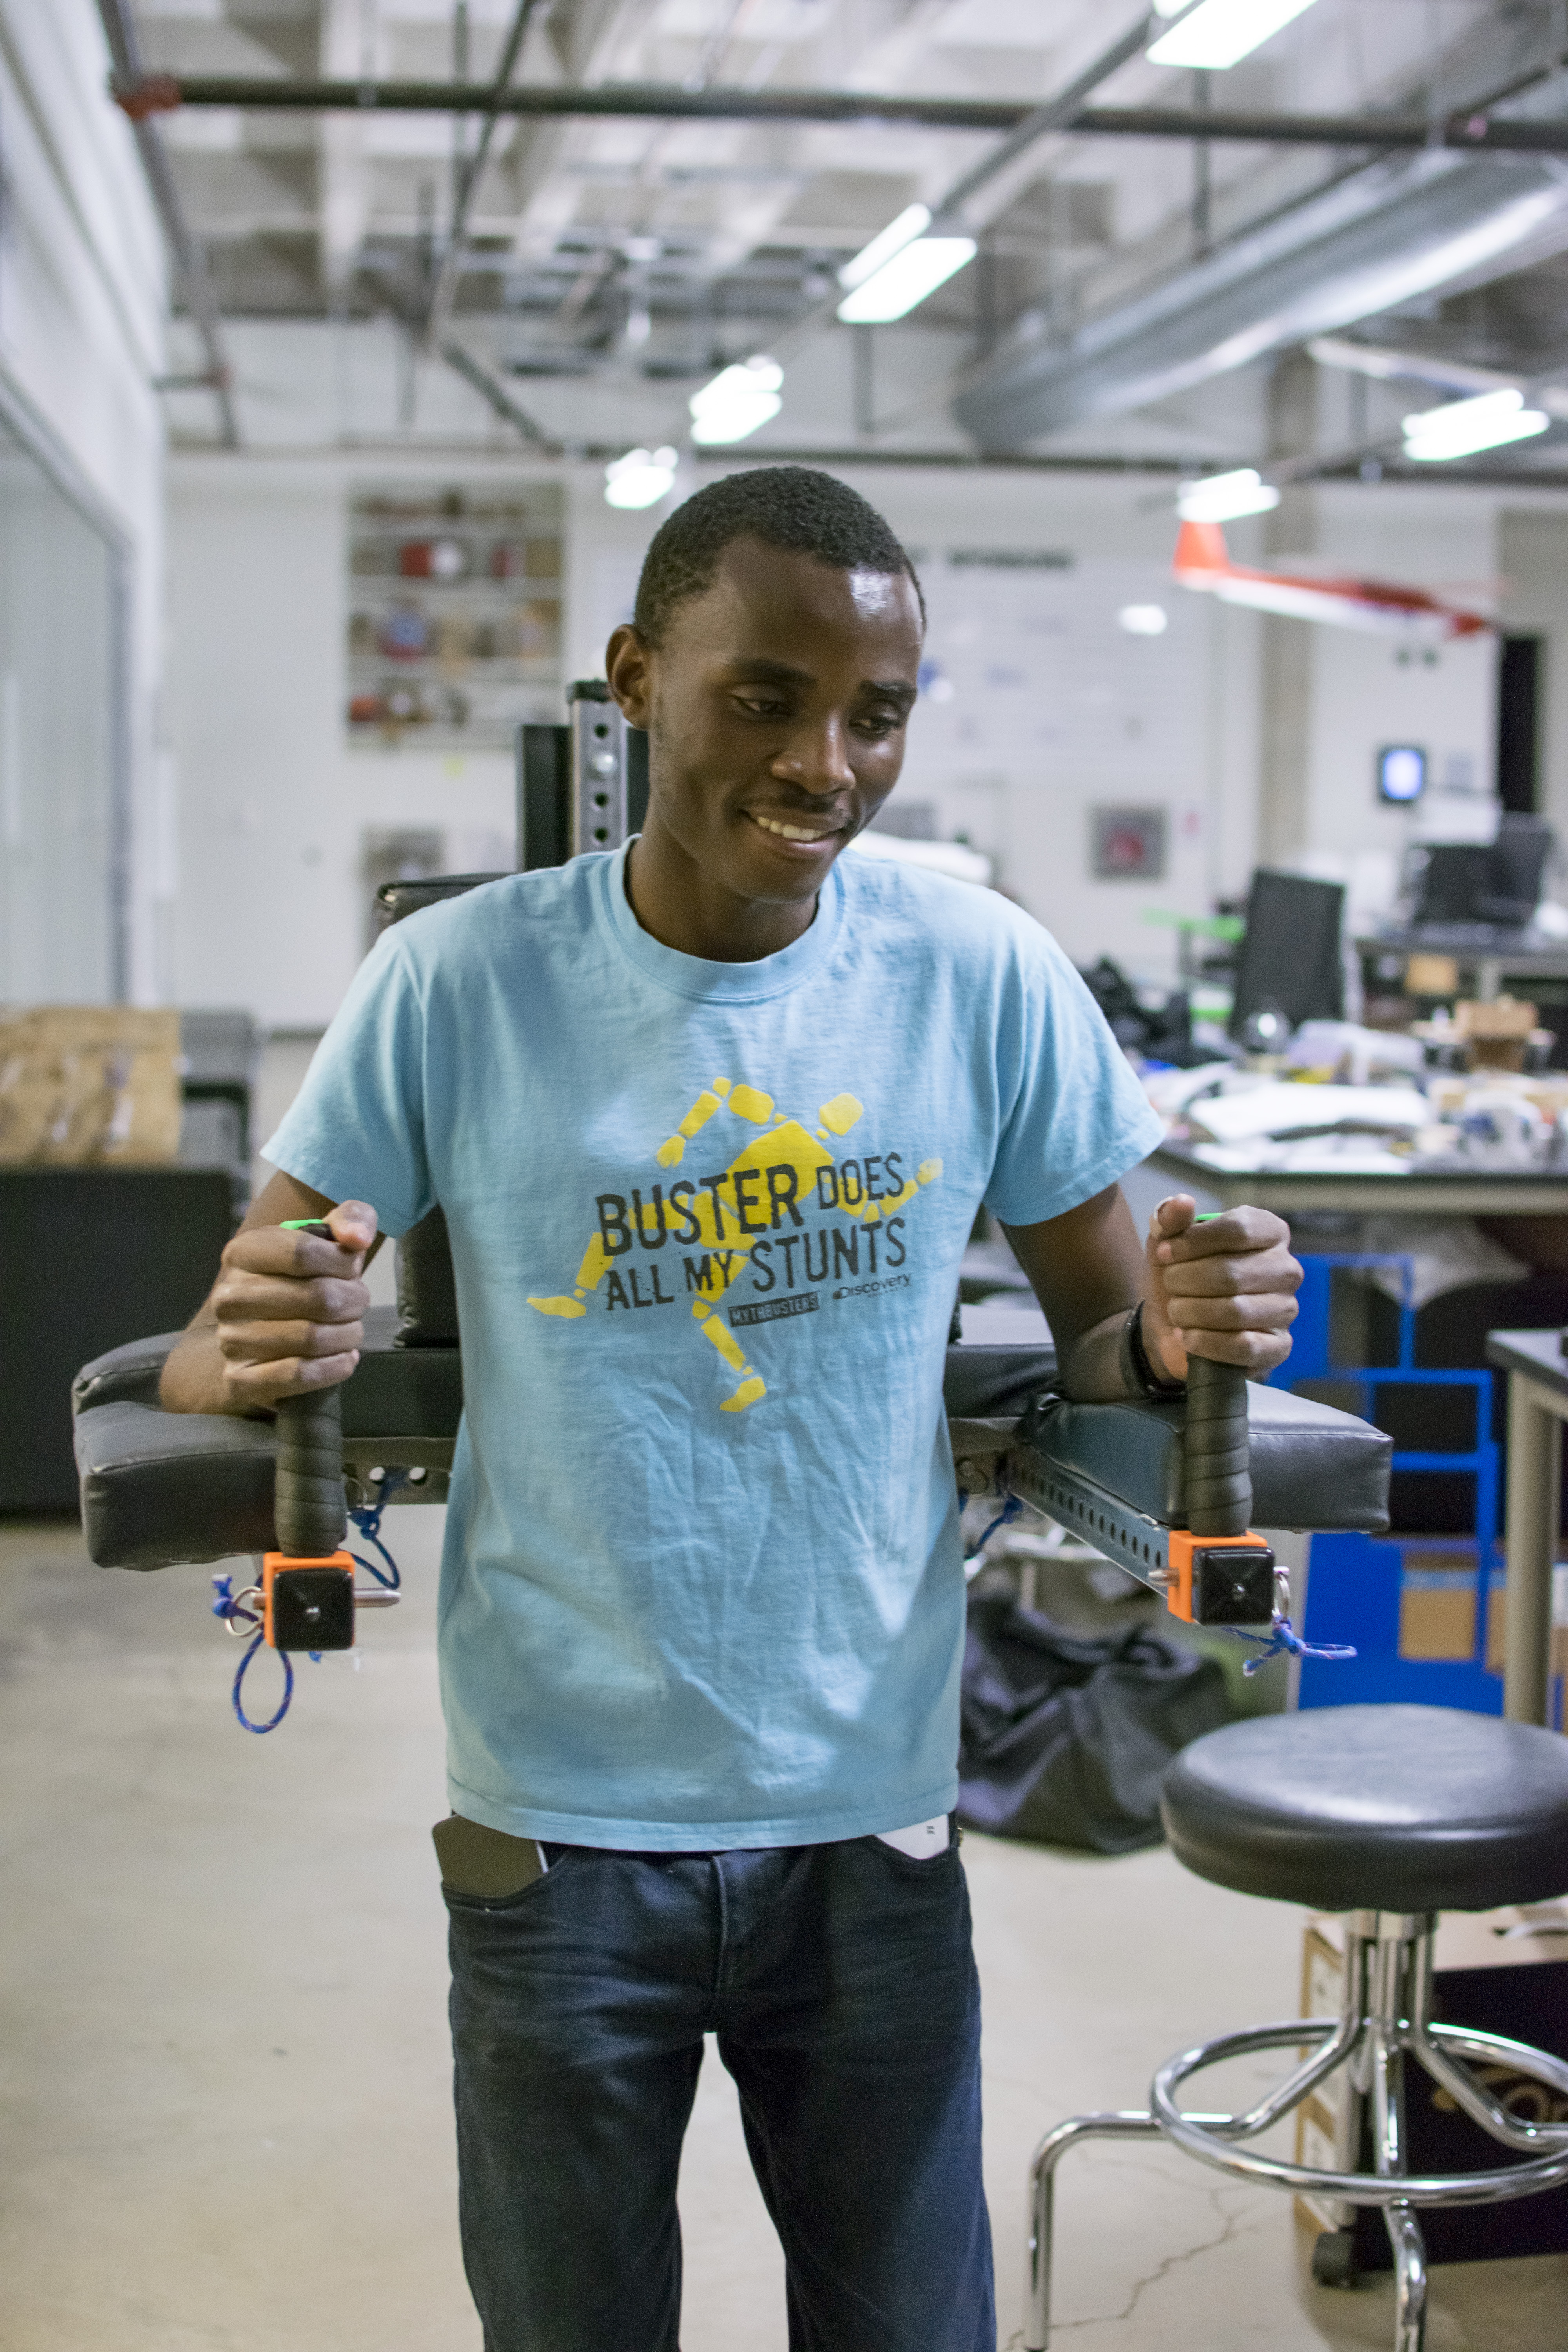
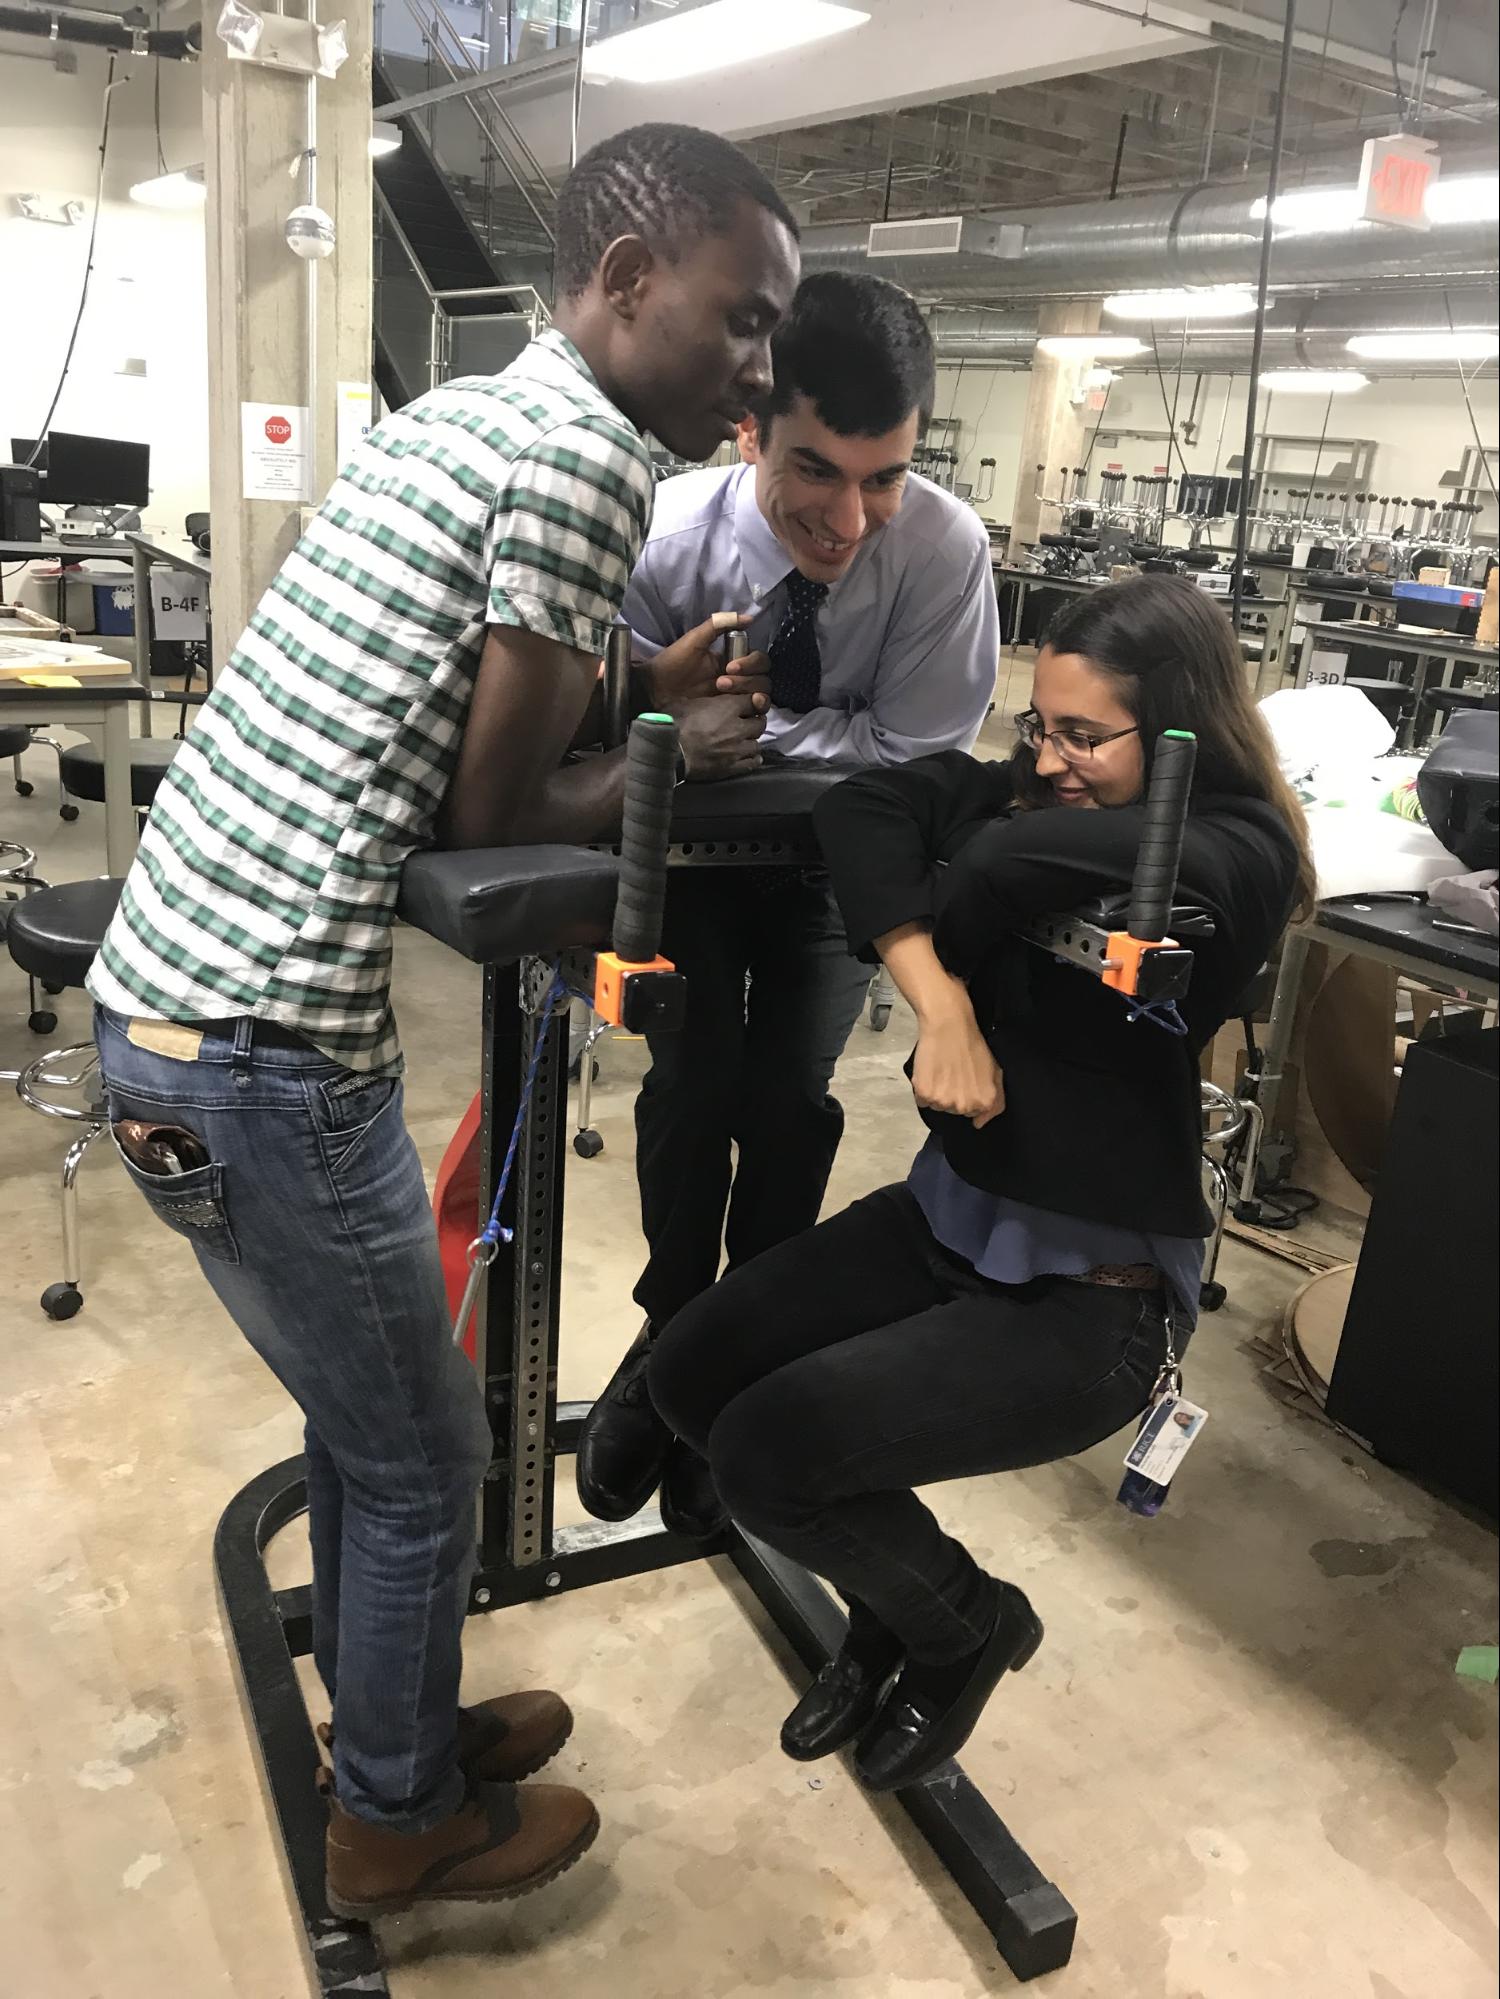
| Alex showing off the armrest mechanism of the device | Blessings being aesthetic while showing off the armrest mechanism of the device | Alex showing off the huggable pillow |
Alex’s photos look amazing. Life tip: be friends with photographers with fancy cameras. They will make everything, including the extremely unappealing OEDK ceiling, look aesthetic. The secret to Alex’s success?
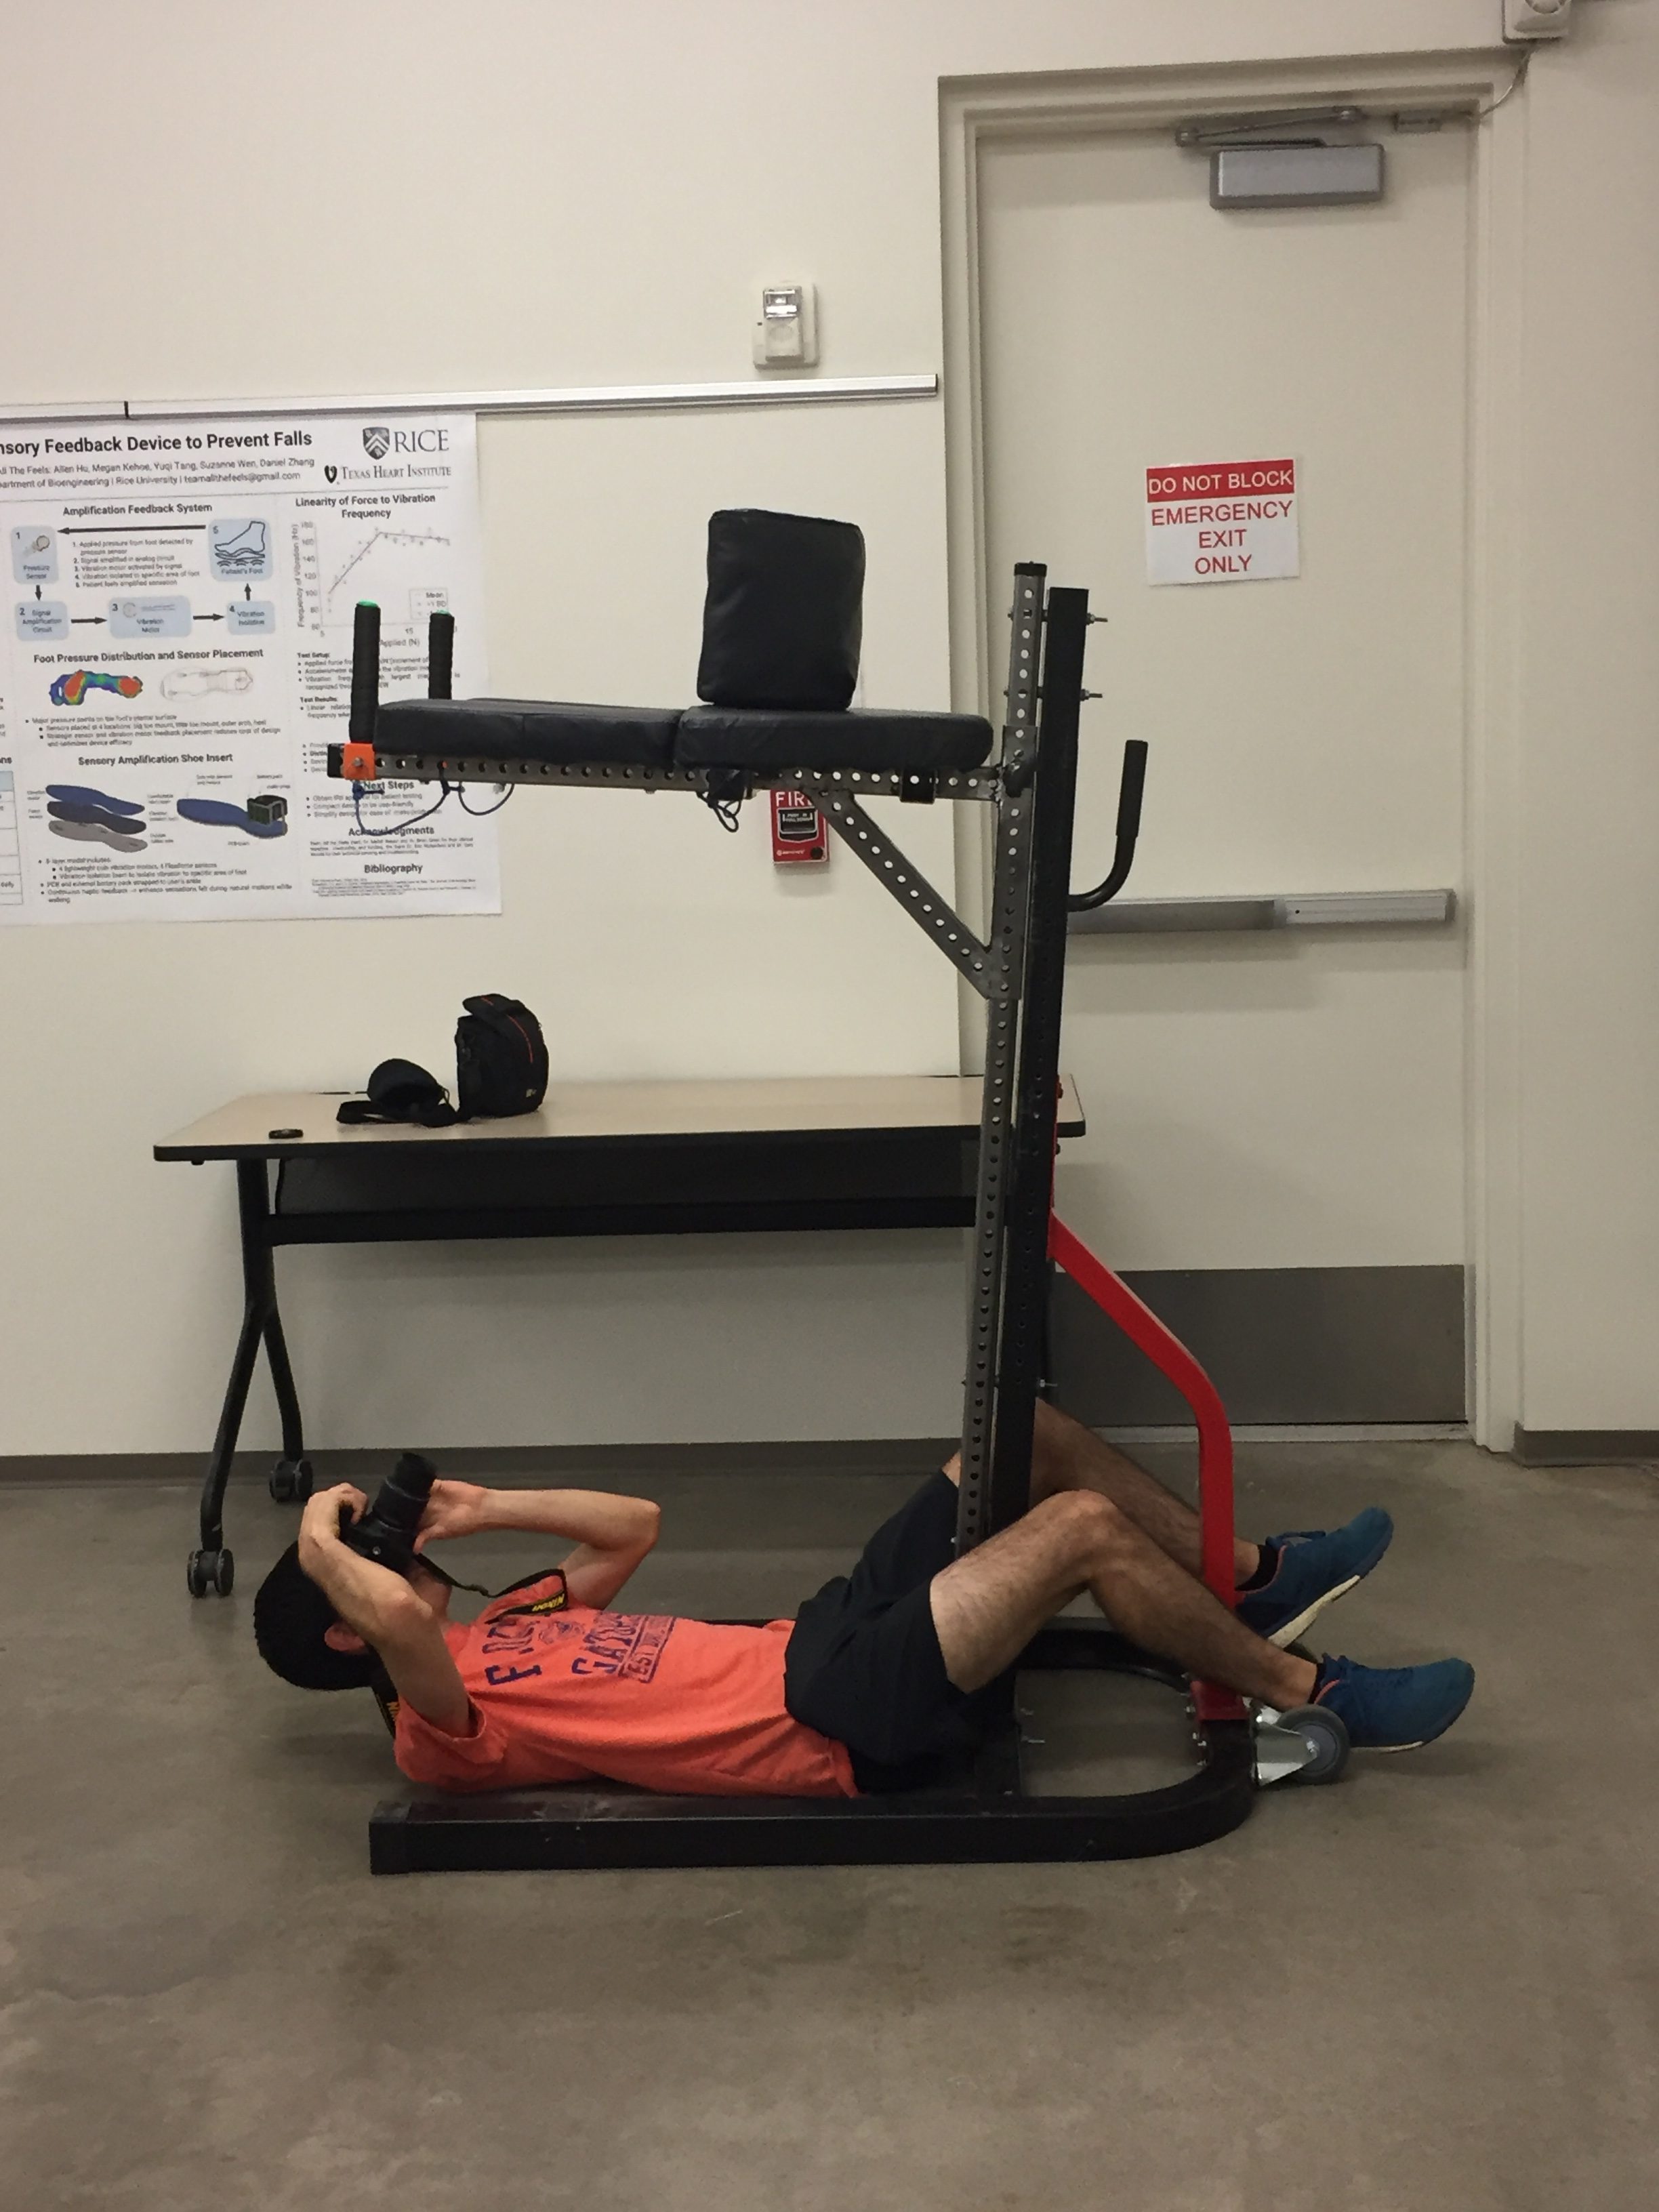
A true photographer is willing to go to any lengths for that perfect shot.
The next morning, we completed some preliminary testing (patient comfort, adjustability time, cleaning time, etc). The tests may not have been done as thoroughly as we would have liked, but we did what we could to have some results for our presentation that afternoon. For instance, to test weight capacity, Alex, Blessings, and I suspended ourselves off the device for a minute or two to see if it would hold over 350 pounds because we didn’t have easy access to weights.
Testing the weight capacity of the Hybrid Design #engineering
Even though we formally presented our “completed” device at the presentation on Wednesday, we still have some work to do before we deliver our prototype to our client. For instance, we need to print some shims to stop the base from shaking so much, and we need to spray paint the device so it doesn’t rust. We had a lot of plans that we just didn’t have time to complete (this is what happens when you radically change your prototype two days before the deadline). We are confident that we will deliver our prototype to our client, hopefully within the next month. We just have to finish it during the schoolyear. And then we have to figure out how to deliver it… via the metro. Because the buses are handicap accessible and, theoretically, it could be done.
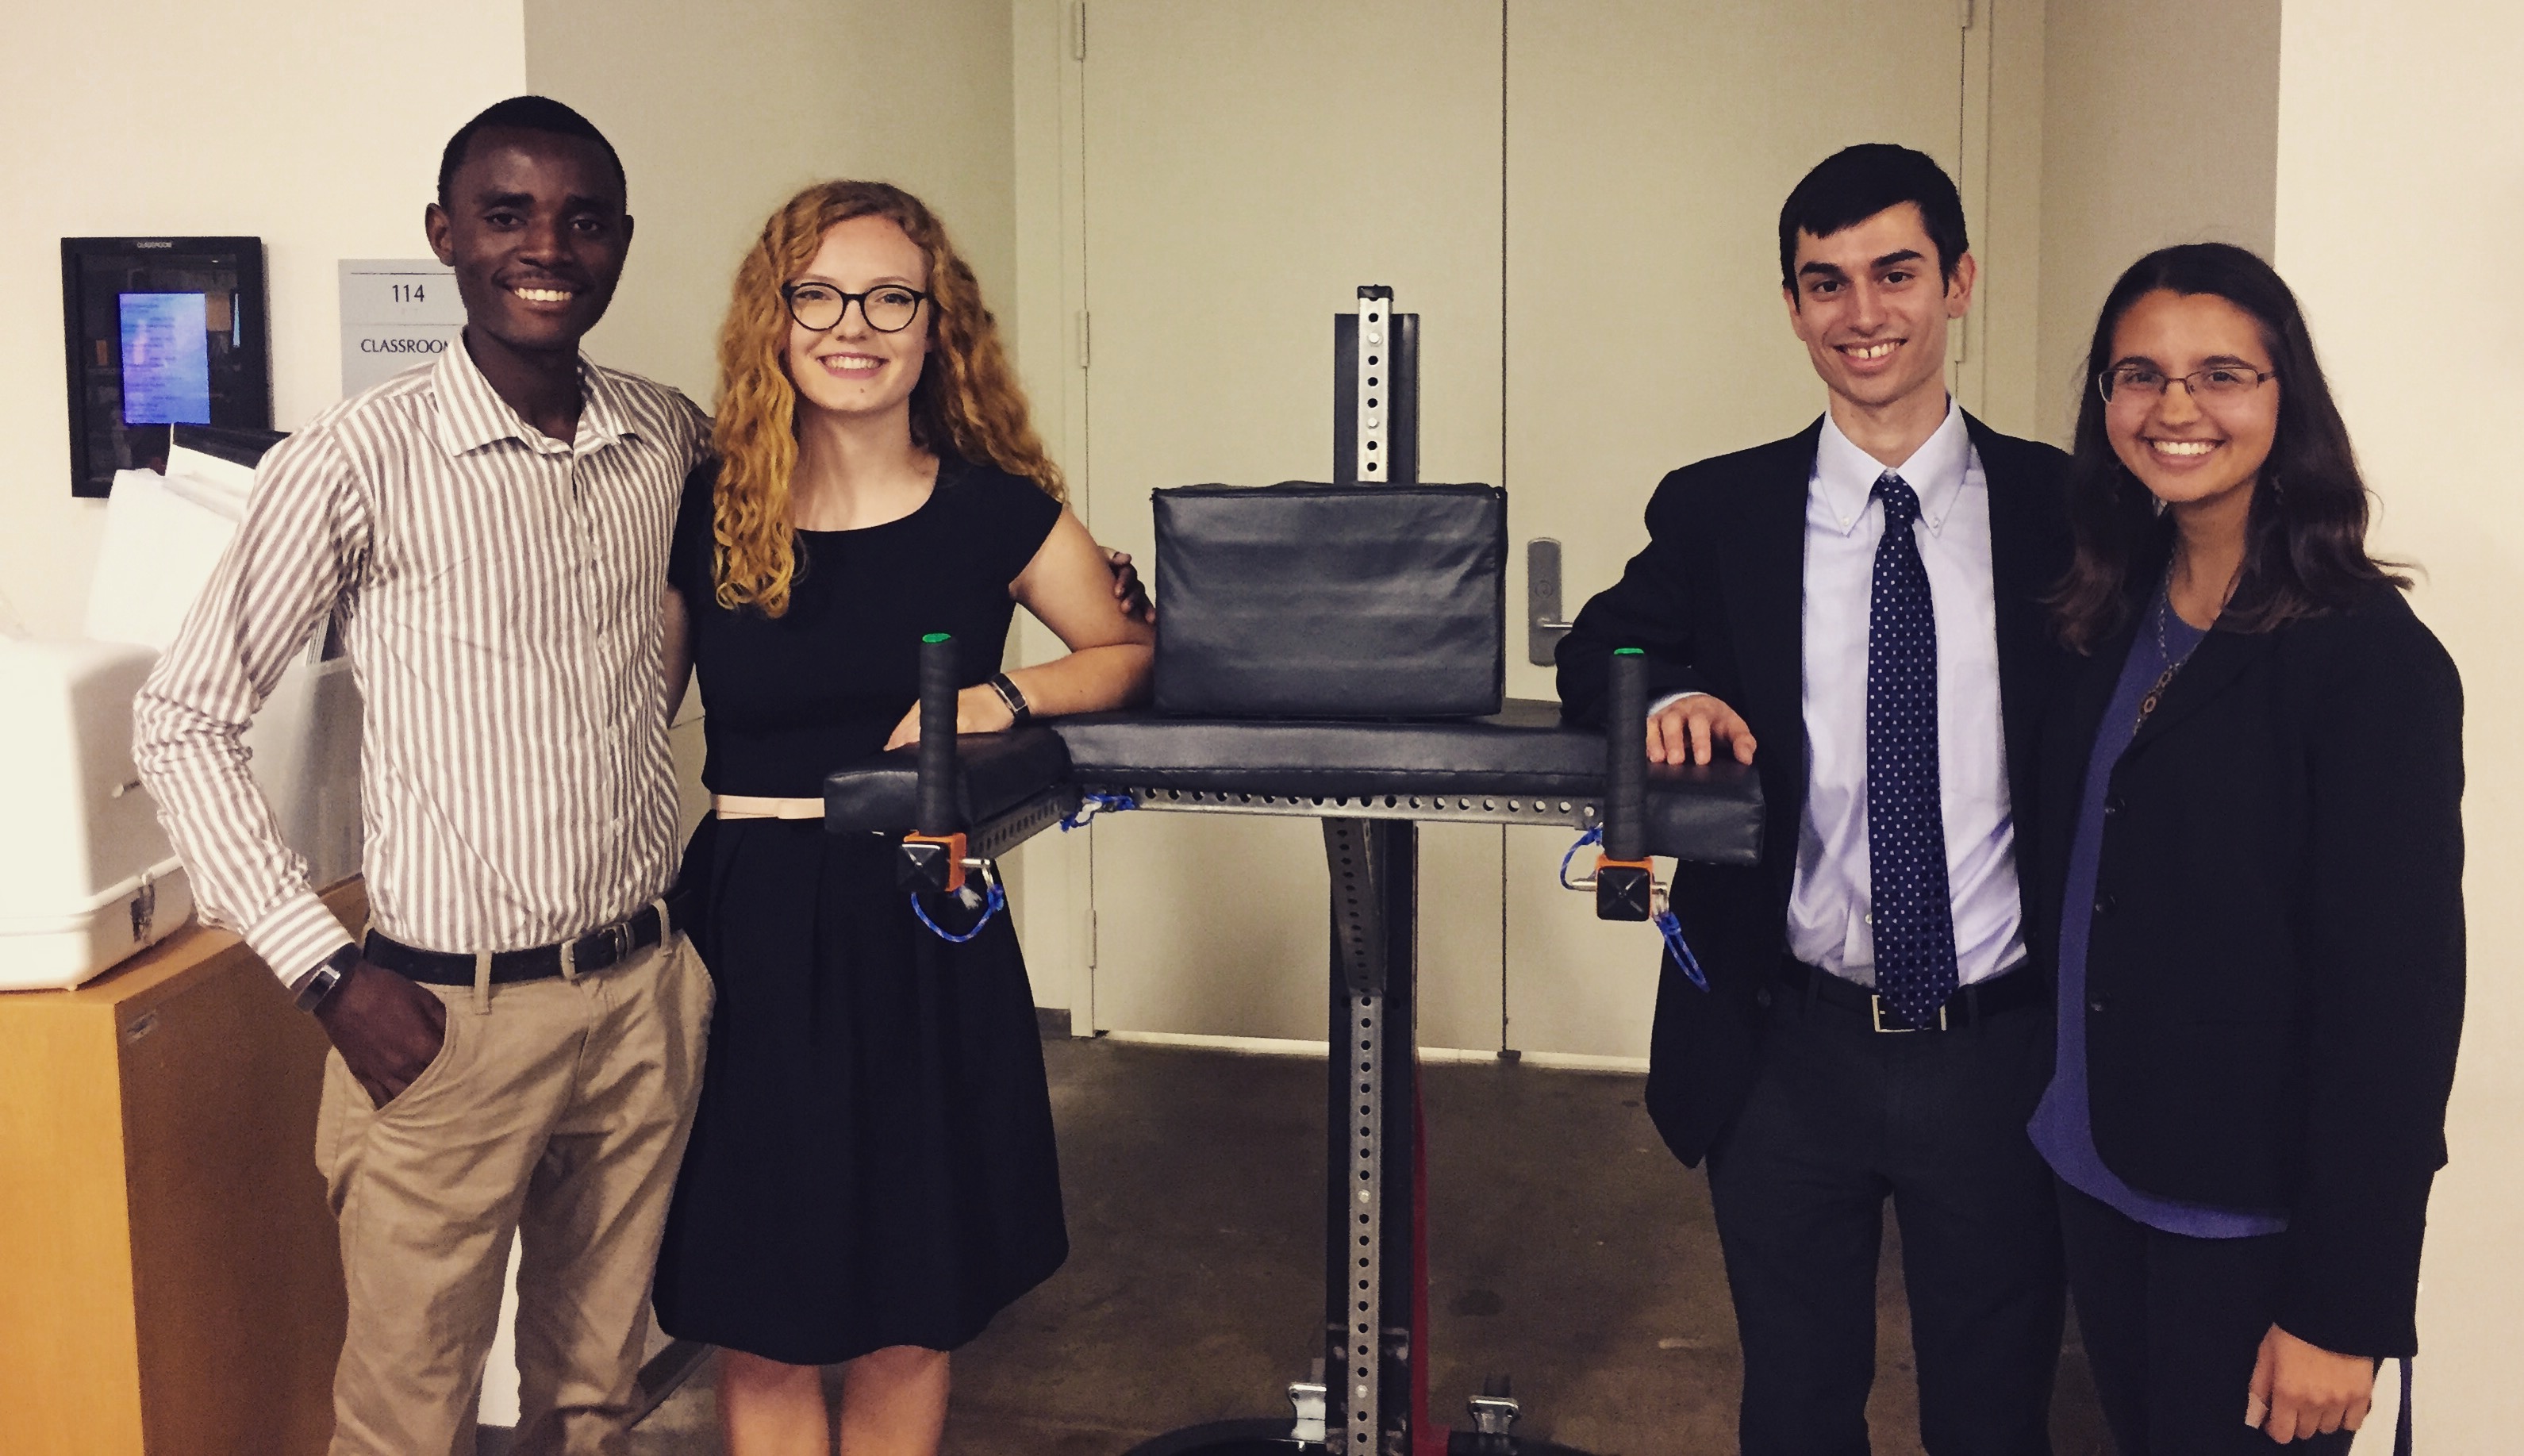
Team Gotta Cast ‘Em All posing victoriously with the casting stand we built in like three days
This has been an incredible summer full of new experiences and amazing accomplishments. From working on a new project and learning how to do basic metal working to exploring Houston and living on my own for the first time, I learned so much this summer and I had a great time while doing it.
Thank you, SEED, for letting me into your internship (read: family) for the seven short weeks I got. It was incredible and I wouldn’t have missed it for the world. I only wish it had been longer.
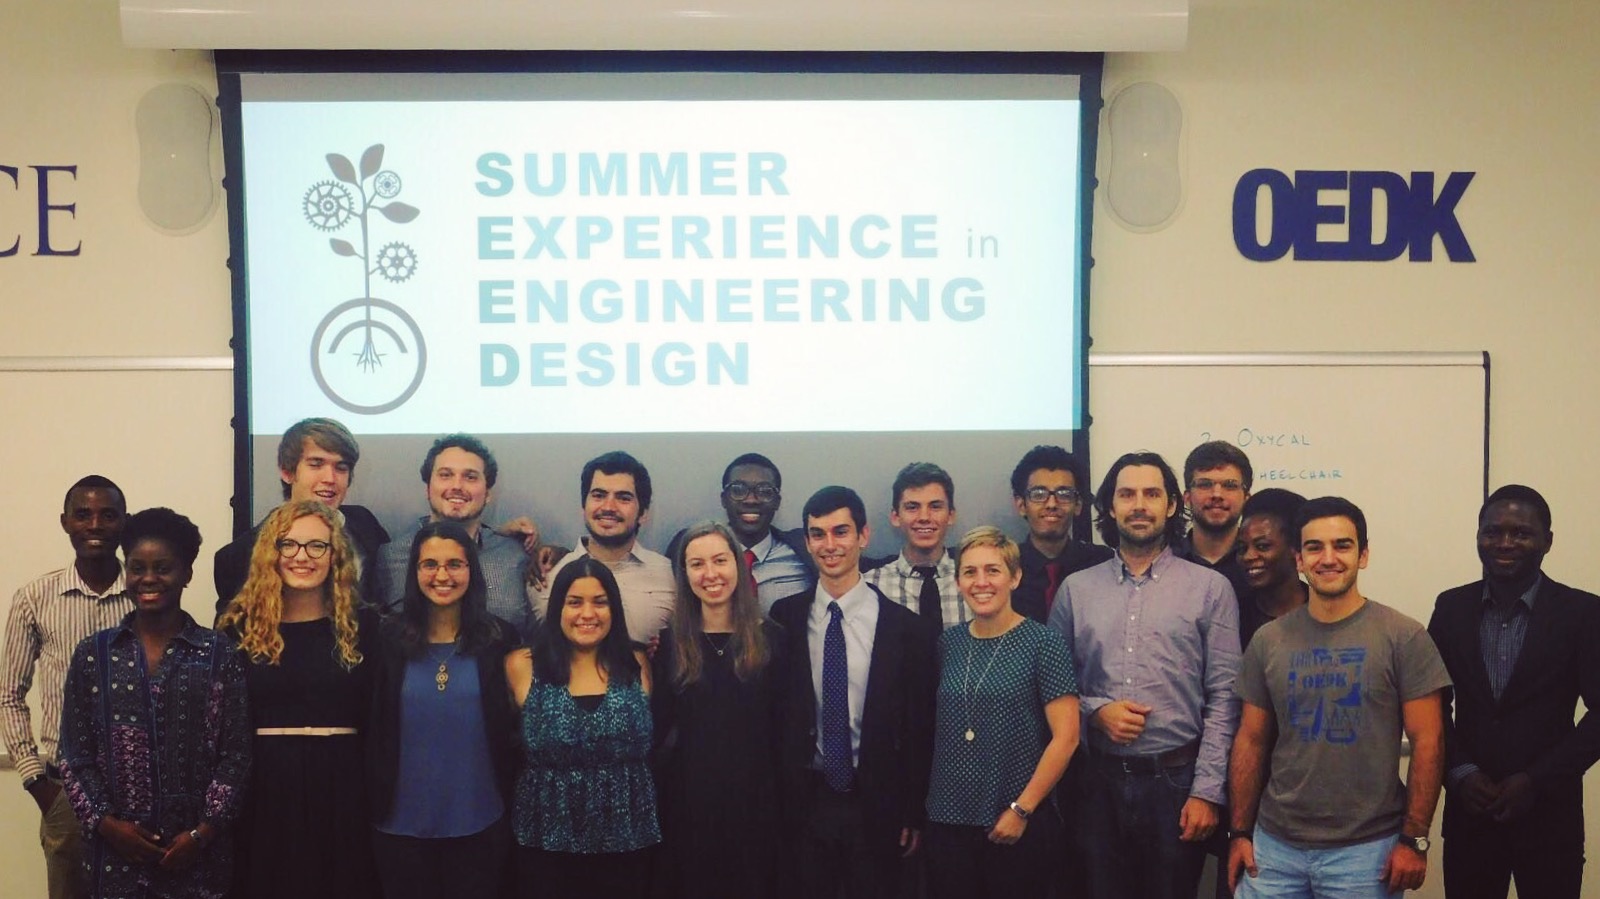
SEED 2017: Believe in the Engineering Design Process and it will guide you!
I really enjoyed seeing these photos! They reflect your skills as well as your ability to handle setbacks with smiles as well as ingenuity.
You are obviously aware of the challenges of your field but ready to meet them with optimism.
Harrell and I enjoyed meeting your team, following your progress, and watching you deal with your problems. We are so pleased with the SEED program and glad that you were such a valuable part of it.