The final week of SEED! It’s all come together in this last week, getting everything into place and making one final prototype with all the post-processing that we’ve learned how to do, and a copy without all the stain and finish for practice/durability testing. It’s been a process, for sure. Last Friday we had a single combined prototype made, with scapulas that drooped sadly. Now we have a finished model to deliver to James bright and early tomorrow morning at 8:15! I’m excited.
-
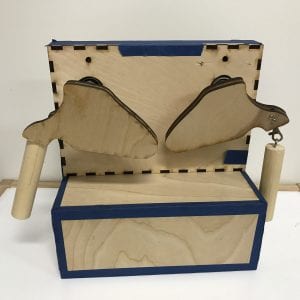
- Our sad medium fidelity drooping scapulas
-
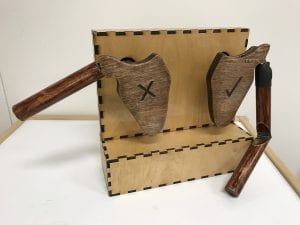
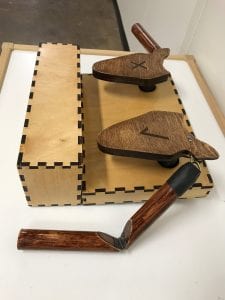
- And our sleek final prototype.
On Friday we printed and stained the final main trunk with logos and all… and the top corner immediately chipped. Alright, that’s our test piece for staining and sealing. We laser cut a new one, and stayed late on Friday sanding all the pieces in preparation for post processing. This week we’ve gotten lots of practice with the cycles of staining and sanding and all to give the wood a finish. We got our new shorter springs so that we could make the scapulas stick out less from our model. We remeasured dimensions for our box base and laser cut that too.
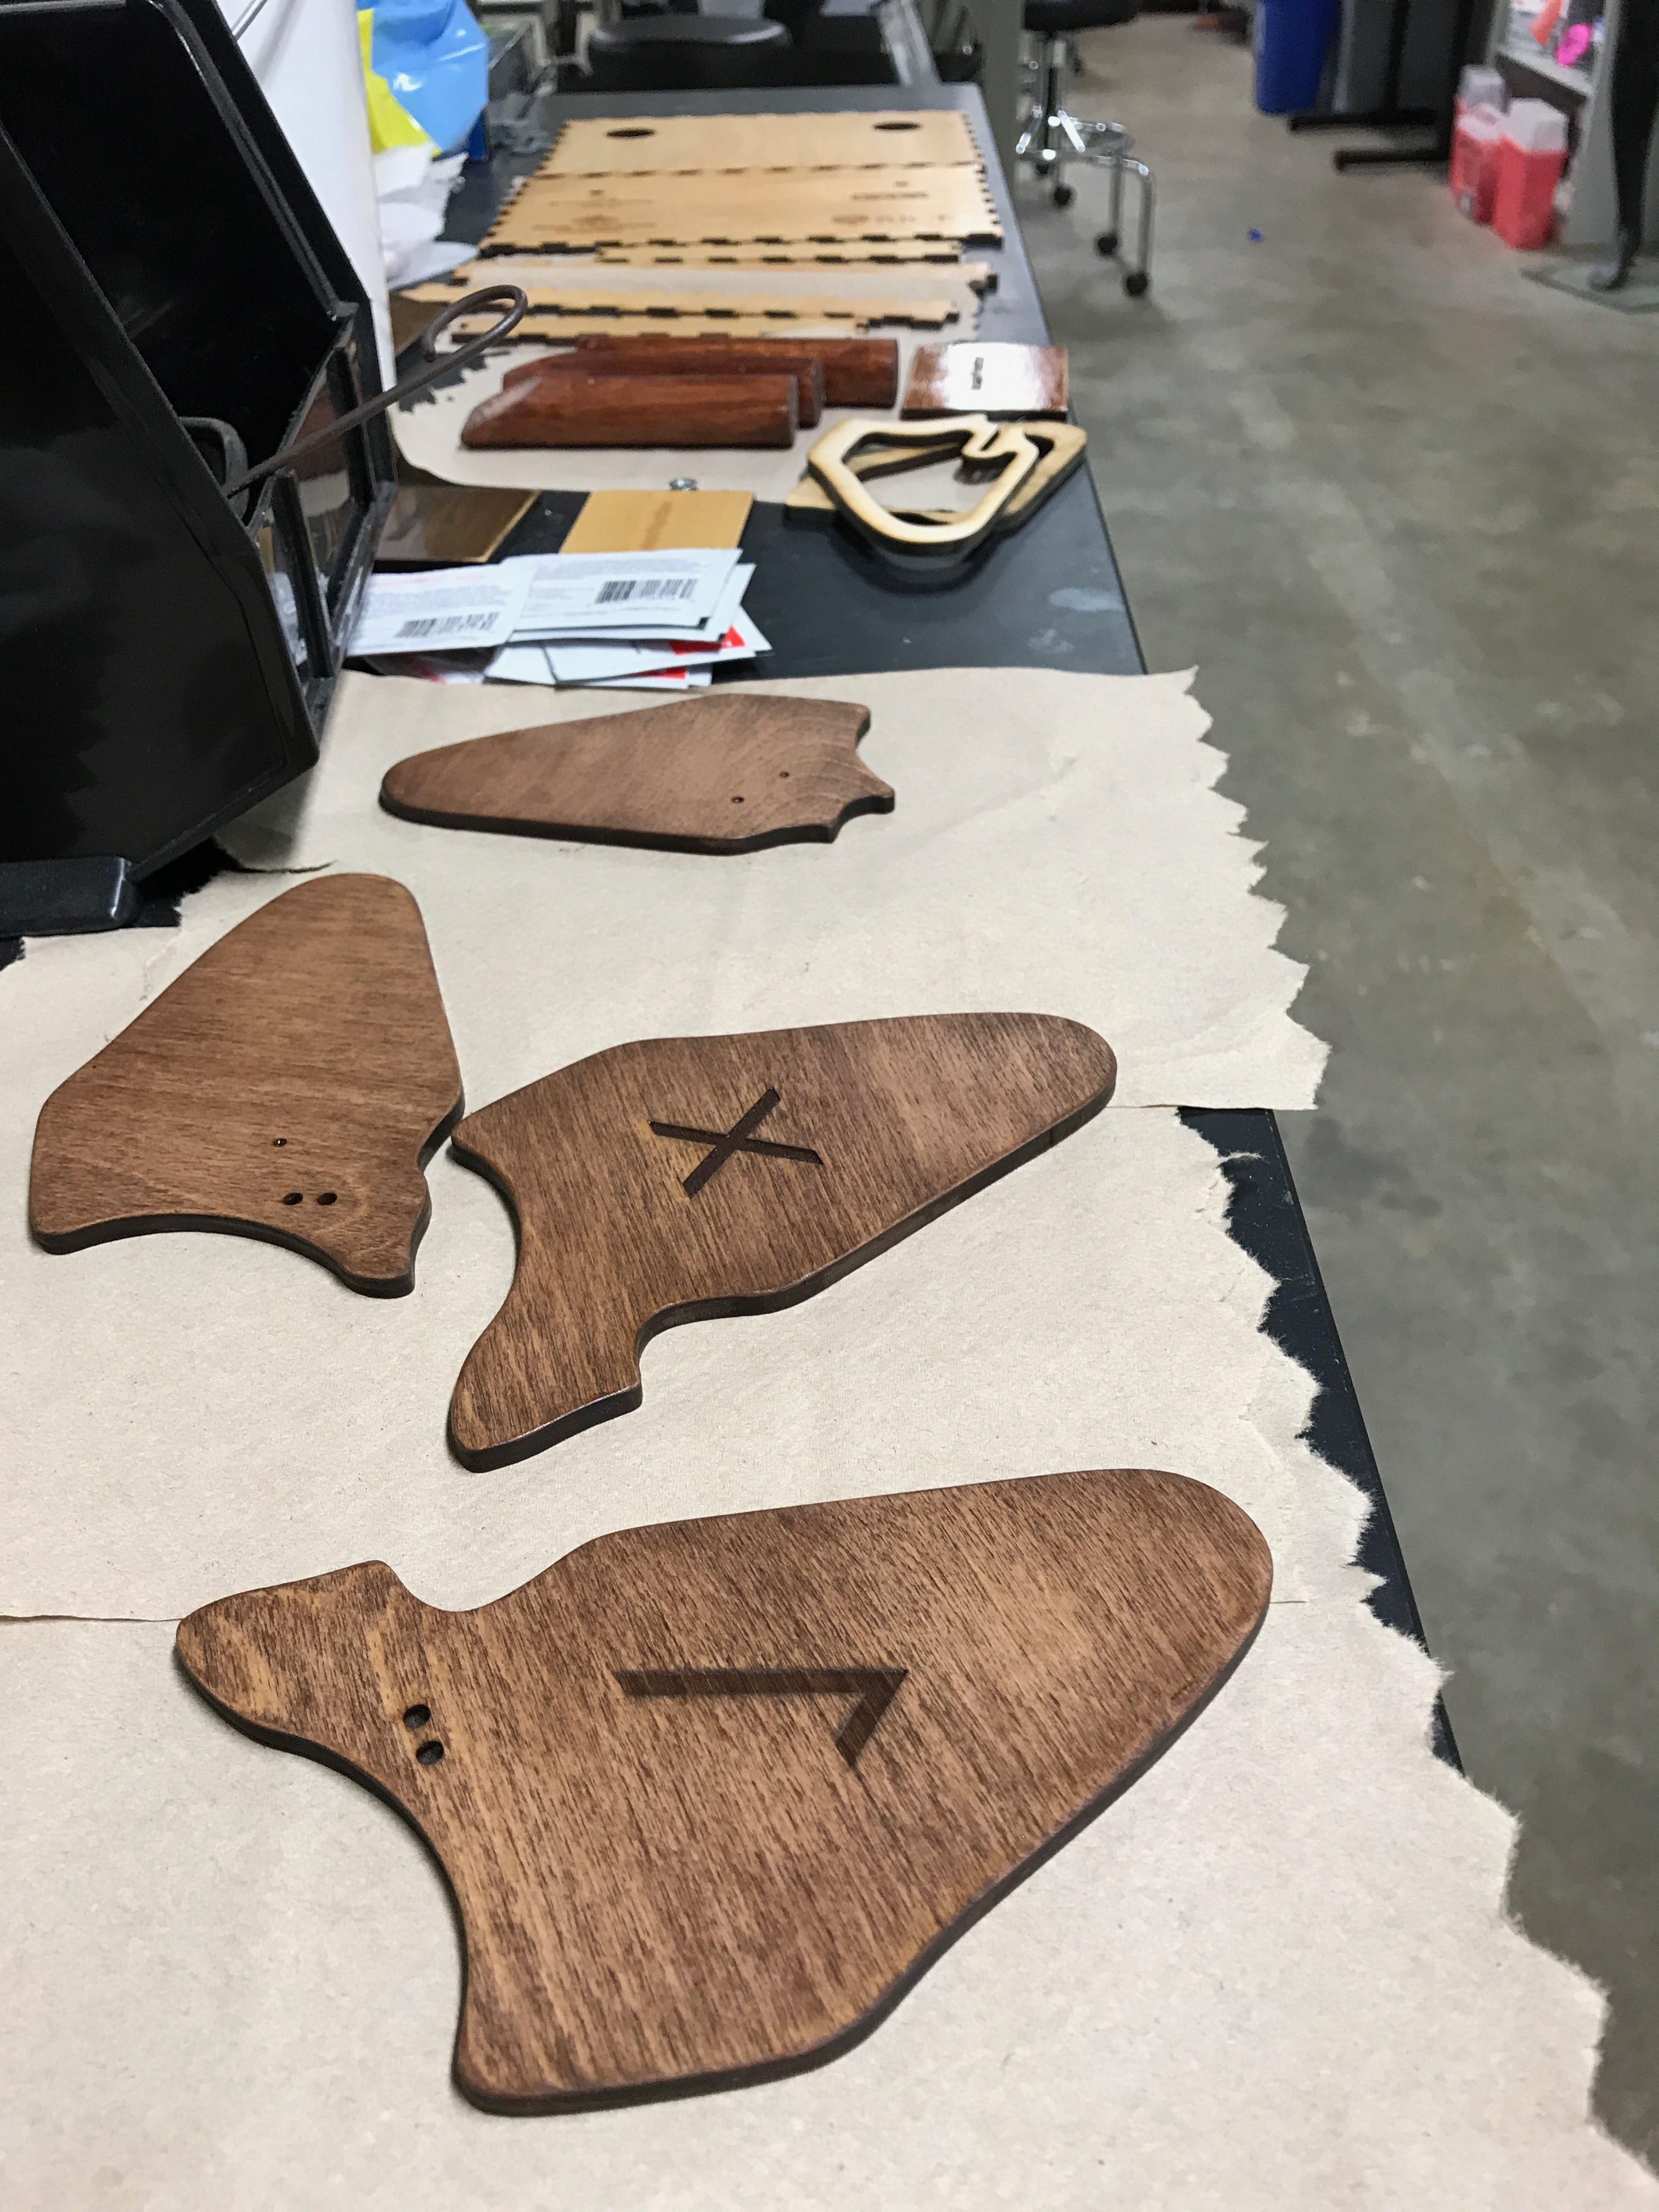
Our final model pieces with beautiful walnut stain.
Xiaoyao and Grant made a Herculean effort over the weekend in order to get all our exterior pieces stained with a second coat and start the acrylic spray so that we could assemble them during the week. They also created a proof of concept for tightening slip disk, verifying that our design would hold scapula and arm upright.
This weekend I got to hang out with Tori, my Owl Days host from back when I was a prospie (prospective student). Shoutout to her for telling me all about ENGI 120 and SEED, which she did last summer! It was good to catch up with her over dinner and some delicious rolled ice cream.
Ice cream with Tori, fellow MechE and SEED alum!
Can’t Brachius spent the rest of the week laser cutting a second set of pieces and putting together all of the final prototype and the dummy in parallel. We made two full models so that we could have one to beat up for durability testing and avoid harming the one with the finish that we were giving to James. I highly recommend it as a strategy because we constructed it the same way as the final, and it allowed us to have a practice round for all the attachments. As we put together the dummy one, we took pictures of every step so that we had documentation with photos and didn’t need to document the real one as we were trying to assemble it perfectly. JB Weld is a magical substance- I had never worked with it before but it’s strong and has long enough work time to mess with for hours. About half of our model is held together with this stuff.
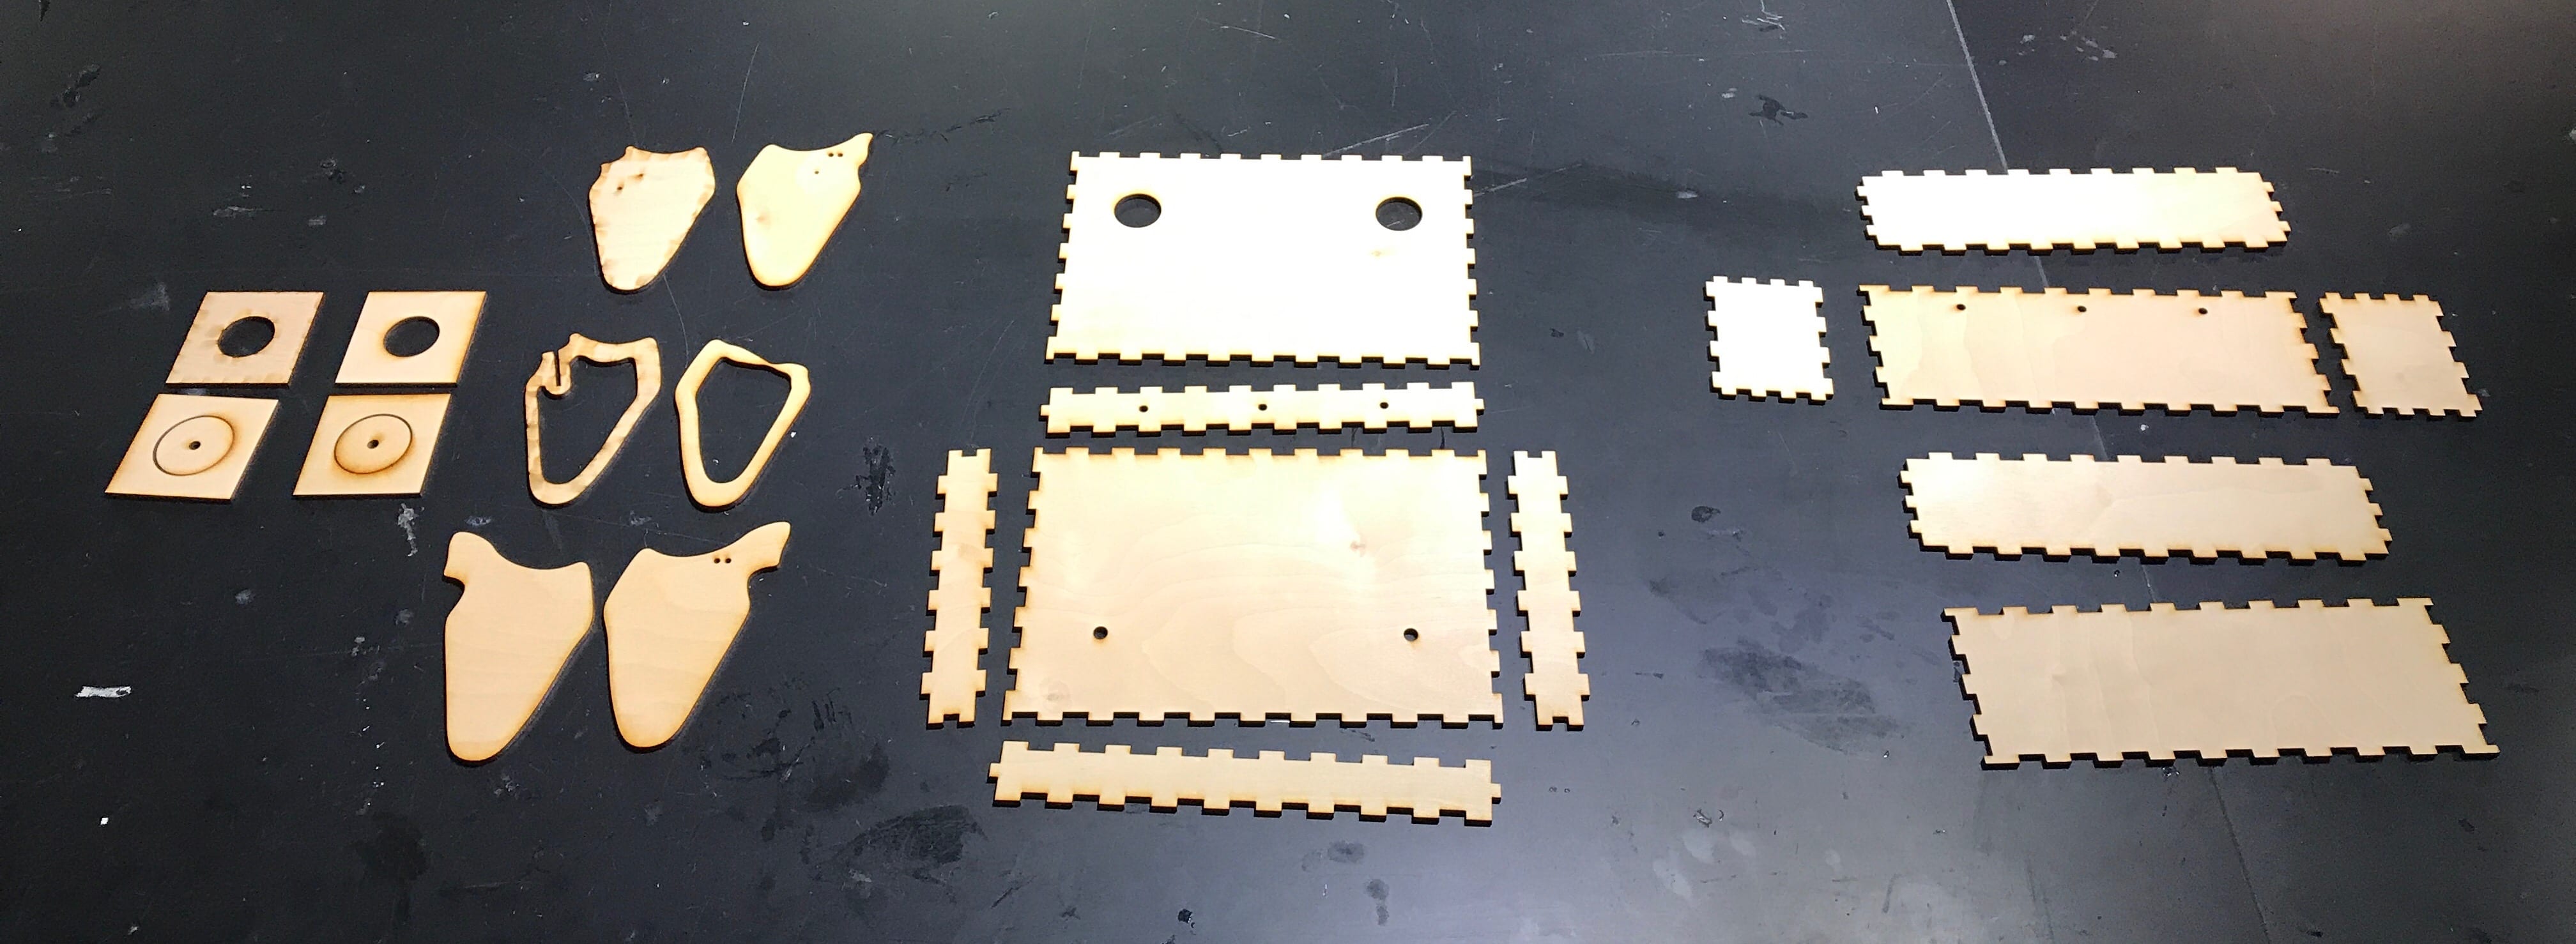
All the laser cut pieces for our dummy second model.
-

- Our two shoulder joints being attached with JB Weld.
-
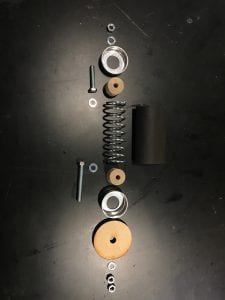
- The galactic-looking assembly for holding the spring scapula-trunk joint.
Wettergreen and his wife hosted all of SEED for a wonderful dinner party on Wednesday before the final presentation. I enjoyed helping Nick cook his bolognese sauce and trying out the pasta machine. We all feasted that night and the next day’s lunch, and there was enough left over that I took home the rest and had dinner for my family of five!
-
- All of SEED gathered for dinner…
-
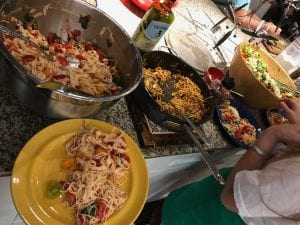
- And our feast, made from scratch!
We had our final presentations on Thursday, for which Grant and I presented. Unfortunately James couldn’t make it, but we enjoyed showing our process and final product to our fellow SEED members, our professors, and our sponsors the Huffs. Our final prototype had the last bolt end caps glued on just in time to set overnight before we showed it off. A finished project!
-
- Our final prototype, ready for use…
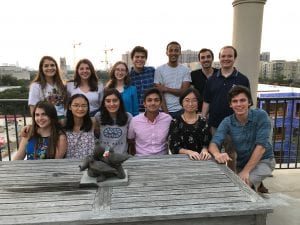
-
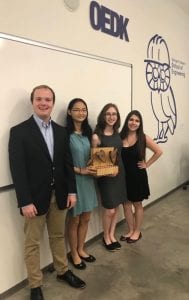
- And the team who made it!
Today some of us are going to the MFAH, the Museum of Fine Arts Houston. I’m from here so I’ve visited, but not in a while. I’m looking forward to an exhibit on 3D printing, and another that’s interactive with a structure of bamboo stalks making a bridge you can walk on.
Update: We delivered our model to James Friday morning, and he is impressed with the professionalism of the model and how well it functions. He wants to use it as an educational tool in a triennial international conference on brachial plexus palsy next year. As well as showing parents contractures and exercises, he spoke of possibly expanding it for use by Texas Children’s in teaching physical therapists! He asked if it would be reproducible for those purposes, and handily we do have the second model that is fully functional and we can give him. We have a cost estimate of $65.01 for materials consumed per model (well below his target of $300-400), and could fairly easily make more or hand off our instructions to others to reproduce it. I’m glad our client was proud of our results!

James receiving our finished prototype!
Over these weeks in the SEED program, I’ve watched my technical skills grow and gotten to work with a team, structuring our time independently and following a project through to completion. With Can’t Brachius I got to carry out the engineering design process through many stages of prototyping, each model building on what we learned from the previous ones. We practiced communicating intensively among our team and with others to build the best solution we could.
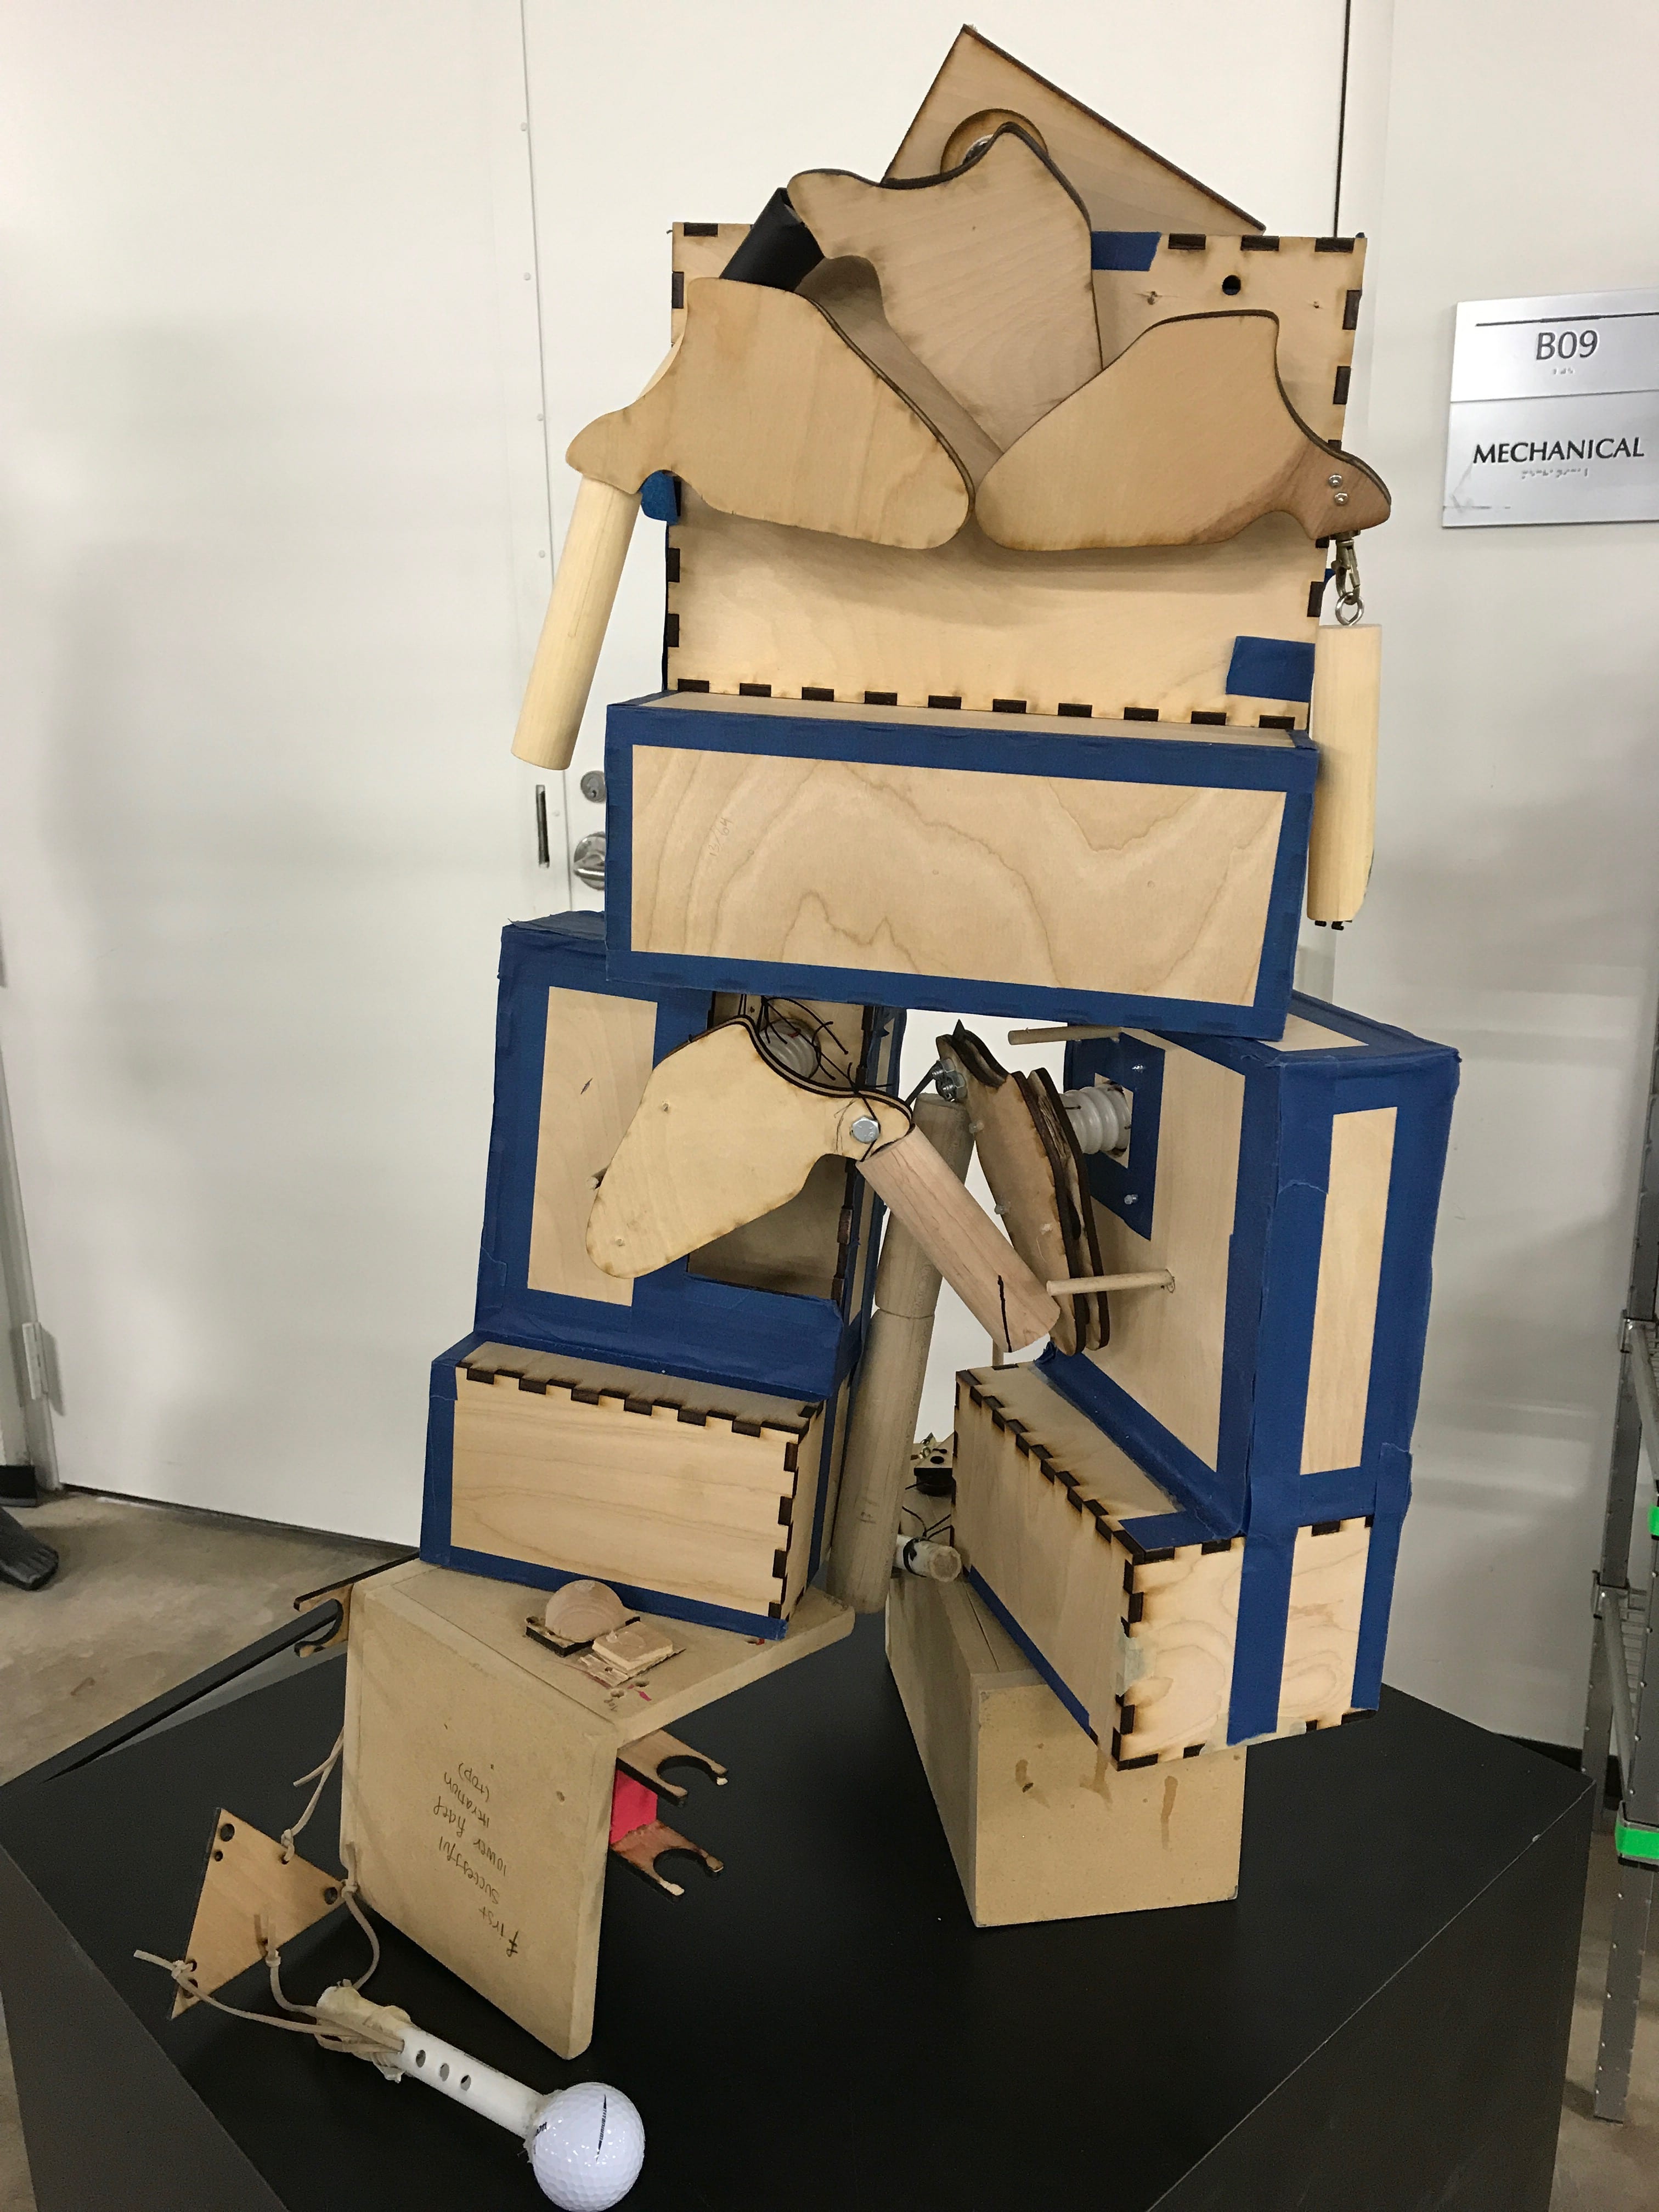
Our prototypes standing on the shoulders of giants- literally!
We had the foresight early on to rotate tasks when we started dividing up to work on multiple things at once. Since we didn’t overly specialize, I got experience in every part of the project (Adobe Illustrator, hand tools, sanding and staining, using glues and epoxies, etc). As a result, I am confident that I could do every step of the construction of the final model, start to finish. To know that I learned all that this summer, and that we walked away with a product James is excited about, is a wonderful feeling. I am immensely grateful for this experience!