
Hello! I left you last time with minimal news to report due to the shortened work week, but since then we have accomplished so much! Last week we were able to choose a final design and begin thinking about how to bring our idea into a full solution. We ended the week by preparing some PVC pipes to create our medium fidelity prototype. Monday began by assembling these pieces to create a full size, non functional, but still portable frame. While we originally intended to have this device be functional, we experienced some issues with using PVC. In order to replicate the telescoping motion (something bigger sliding over something smaller) used in our height adjustment, we used an oversized PVC joint over a smaller PVC tube. While this idea was good in theory, when the device was actually built there was too much twisting motion due to the round shape of the tubes, and the device ended up being very unstable. In order to still be able to move this device around to see if we could make it through doorways and into the elevator at the OEDK, we had to duct tape all the components designed to be movable. We shouldn’t run into the same issue with our final prototype because we are planning on using square tubing instead of round tubing. From this prototype we were able to finalize the dimensions needed to make our device portable.
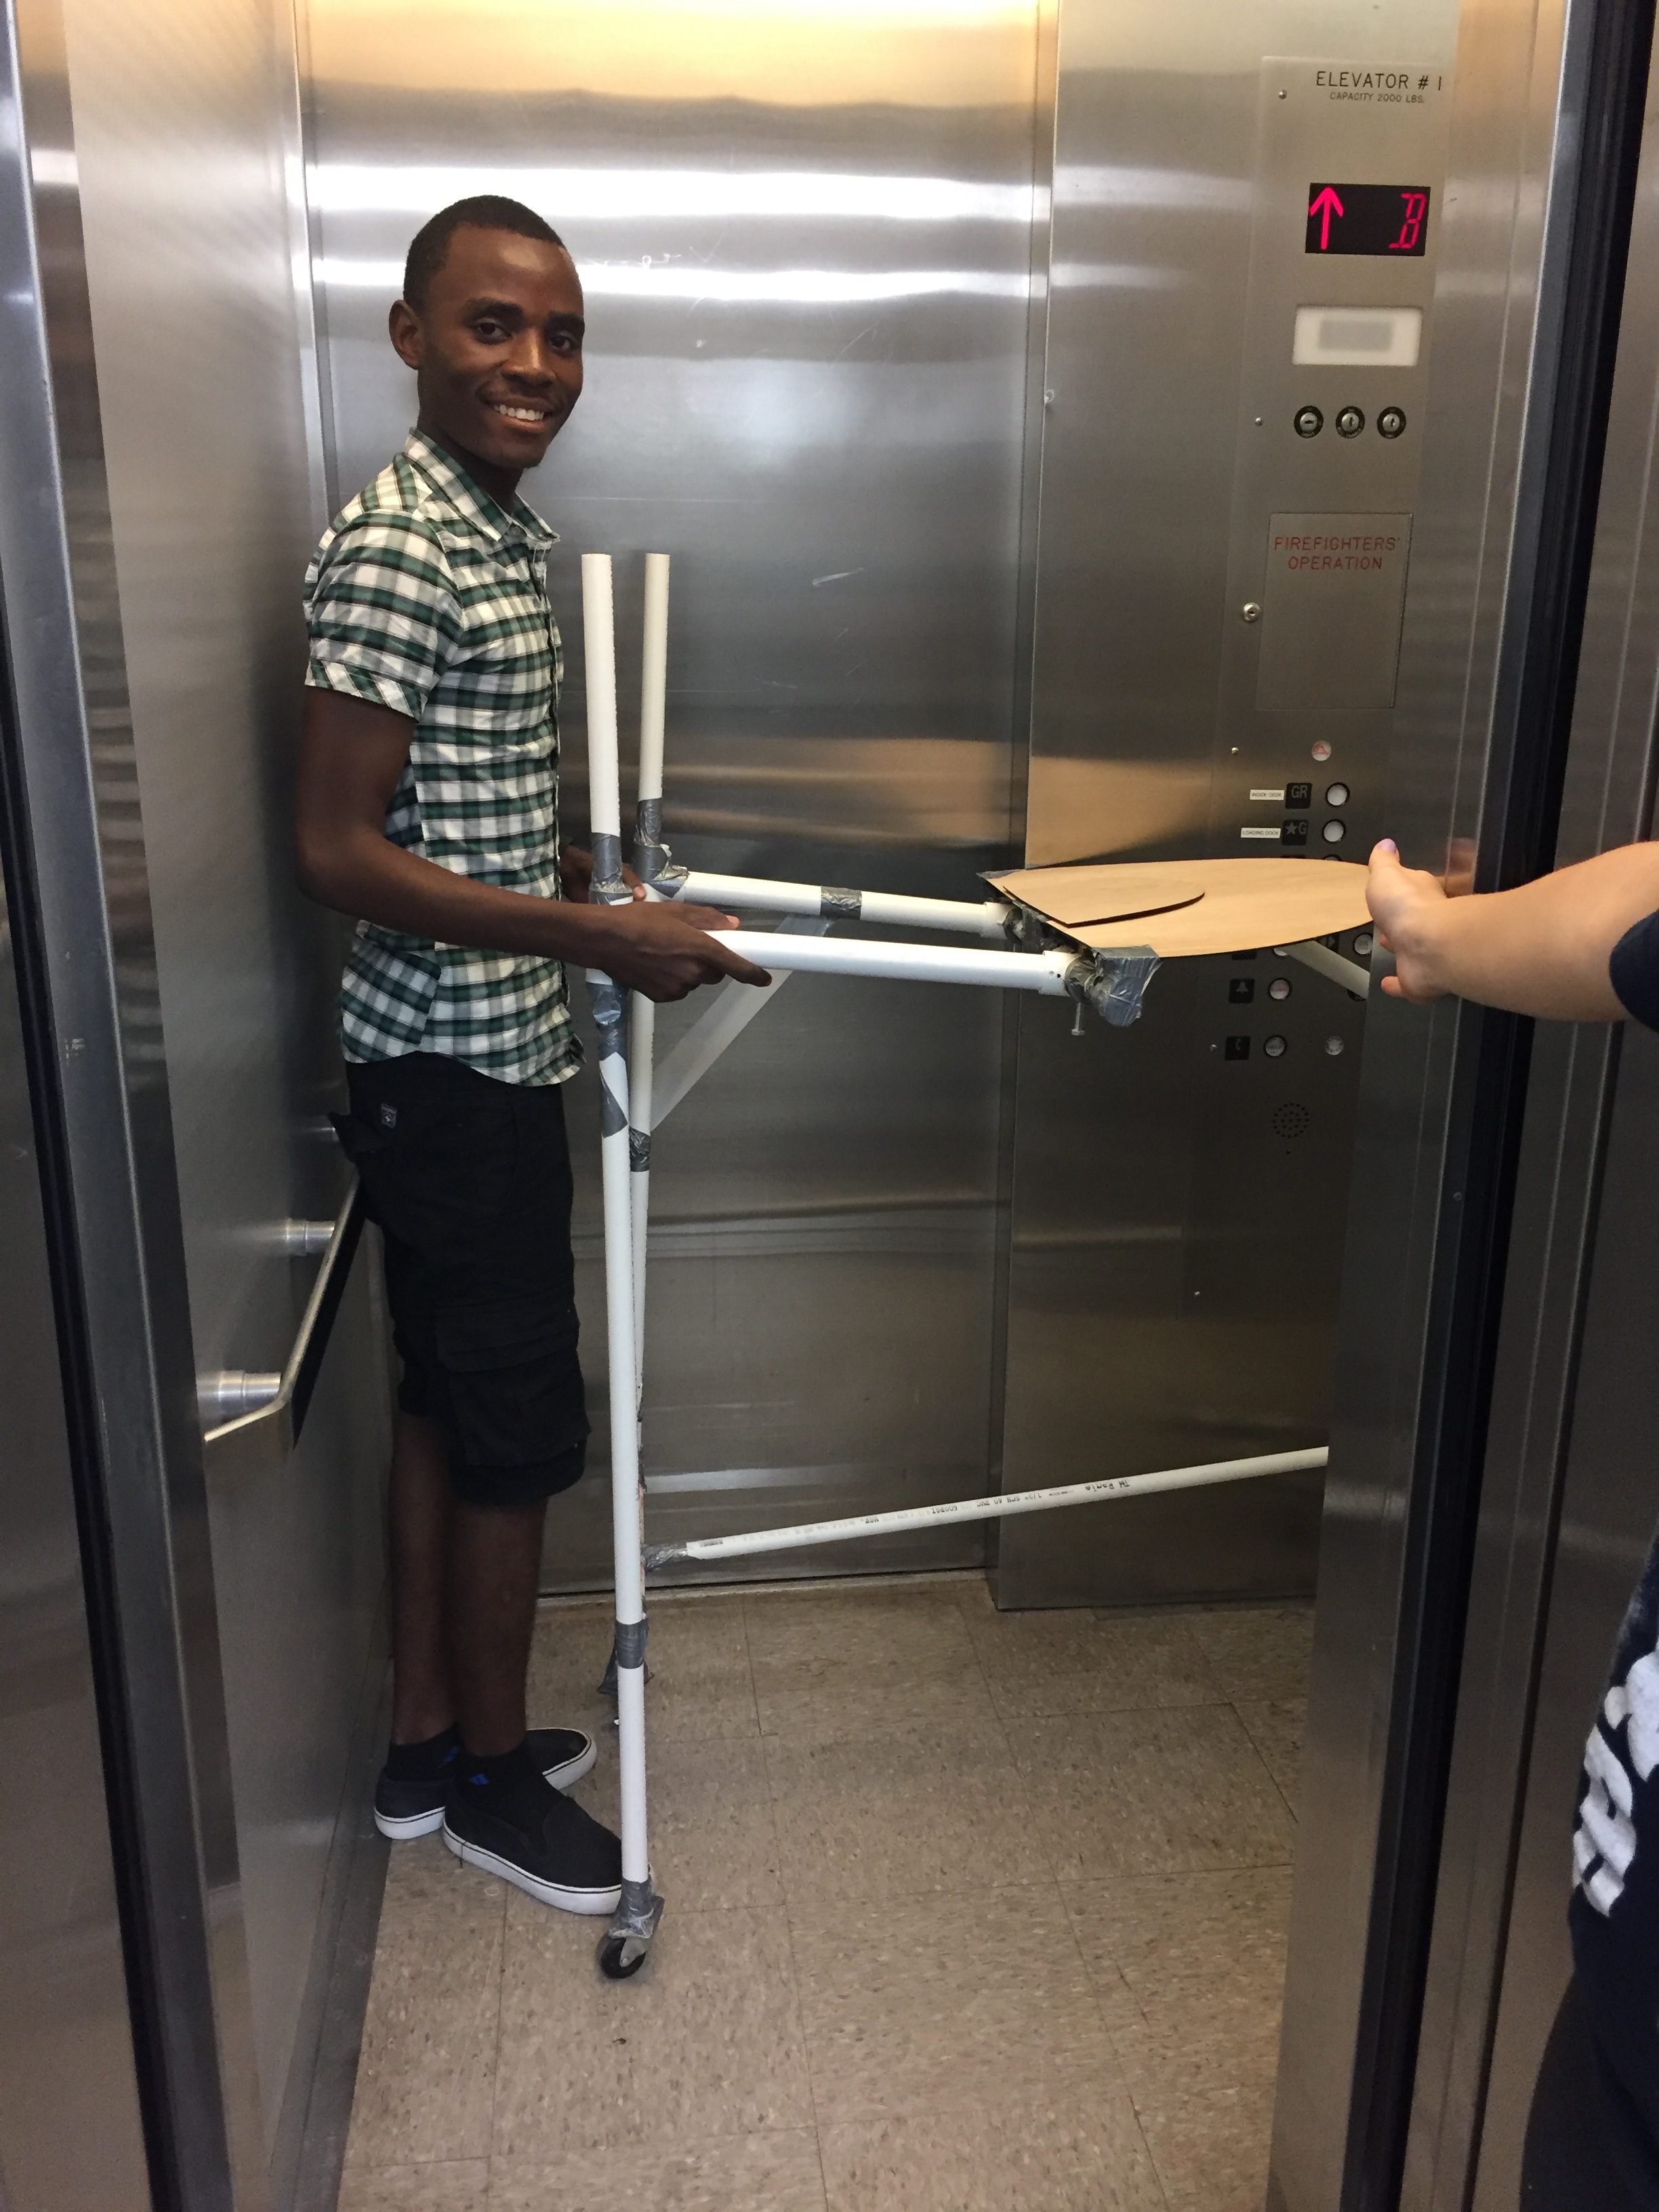
Our semi-functional prototype fitting into the elevator! (Featuring Blessings)
After completing this prototype, all the interns got together to have a ‘pit-stop’ which is a team meeting occurring halfway through the allotted work time where we discussed as a team what our individual and communal goals, strengths, and weaknesses through the first part of the summer. From this discussion we made a plan on how to improve the communication and delegation of tasks through the team, which were the two weaknesses we decided to work on. After this meeting, we made a team trip to Home Depot, Michael’s, and Joann’s Fabrics to look at some of the materials we are planning on using in our final device and to get a better idea of what supplies are available and how to work in person. We were able to find many of the materials we are planning on using, and we were able to find a scaffolding cart at Home Depot that used many of the same mechanisms we were planning on using in our final design, link locking caster wheels and a pin mechanism to adjust the height. We actually decided to replicate the U-bolt shaped pin used for our main height adjustment in the design. We ended Monday by beginning an intensive sketch of our final device including all components and attachment mechanisms.
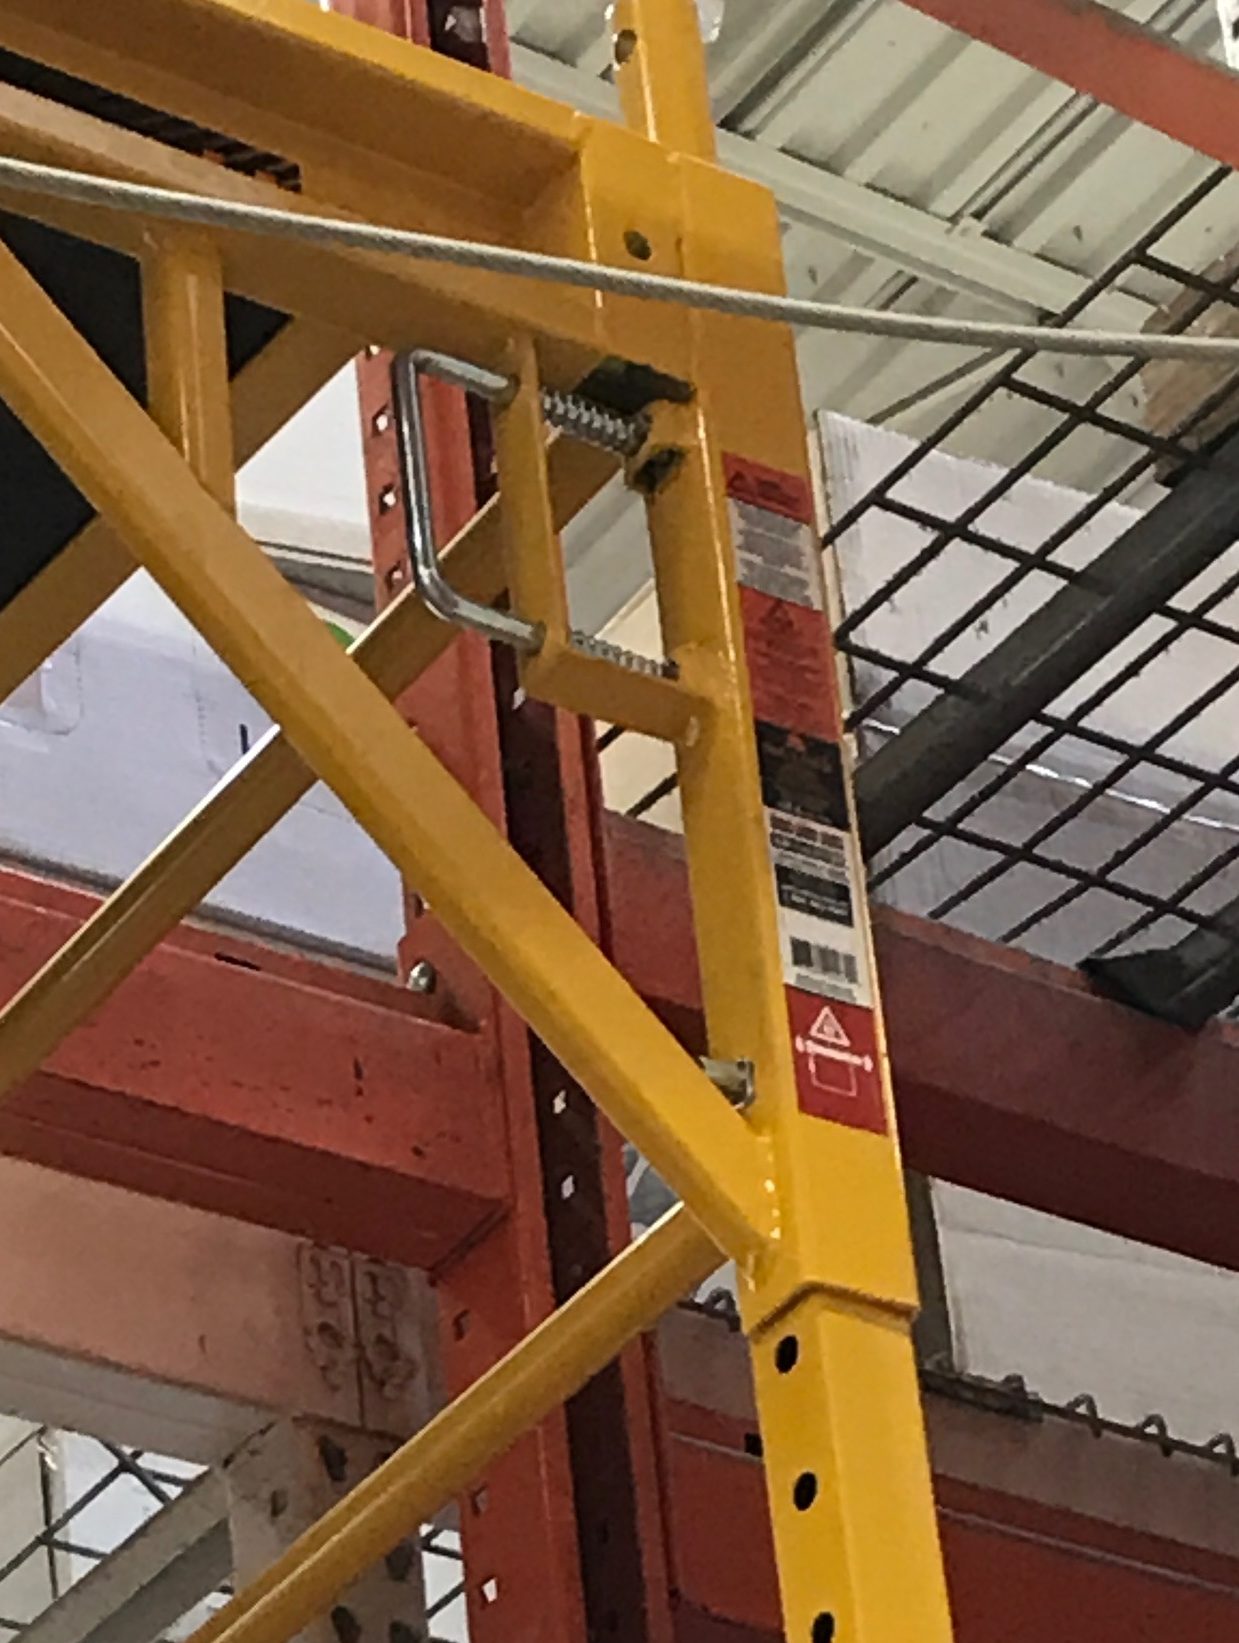
The U-bolt pin on the cart at Home Depot!
We started Tuesday by completing the sketch of our device, and were able to refine all connections and parts of our final design. We followed this by compiling a list of all the materials we would need to order in our final prototype and making a cost estimate based on how much of each material we would need. We also created a prototype of the U-bolt pin mechanism. Nothing too fun happened Tuesday, but the material research was very necessary in showing us how close to our budget we are.
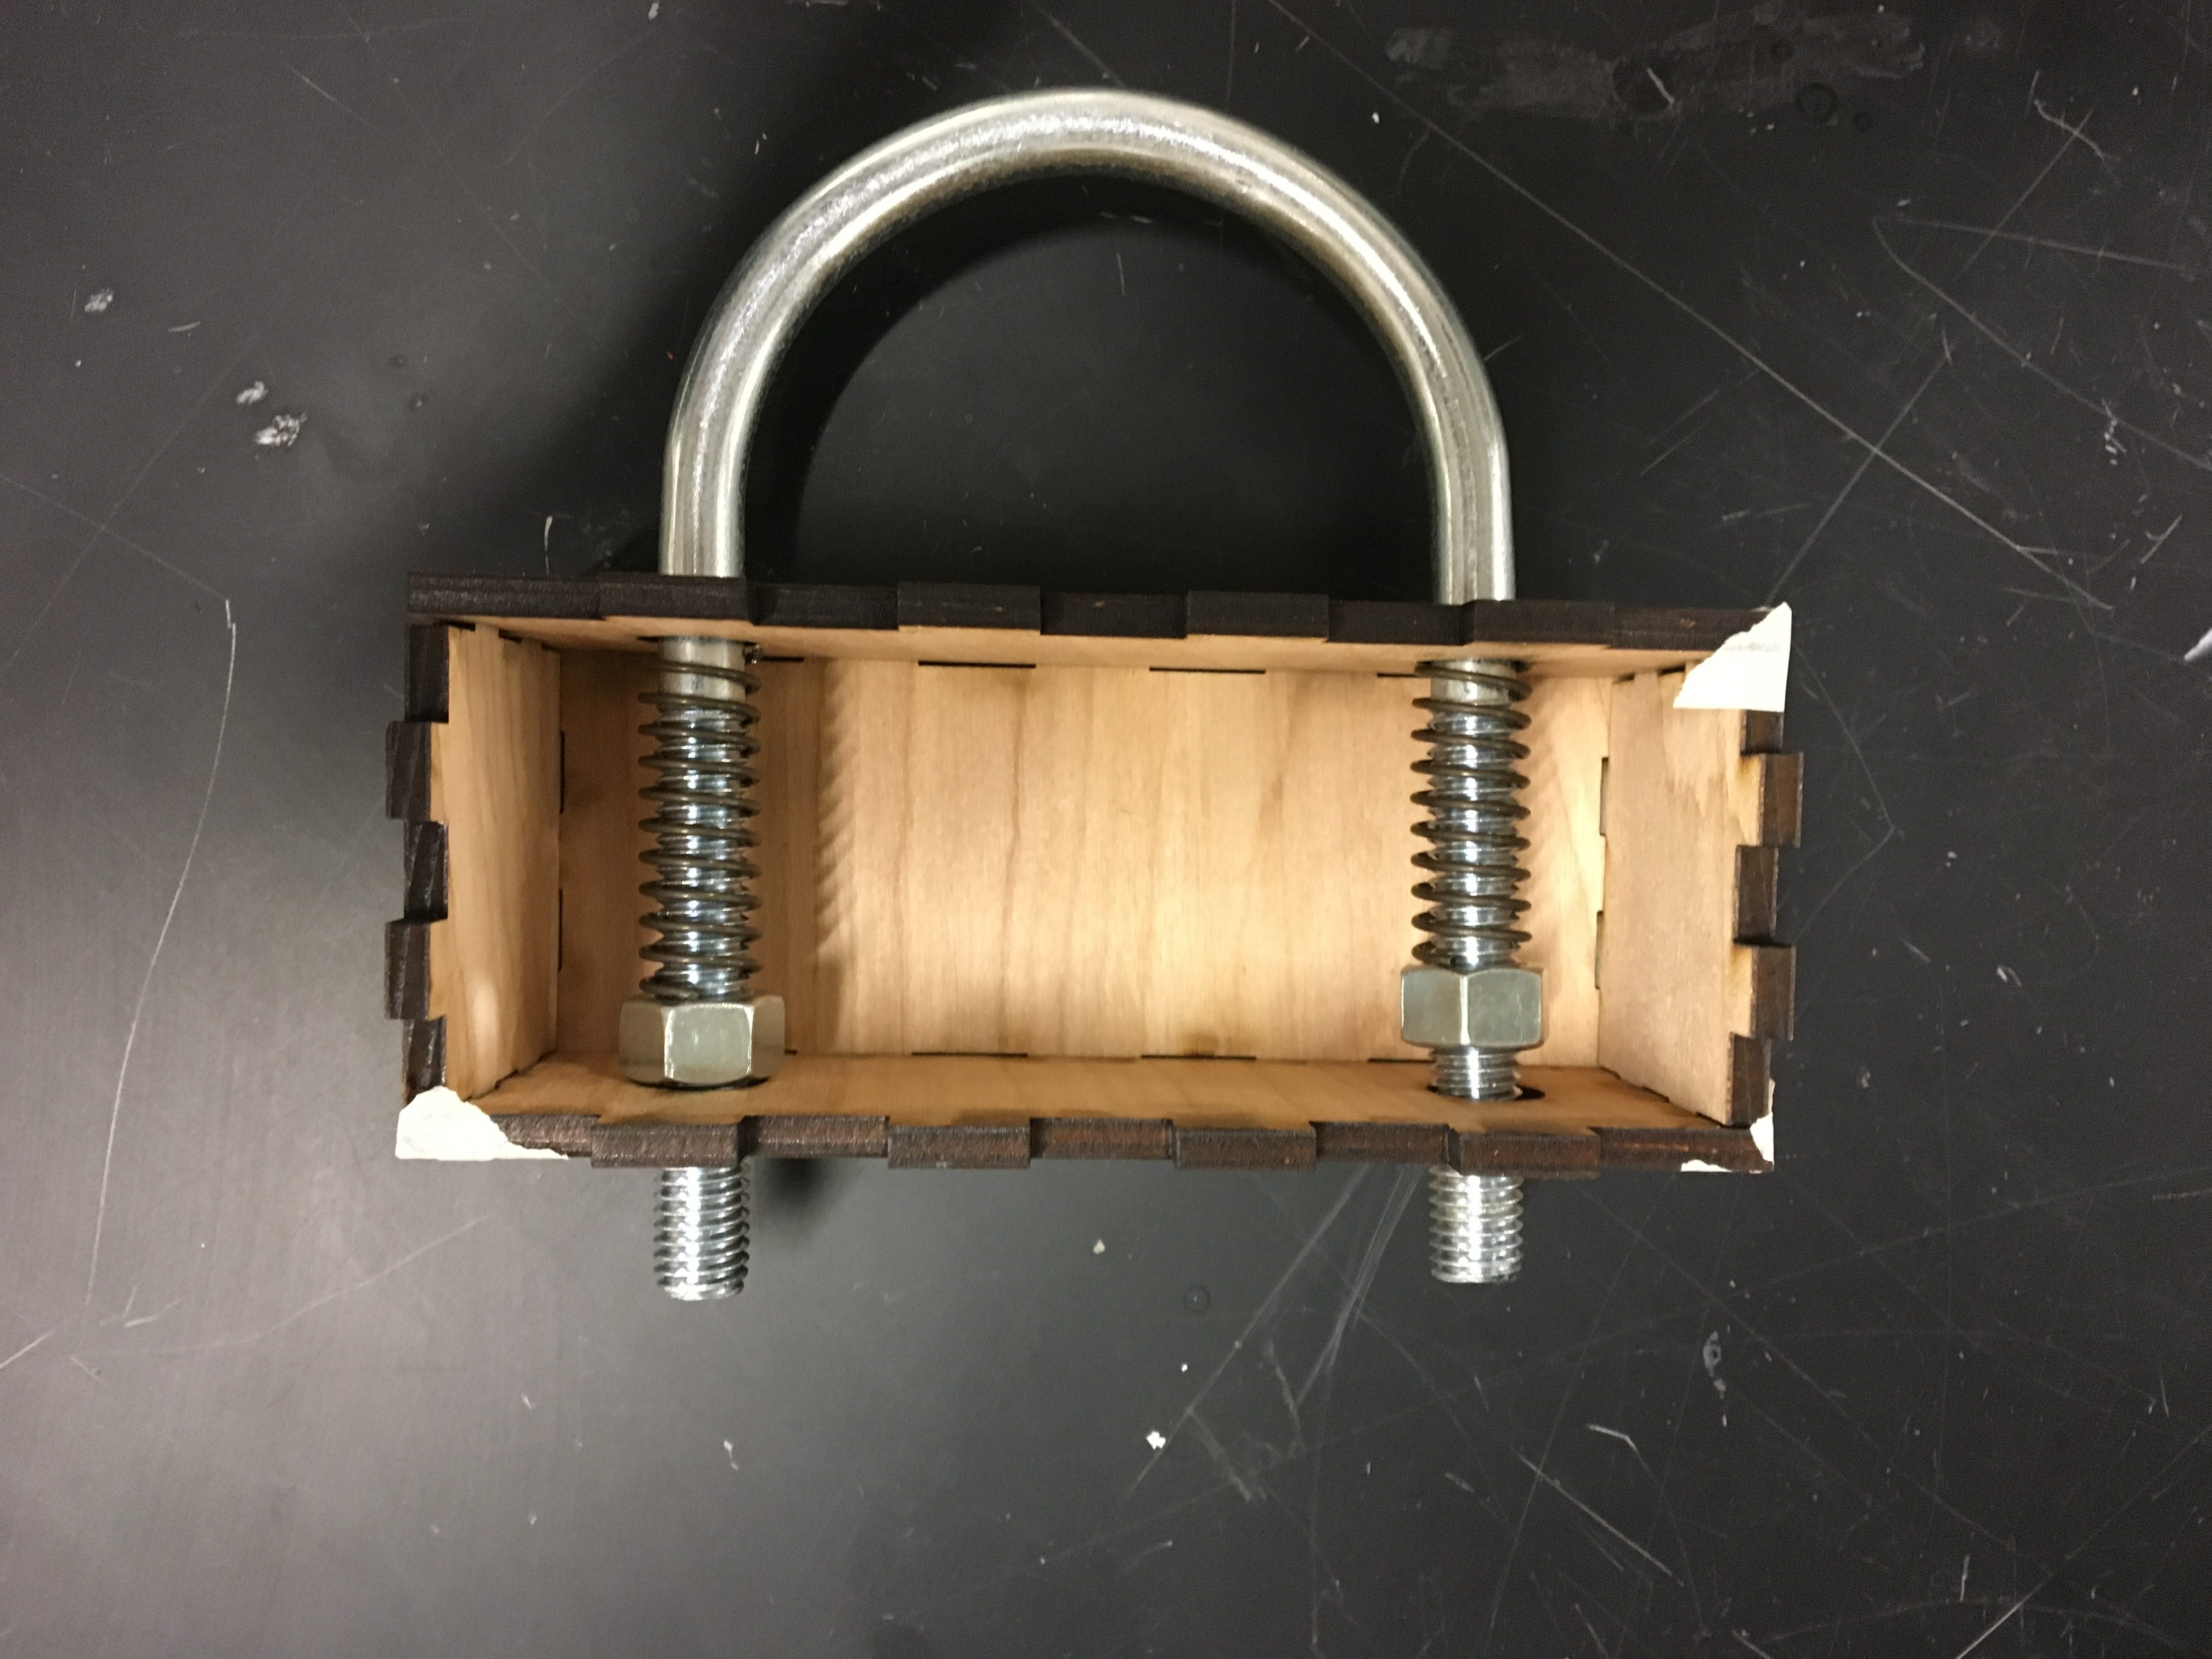
Our homemade U-bolt pin!
We spent Wednesday by beginning work on our final design. Alex and Blessing worked on creating a CAD model of our device with accurate adjustment mechanisms and dimensions. Tori and I worked on high fidelity prototyping of the cushions we will create for the final design. I created a file of all the vinyl pieces we need for all of our cushions, which also showed how much vinyl fabric we needed to purchase. I also created a version of the huggable cushion that had the right base dimensions, but was only 2 inches tall.
The mini huggable cushion!
Once this was finished we actually took another trip to Joann’s to by the vinyl as well as upholstery backing for the bottom of the cushions. The rest of the day was spent creating stencils to laser cut out of cardboard for all of the vinyl pieces.
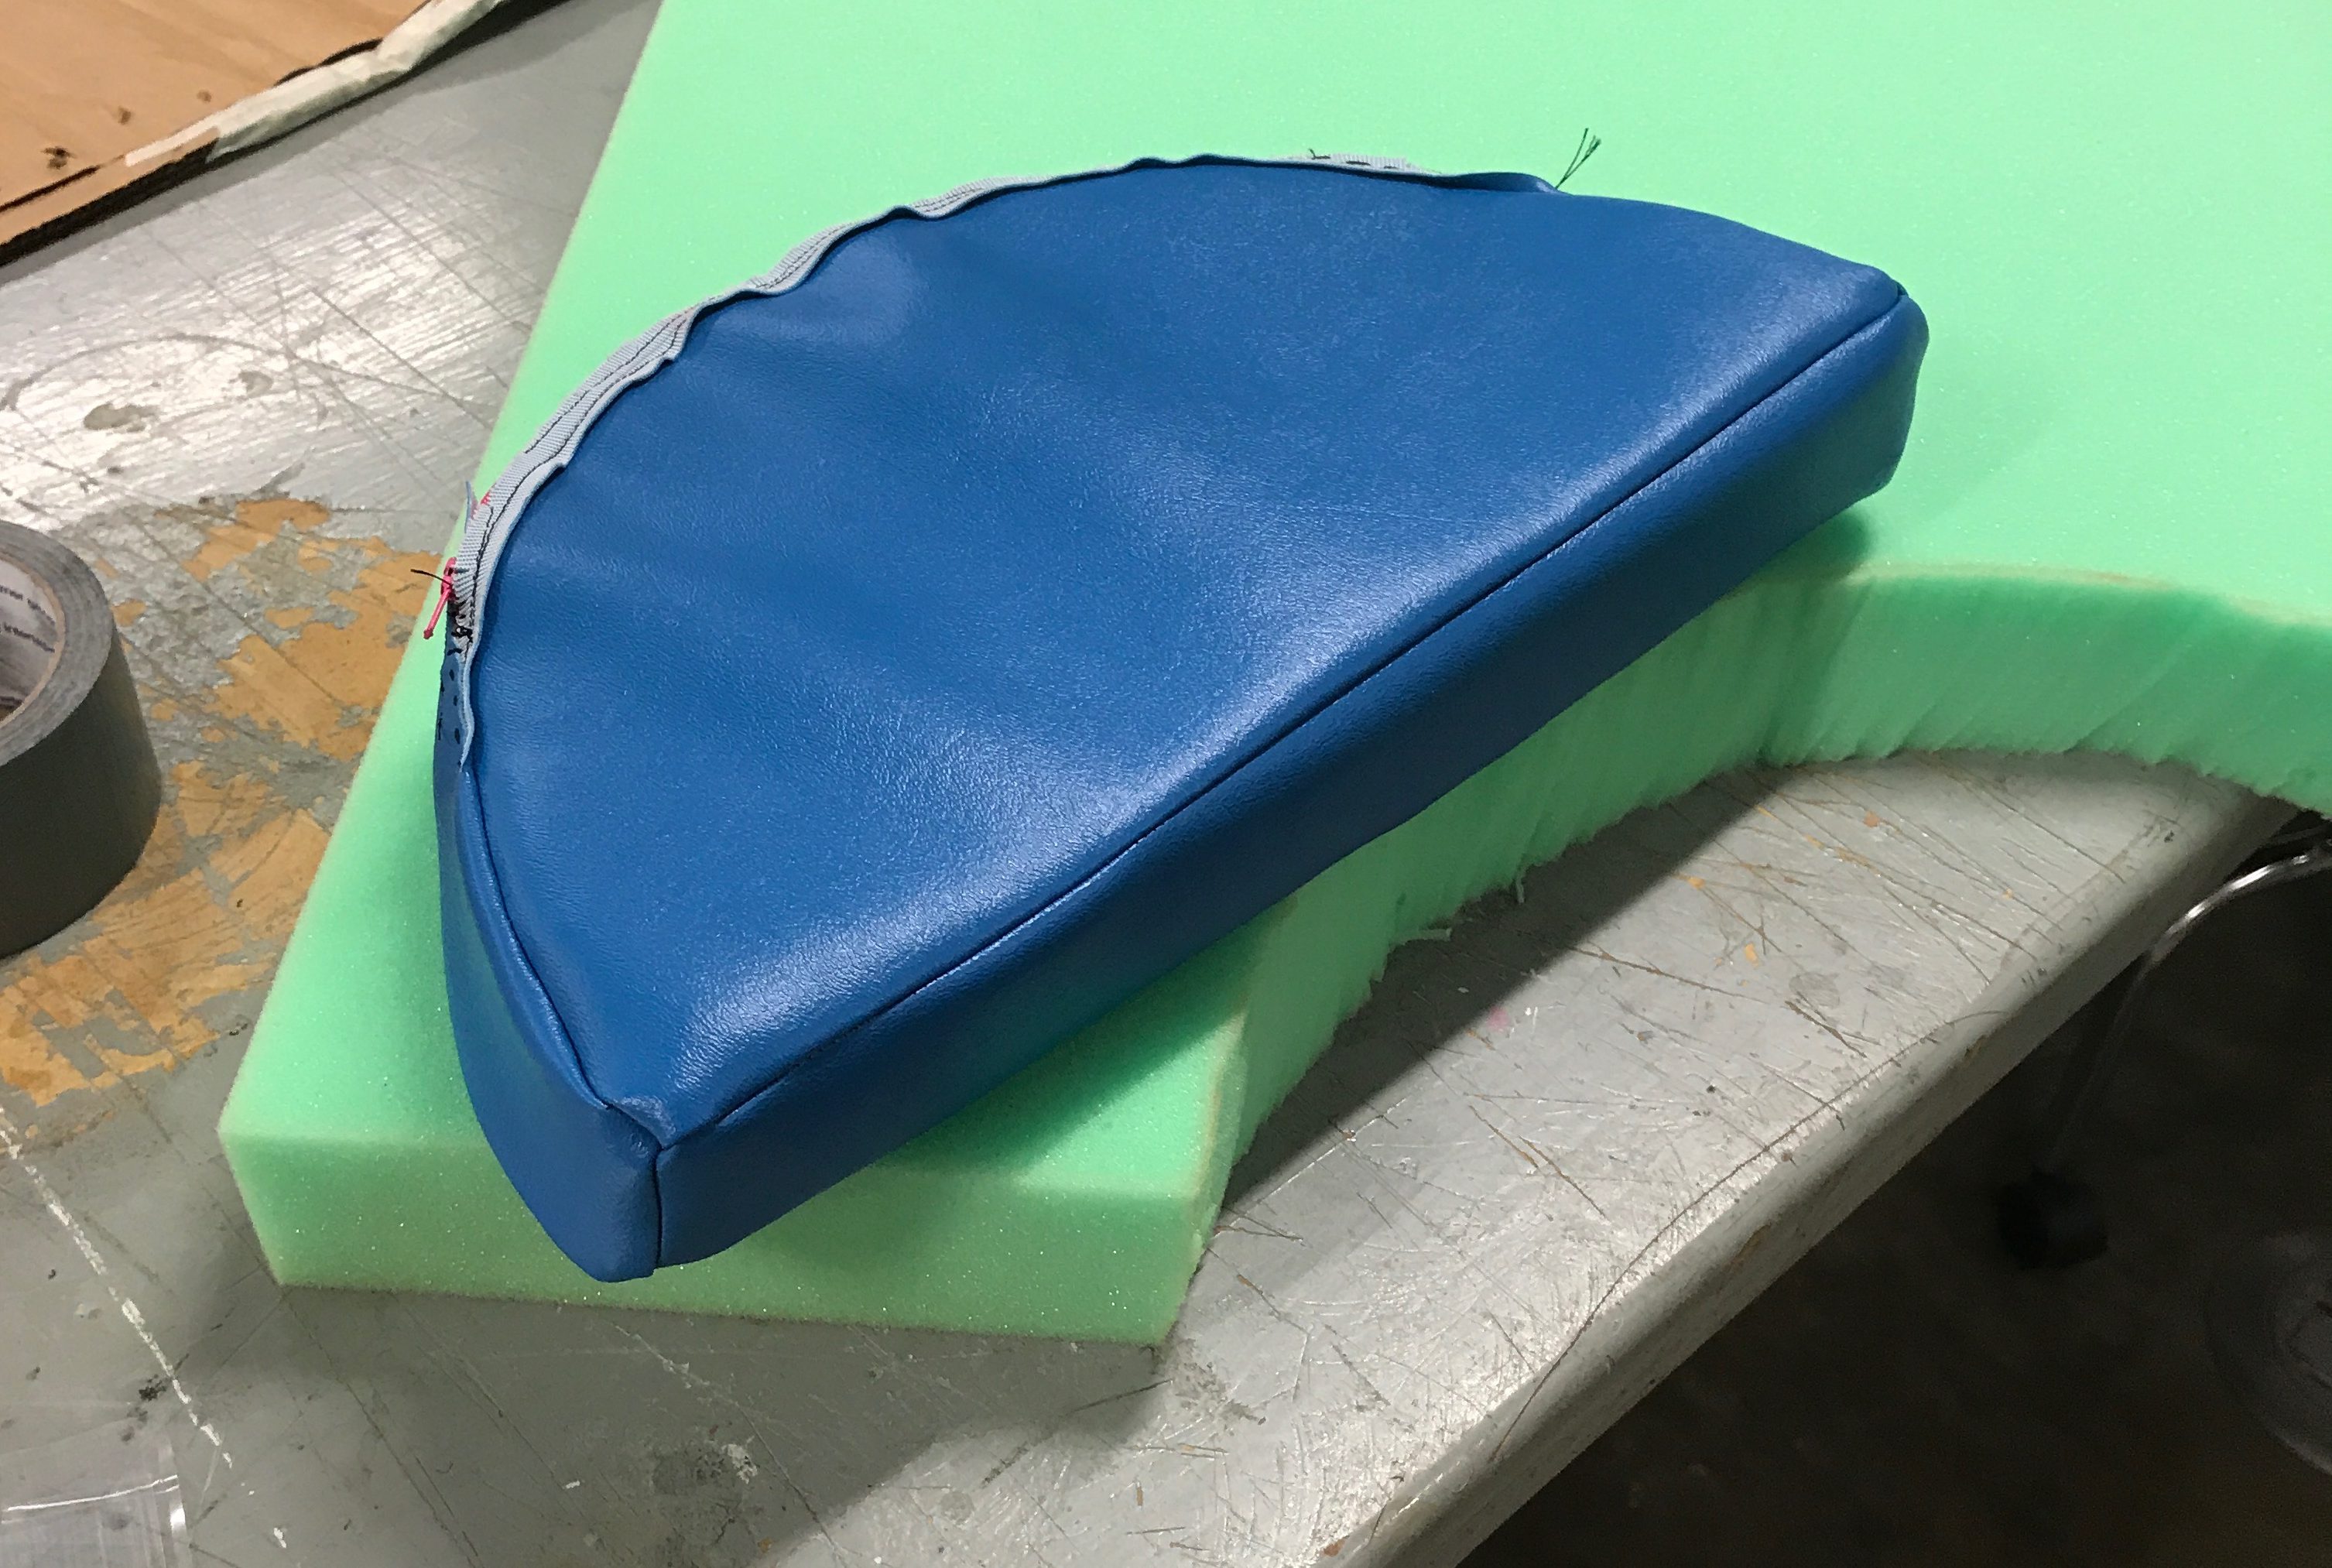
This morning began with some research into using aluminum instead of steel tubing as well as adding a zipper to the huggable pillow. We’ve been looking at steel telescoping tubing up to this point, but we wanted to see if the same type of tubing, or something similar would be available made in aluminum. So far, there doesn’t seem to be anything very similar in our price range, but we will keep looking into tomorrow. I personally spent most of the day prototyping things for the cushions. I began the day by adding a zipper the the cushion I created yesterday, which adds a nicer finish to the cushion and makes it easier to put the foam into the vinyl. I also made a mock setup of the cushion attachment using a 1″ PVC pipe and Velcro to replicate the top of the device. From this we were able to determine that by using both a pole through the cushion and Velcro, the huggable pillow is firmly in place.
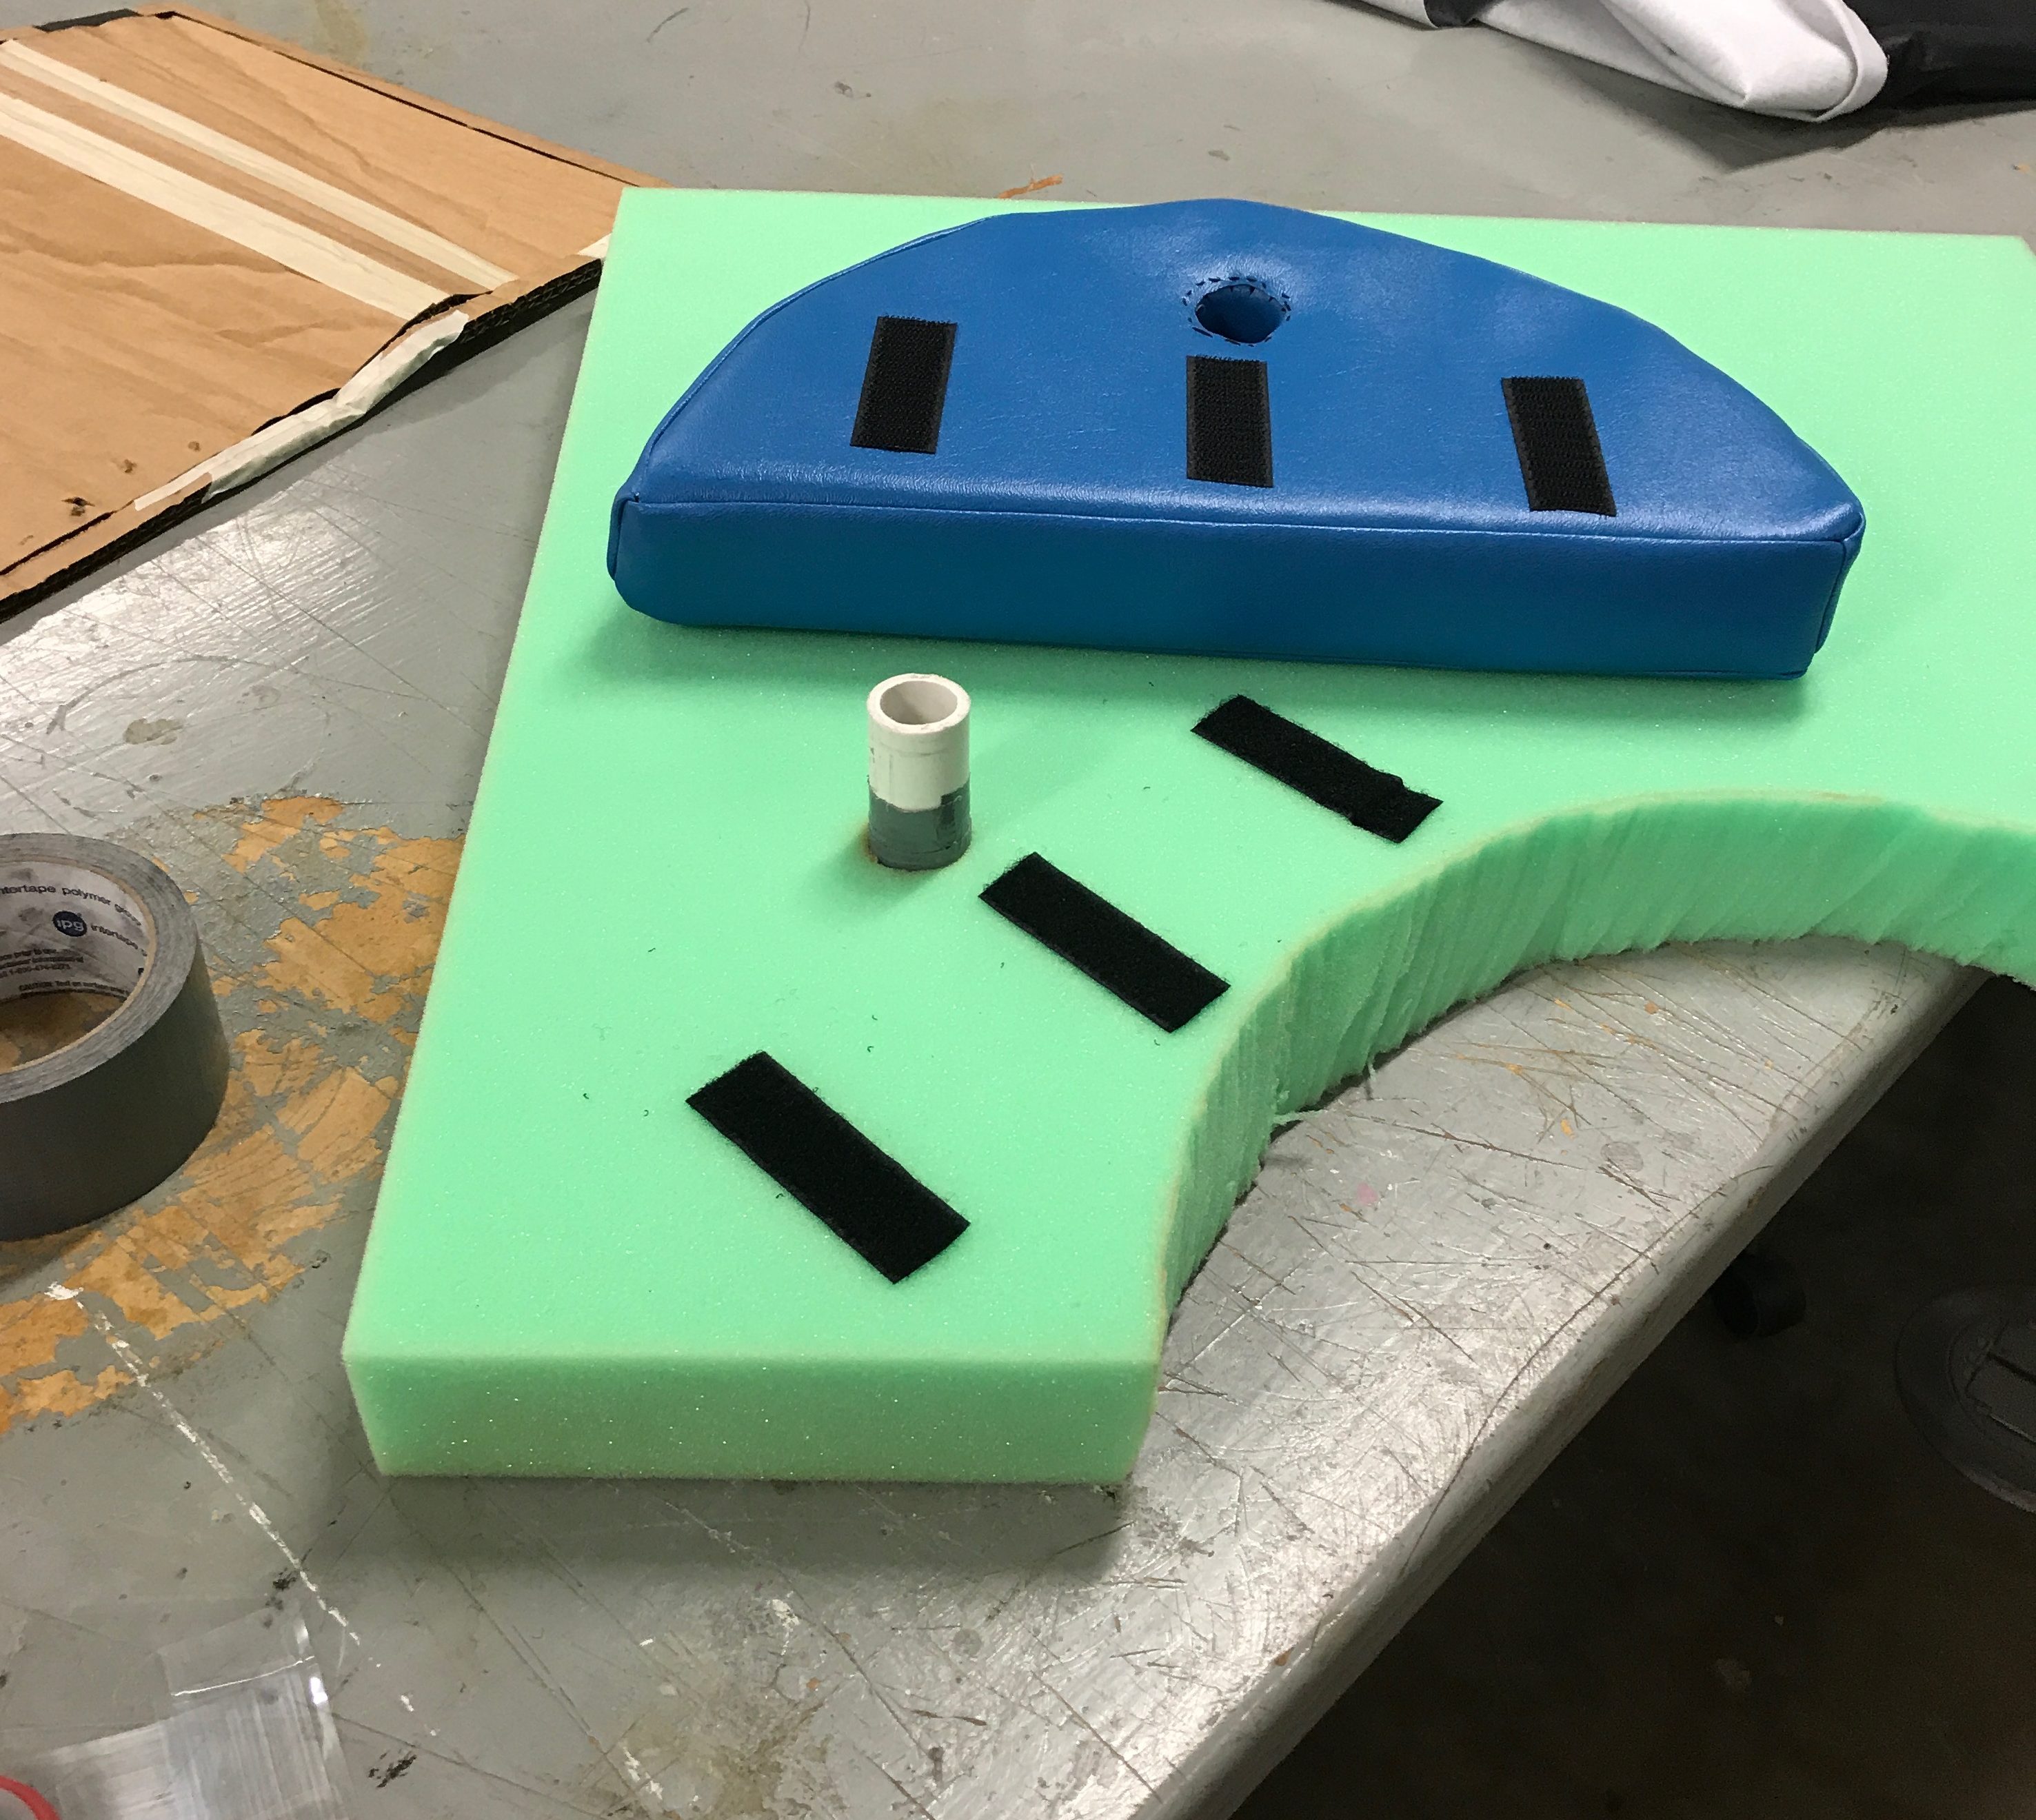
Our testing setup!
I ended today by tracing the stencils Tori made onto our vinyl and began cutting them out. I will finish this tomorrow and I hope that I can begin construction of our final cushions tomorrow!
It’s been a very eventful week, and I can only imagine where we will be at this point a week from now! Until then,
Liz Kacpura
Your writing is consistently concise and clear. You never waste a word.