
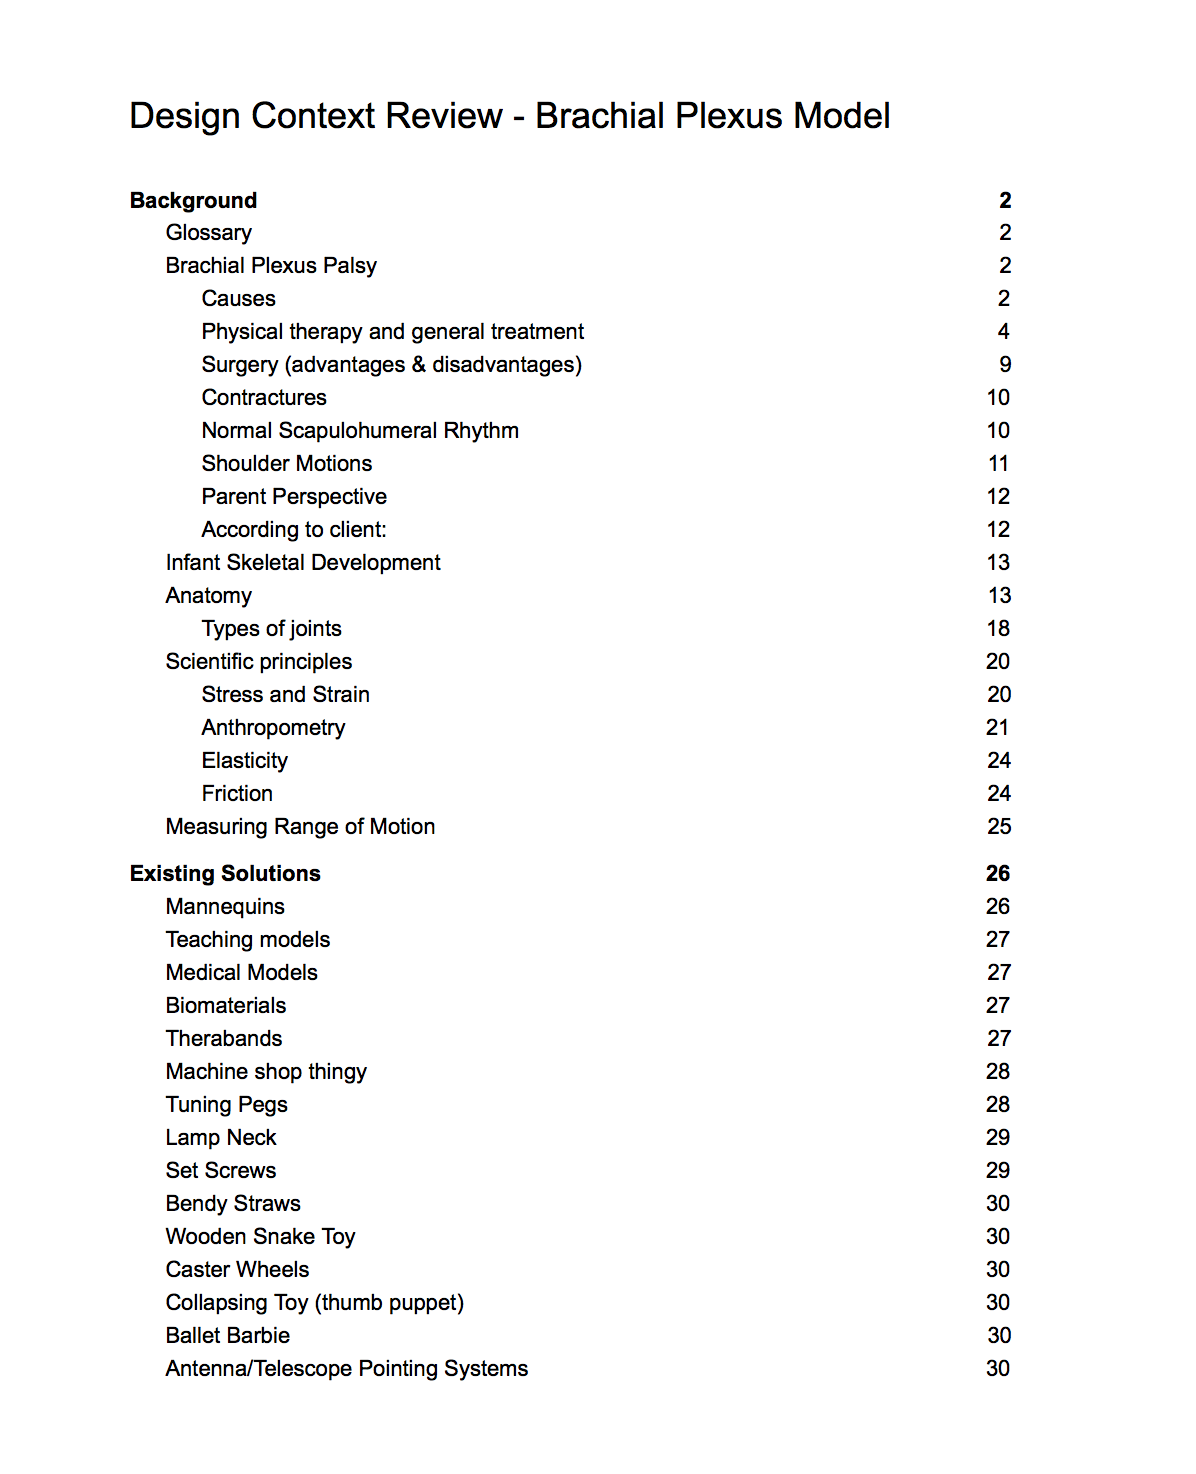
Hello! Third week at SEED and we’re diving deep into the engineering design process for our brachial plexus model. We spent a few days on just research, compiling a Design Context Review (DCR) that covered everything from jointed dolls to diagrams and glossaries of shoulder anatomy. On Tuesday afternoon we presented our DCRs to Dr.Wettergreen, Dr.Hunter and the other teams. Team Can’t Brachius volunteered to go first, and we were ready. Props to Xiaoyao’s mad Google Doc skills – we had a full table of contents with headings and subheadings for our 30+ pages of research. The other teams quaked in fear of our formidable document. Even Dr.Wettergreen widened his eyes when he saw it.
Of course, Dr. Wettergreen and Alex (a visiting teacher working at the OEDK) were able to poke holes in our research. “You have the machine shop Flex-o-Post. Now come up with 10 more analogous solutions that do a similar function to what you need, and look into those.” Alright, alright. Our DCR, with edits now at 37 pages, is serving us well. Dr.Wettergreen also let us play with some prosthetics for hip replacement that he had lying around, to see how those were made.
Those pages of research add up…

And a bit more hands on approach.
Next we tackled design criteria. We have two main goals: to let parents practice the exercises on something other than their own child, and to effectively show the effects of contractures that can occur if they don’t follow through with the home exercises. We made corresponding contracture and exercise criteria to address our model’s need for those capabilities. We included durability and cost as per our client’s requests. Then for the tricky one. James wanted our model to be representative of an infant’s anatomy, showcasing the movement of the humerus and scapula in relation to one another. However, he warned that too complex and realistic a model would make parents either freak out (“Ahhh muscles and ligaments that’s my child?!”) or geek out (“Ooh what does this ligament do?”), both of which would be detrimental to their ability to absorb all the information they needed in the rushed 15 minute session. We debated how to quantify a happy medium between showing anatomy and being freaky accurate.
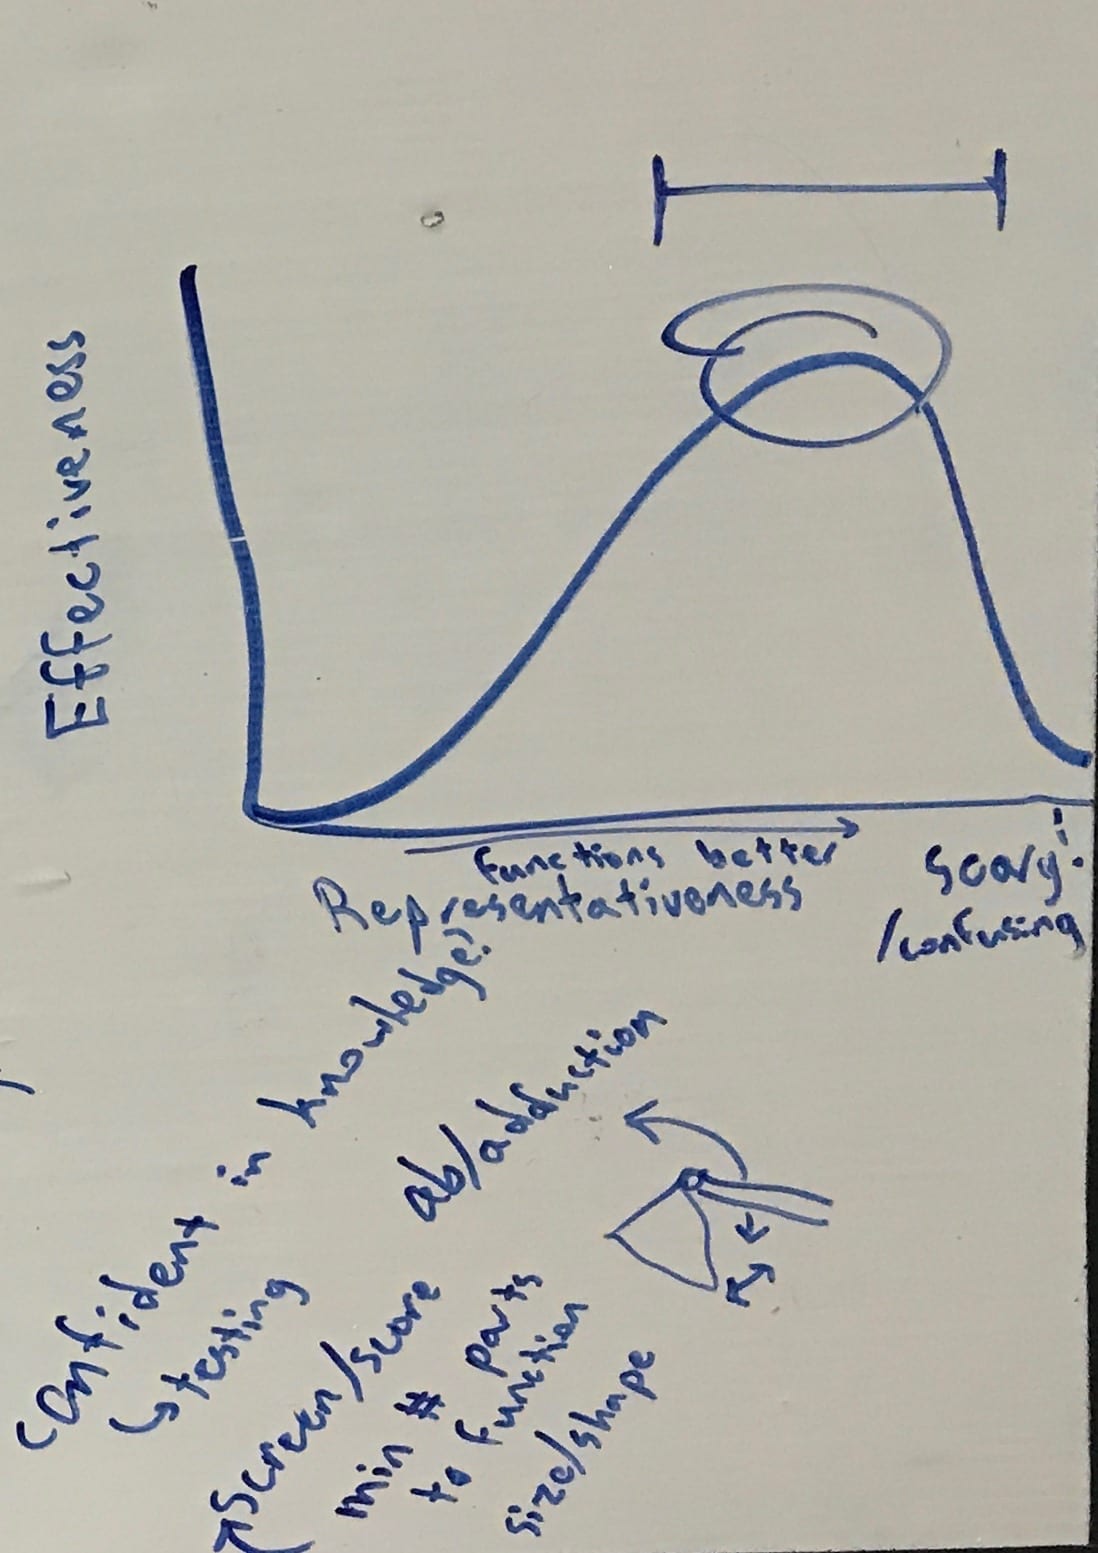
Trying to balance representative vs. scary
Finally we decided to make intuitive, representative, and not scary into one holistic criterion based on the overall understanding that our user, a parent, takes away from their experience with the device. Enter Easy to Understand, the criterion for all your amorphous conceptual needs! We ran a Pairwise Comparison Chart and found that, surprisingly, Easy to Understand was our top criterion, followed by a tie between Demonstrates Contractures and Demonstrates Physical Therapy Exercises, then Durability and finally Cost.
We decomposed our model into design blocks for the scapula, humerus, trunk and joints between them, with another category for the resistance that would allow the model to function as a shoulder or have motion limited for the contractures. We brainstormed using the writing slip method and covered a whiteboard in ideas on sticky notes. Talking through some ideas, we realized Rebeca was missing a lot of vocabulary around the mechanisms we were describing, because there are many specific words you’d never hear in pop culture or school. “Bend, flexible, pivot, rubber…” We had the idea to make a second glossary for mechanical-related terms in addition to our medical glossary. Simple sketches of motions helped clarify these words and give us a common ground for communication (see right-hand side of the board below).
Then it was time for a morph chart to combine these into full solutions… Just kidding! Psych, we couldn’t morph with so many options. The problem is, all the ideas on the board were things we could believe had a chance of working. There’s a huge gap, a gray area between that and being actually feasible and effective. To determine where our ideas fell in that gray area, though, we had to think through each component in detail… how it would work, what material it could use (nonporous, no fabrics!), whether it could provide the range of motion that joint needed. With unlimited patience, Dr.Hunter helped us talk through some of the scapulothoracic joints for 2 full hours. All in all, for our relevant design blocks for morphing of glenohumeral joint, scapulothoracic joint, and resistance method, we spent all of today steadily culling ideas, removing solutions and consolidating similar ones.
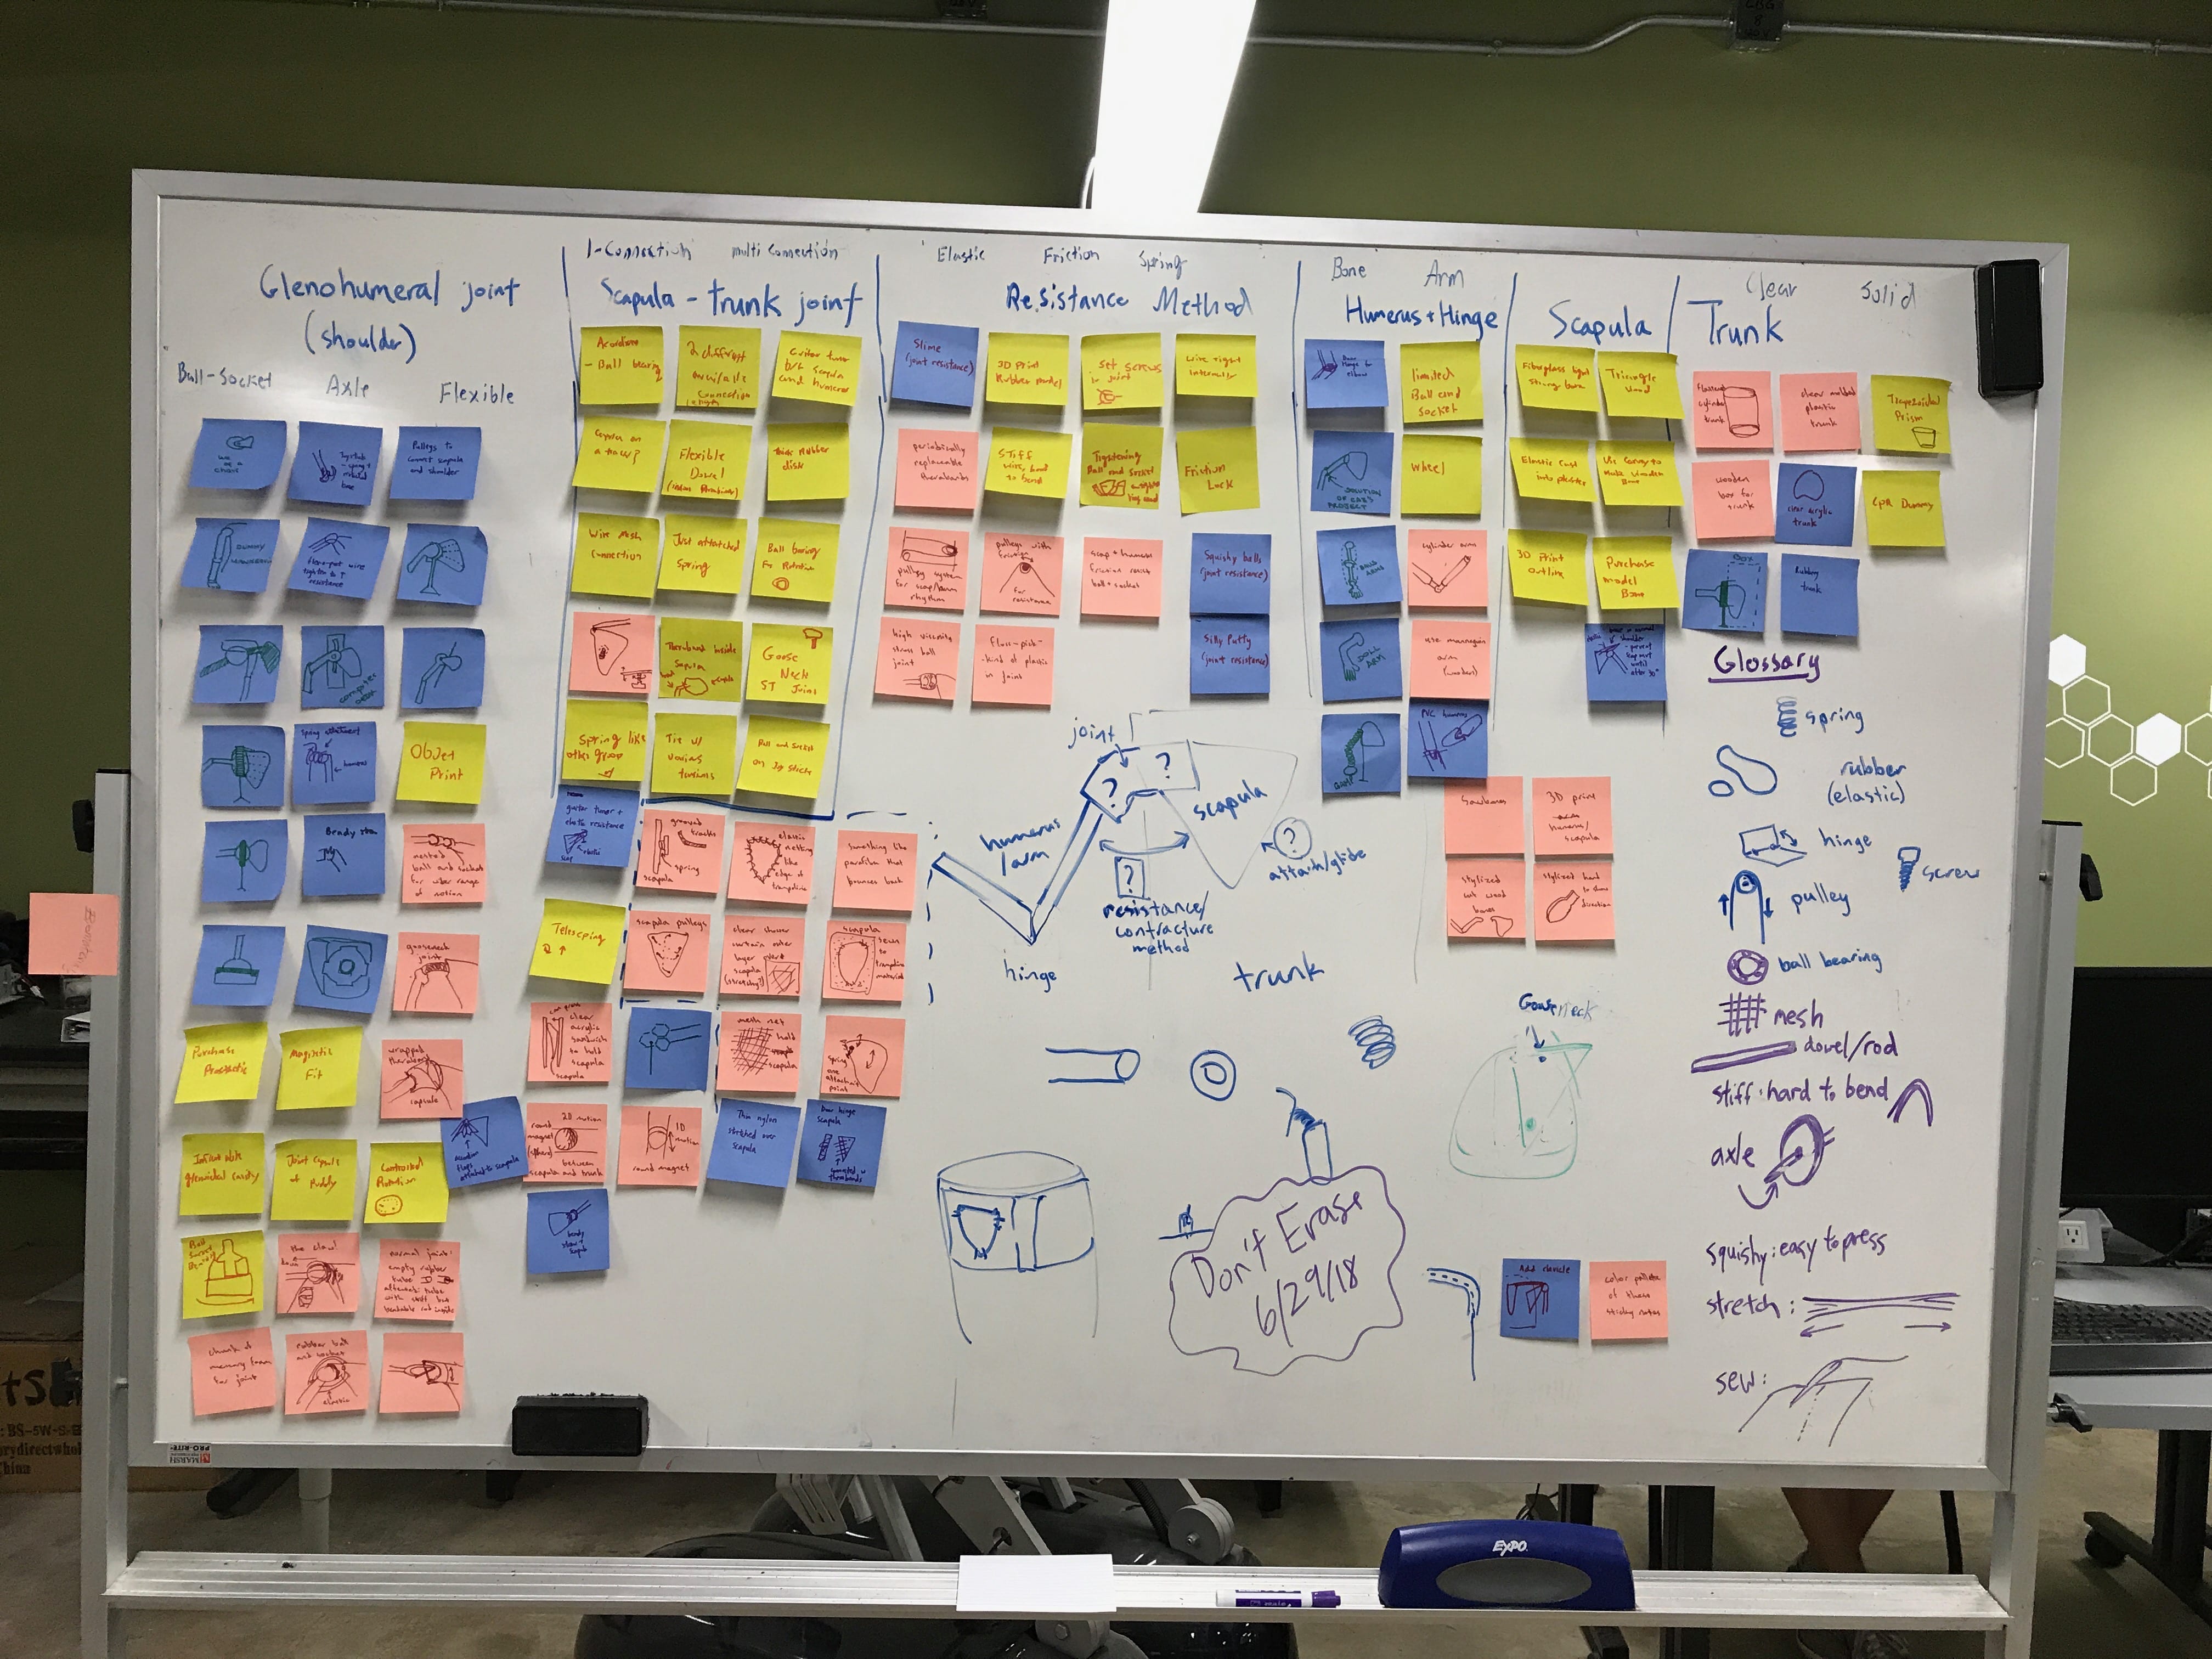
4 pm Wednesday

And 4 pm Thursday. 8 hours of culling later.
Now we have finally winnowed down our ideas into subcategories for each design block and can finally morph into full solutions tomorrow! Hopefully the process will go faster now that we have thought through the feasibility of each component on its own. We can also experiment more with the materials available at the OEDK and from my home to get a better feel for our possible solutions.
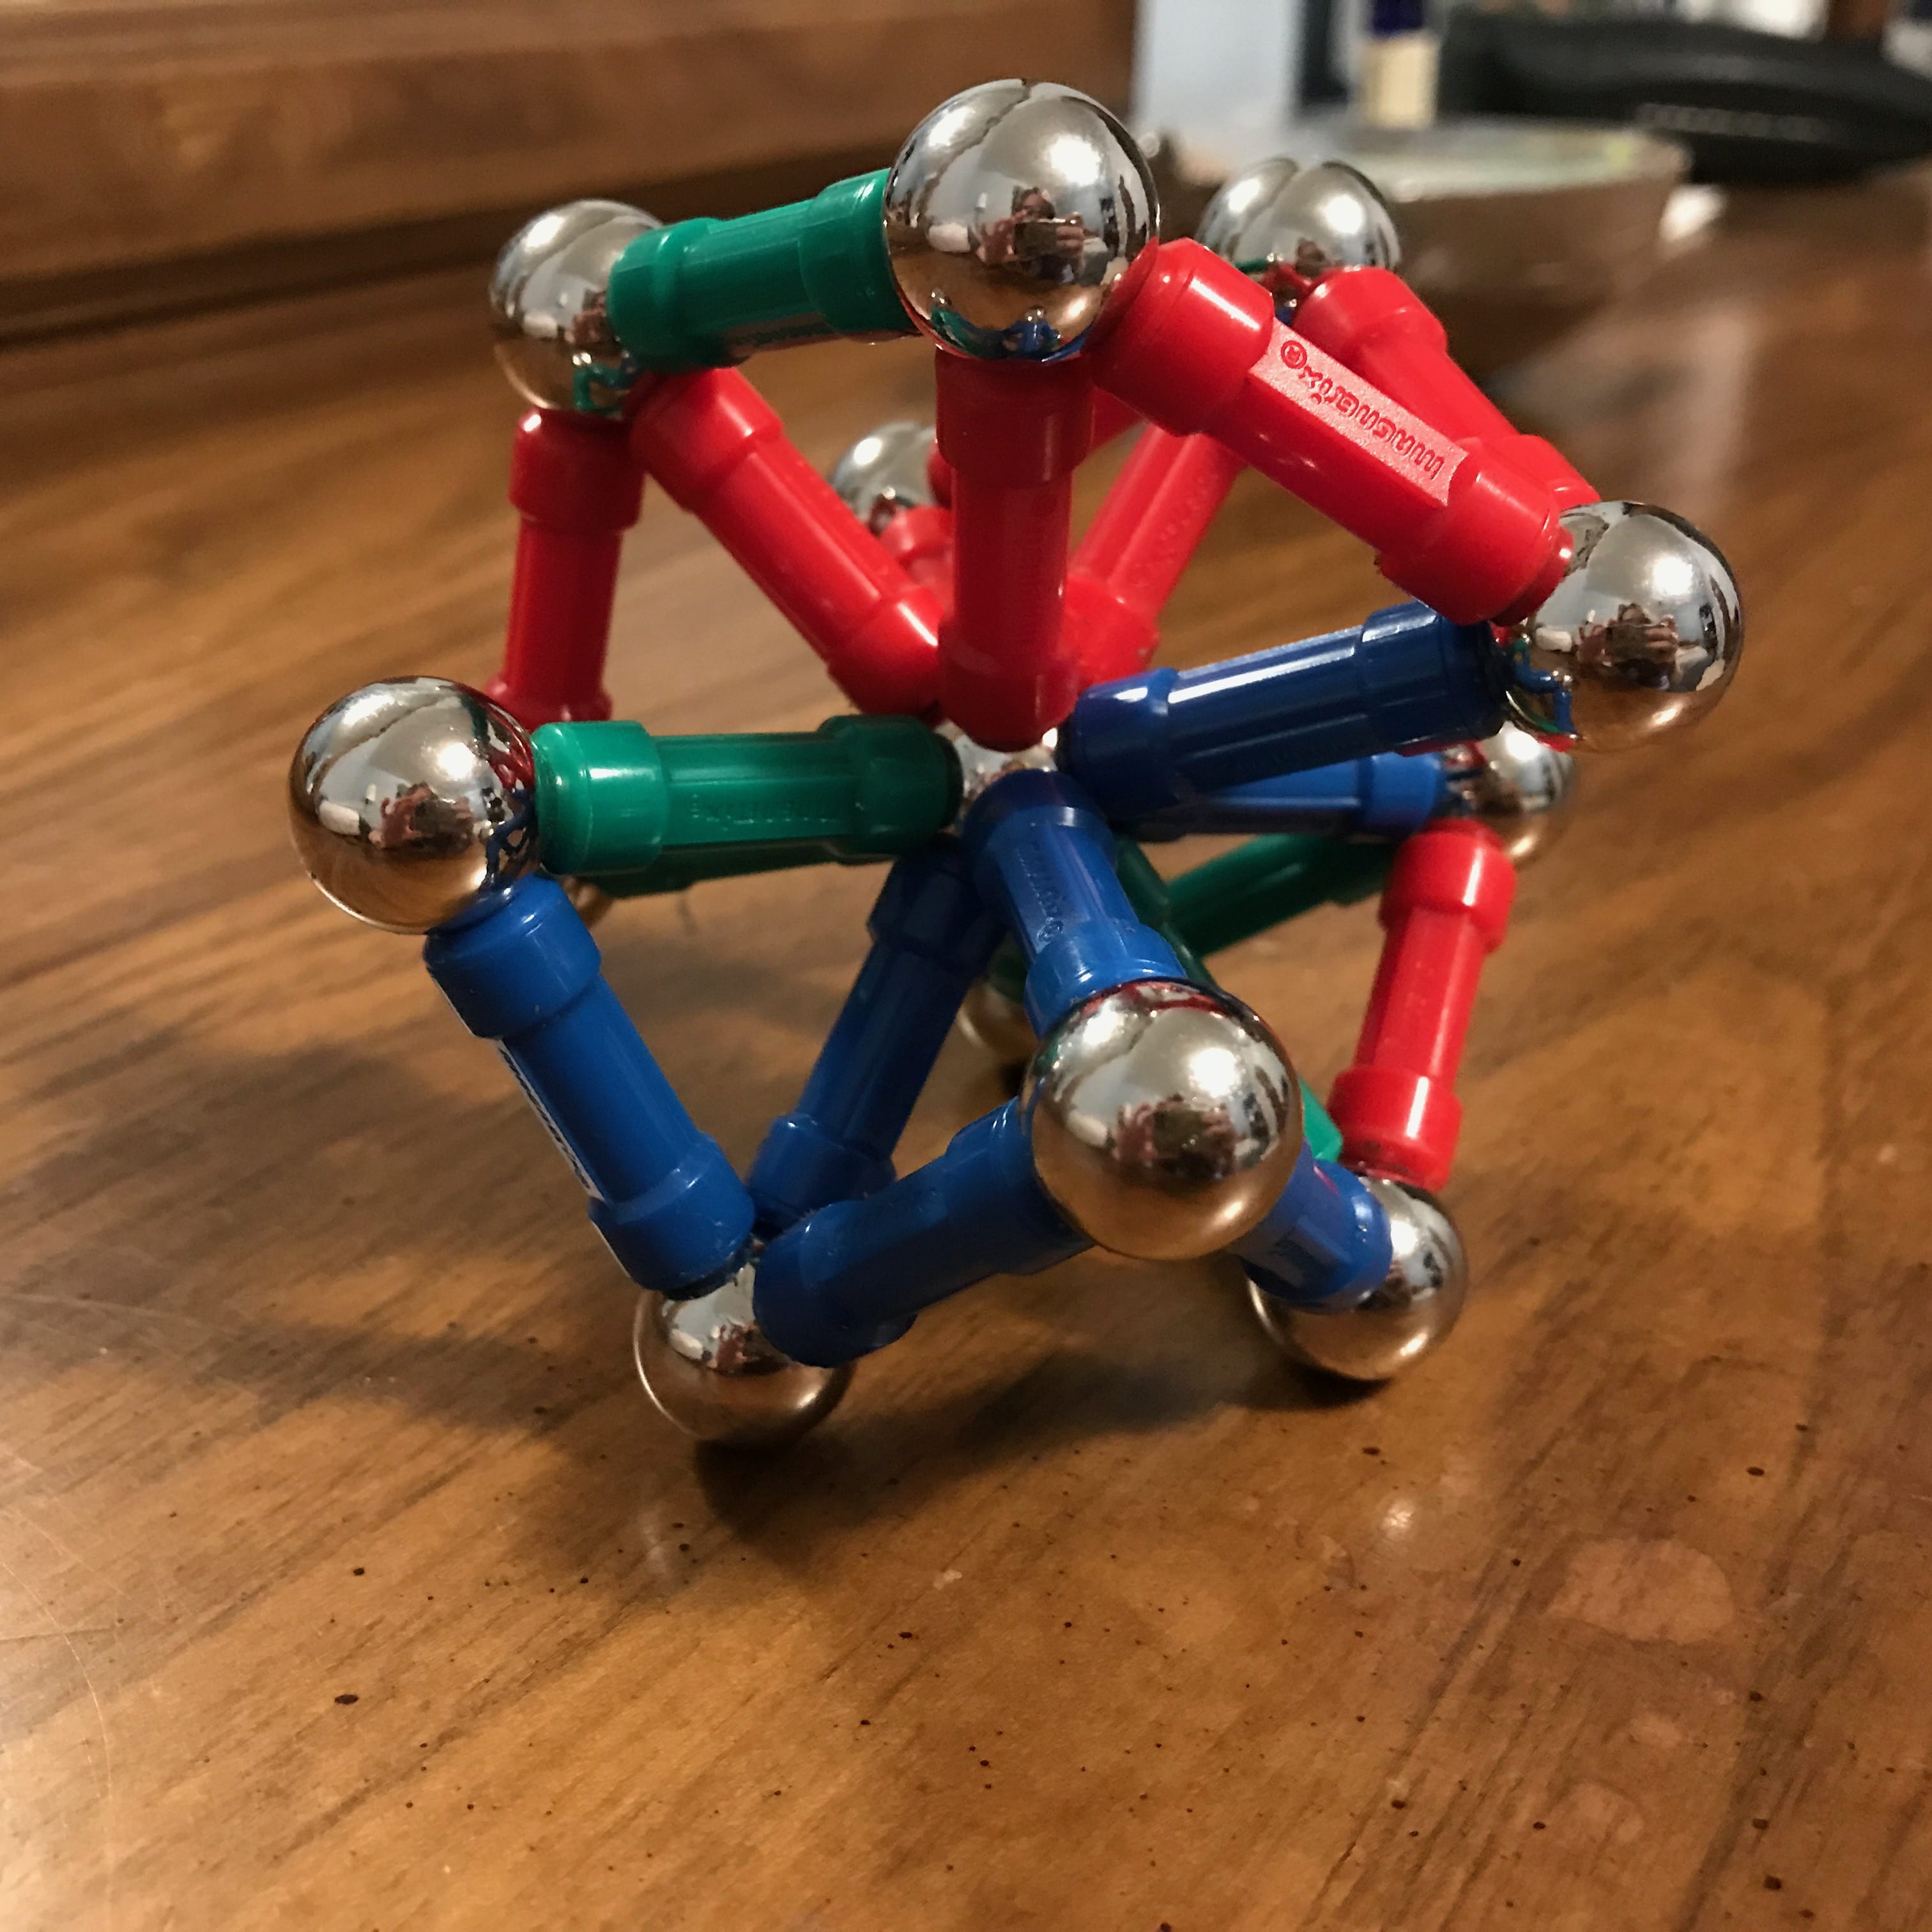
Magnets as possible ball and socket?
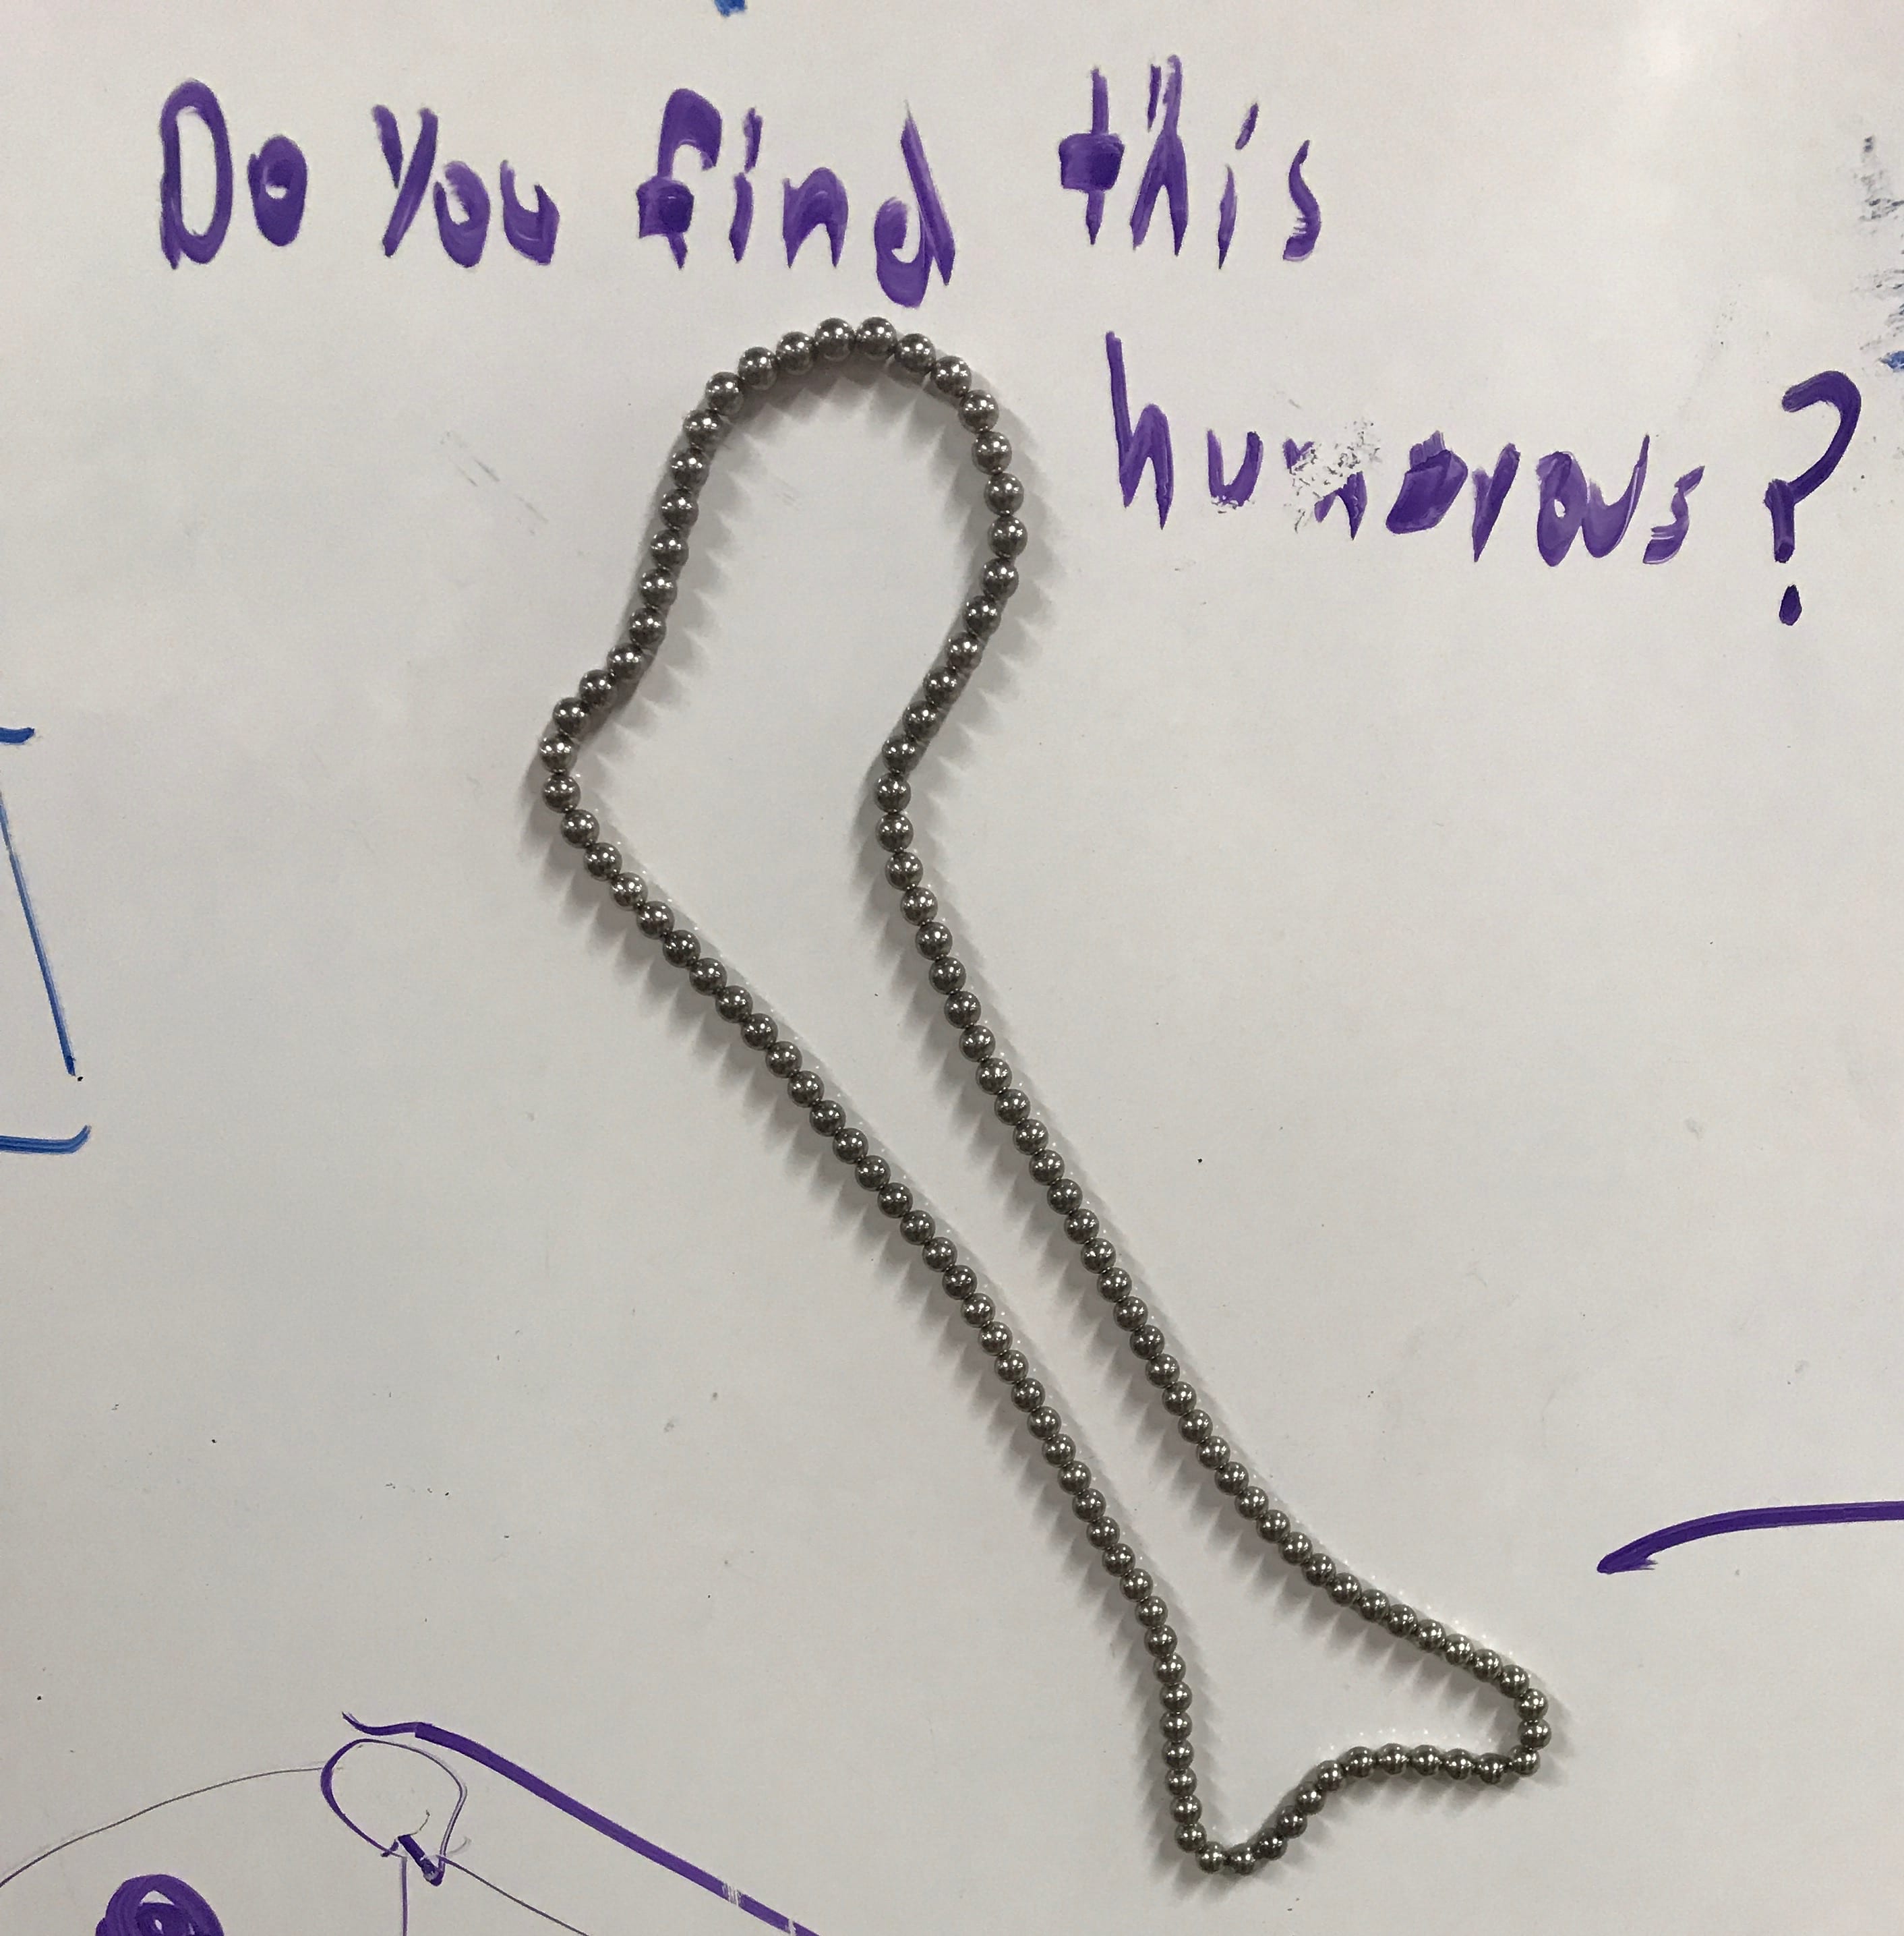
More magnets.
It seems you are using excellent and unusual verbal skills as well as engineering ones. I am amused by the original language (“freaky accurate” “geek out”) and “mechanical-related terms” that necessitated a “secondary glossary” for Rebecca, with the purpose of creating clear, precise communication. This blog reveals your sense of audience and effective ability to reach it. You come across as writing with ease and superb confidence.